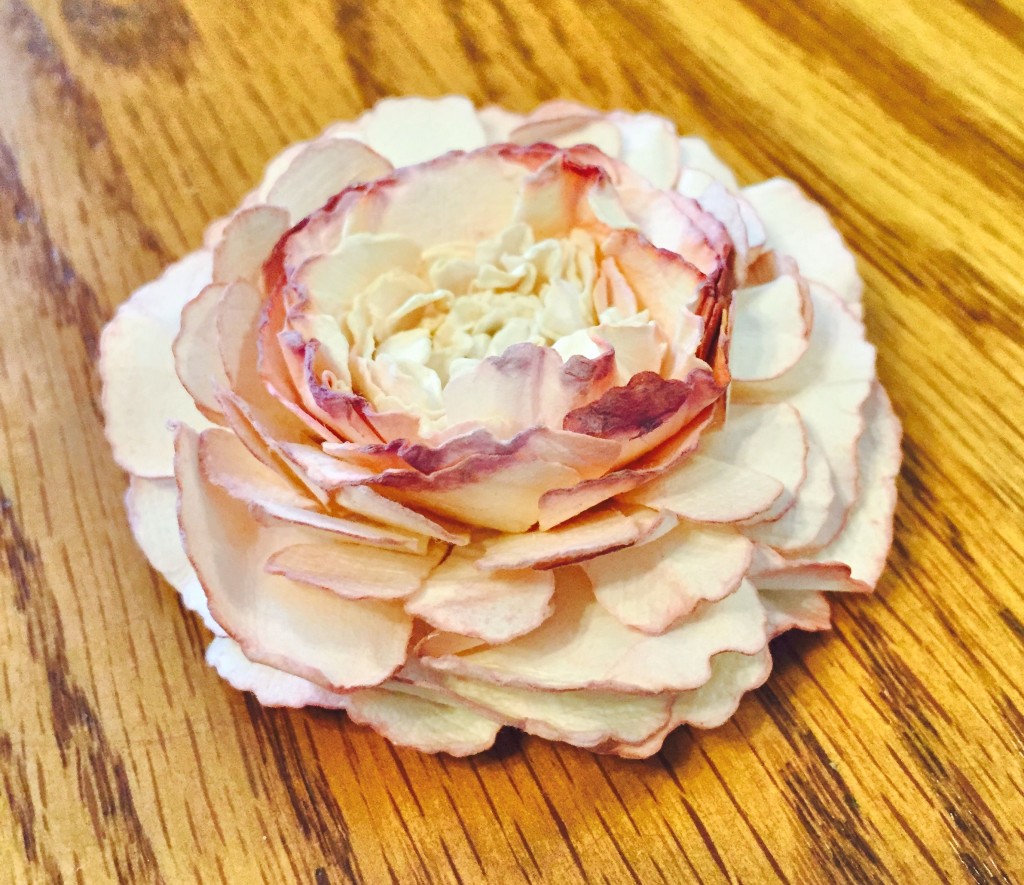
It occurs to me as I write today’s post that I have probably written more posts about how to make paper flowers than any other topic—and this one is the ninth. I suppose that’s not only because I love flowers, but also because it’s my favorite book cover embellishment and my favorite part of the bookbinding process. So, here is today’s flower, half of which is based on Mistra Hoolahan’s tutorial, Carnation Flower Tutorial, and half of which is based on my own method. I’m not sure if this looks more like a carnation, a rose or a hybrid bloom, but to me it looks like a real flower of some kind. Much as I love flowers, I’m not good with flower names or identification. And I don’t believe realism is a requirement when you’re creating art!

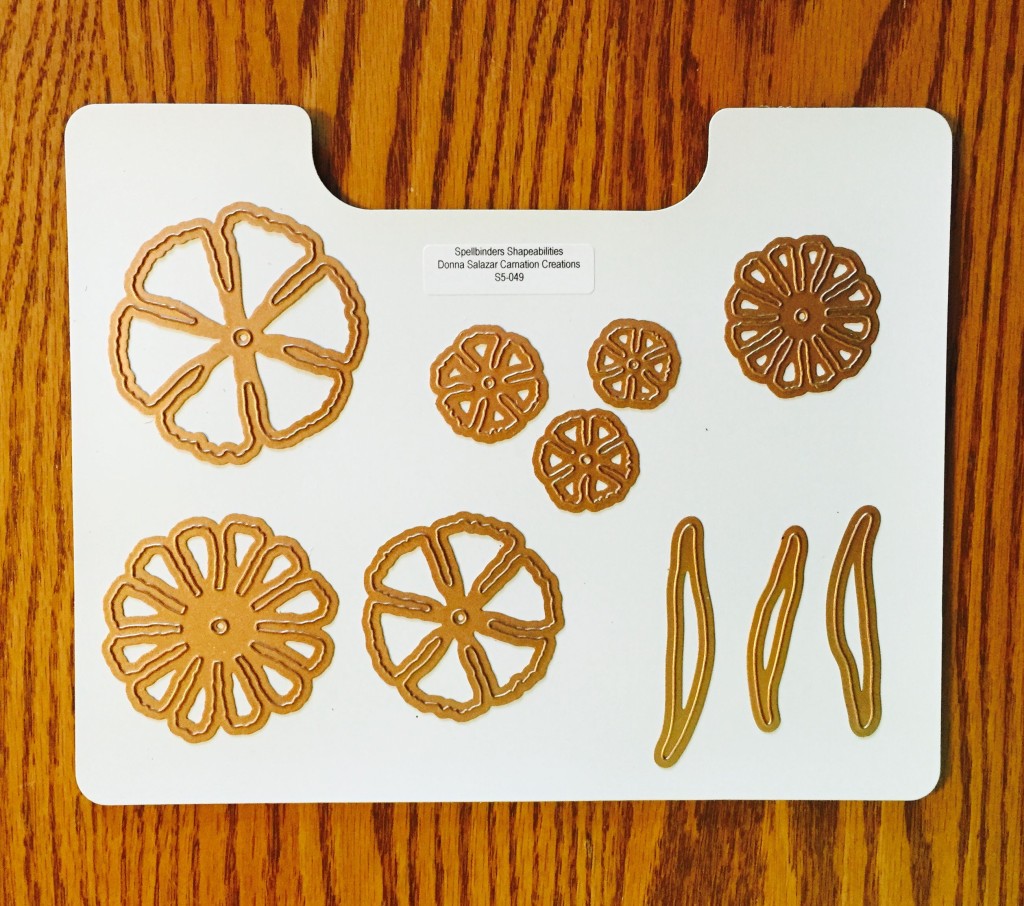
To make this flower, you’ll need to select one of your floral cutting die sets that comes in different sizes. You could also combine dies from several different sets. I think the results will look similar, no matter which one you use. I used a Spellbinders Shapeabilities die set, Donna Salazar Carnation Creations, cutting three each of the five largest sizes. The two smallest sizes and the leaves are not used. If you use fewer layers, your flower will look less full. If you use more, it will be very full indeed!

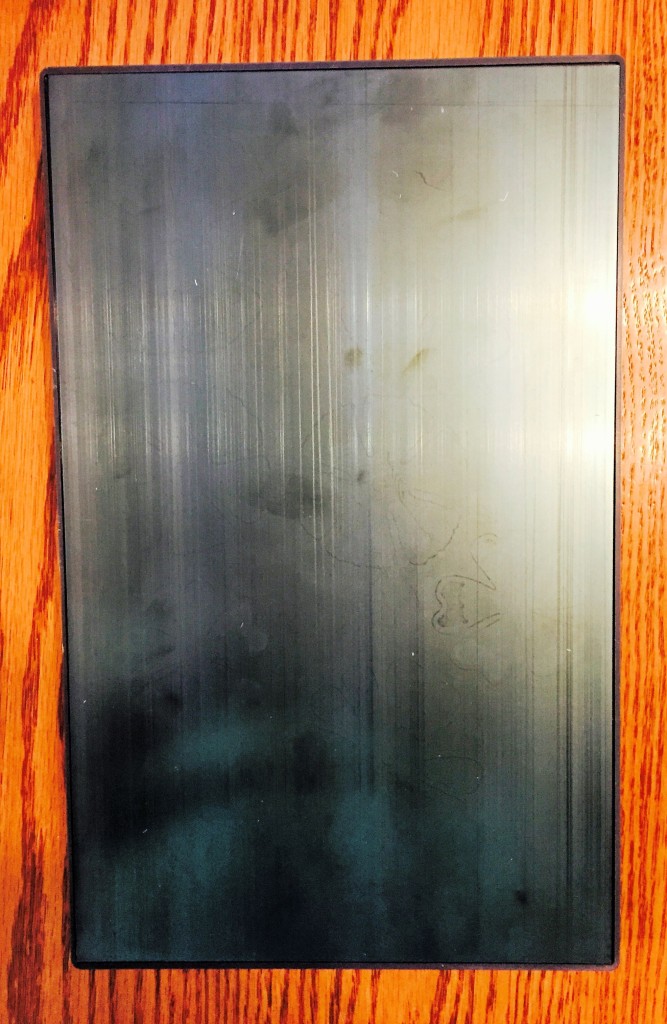
I use a Sizzix® Big Shot die cutting machine to cut out shapes from my wafer thin dies, but lately I’ve been using a new accessory with it, the Sizzix® Precision Base Plate, which takes the place of one of the acrylic cutting mats. This accessory enables you to cut detailed shapes without having to fussy-cut them afterward, which sometimes happens when a die shape is intricate. In addition, since the metal never wears out, you extend the life of your acrylic cutting mat this way. I build a “sandwich” consisting of the Sizzix® Magnetic Platform, the Sizzix® Precision Base Plate, paper, the die with the cutting ridges down, and an acrylic cutting mat.
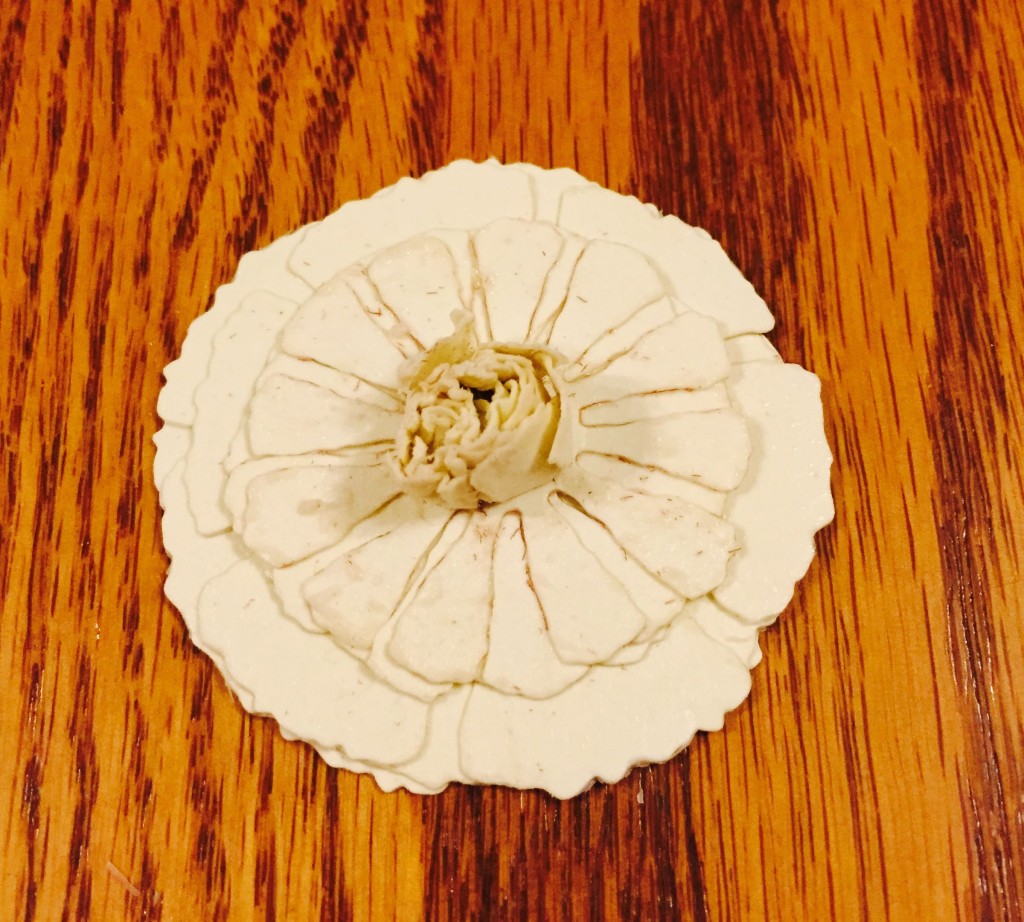
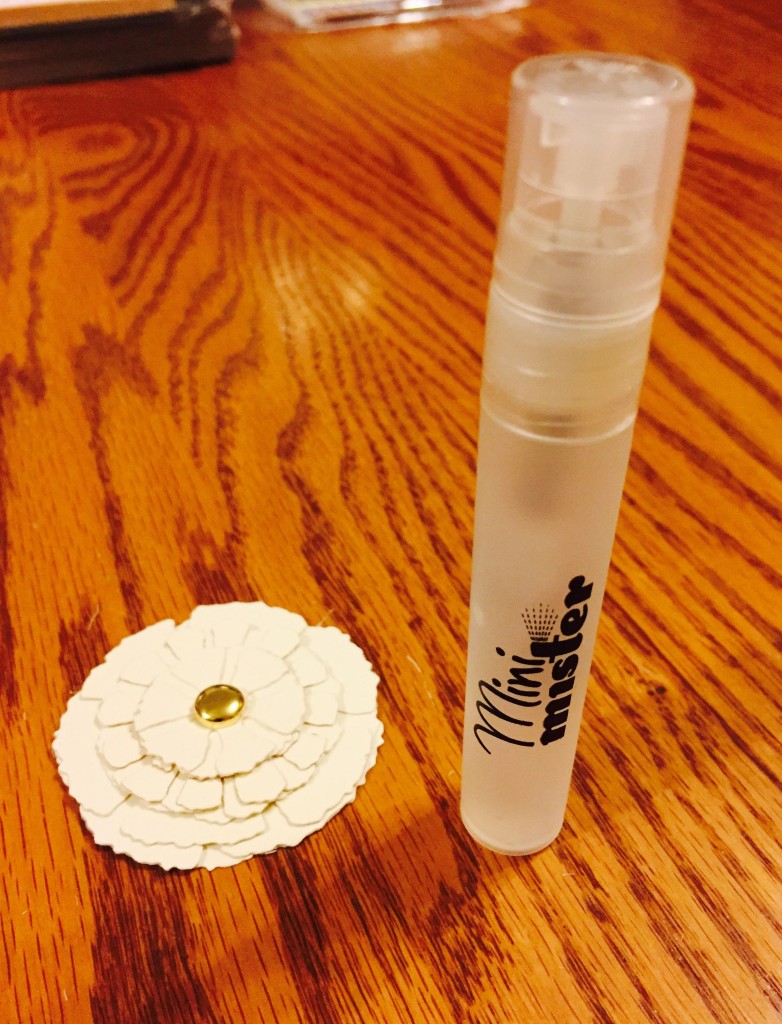
Grab yourself a paper brad, any brad—it doesn’t matter what it looks like since it won’t be seen in the final product—and assemble the three sizes of smaller flowers, a total of nine, staggering the petals. Then you’ll spray the flat-flower combination with water. I used a Ranger Mini Mister, which is quite handy for this purpose.
Lifting each petal, layer by layer, you’ll scrunch it around the brad until it forms the bud of the flower. If the paper dries out as you work with it, don’t be afraid to re-spray it.
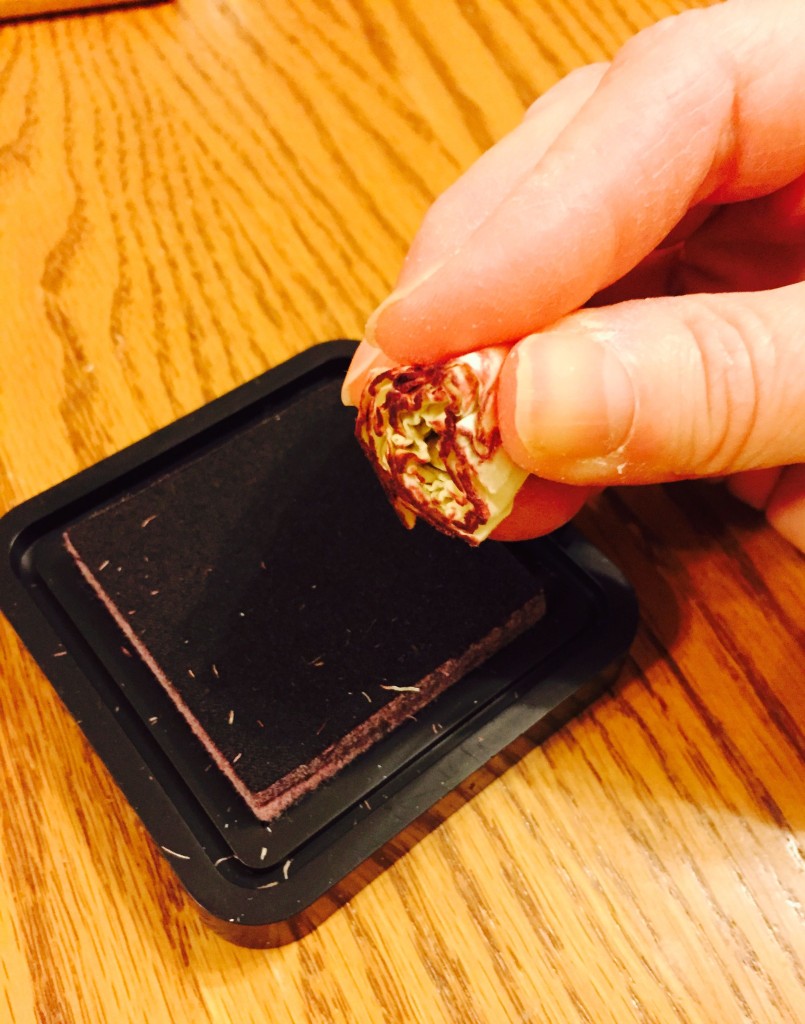
Then, flip the bud upside down and tap it several times into a water-based ink pad. I used Tim Holtz Distress Ink in Victorian Velvet.
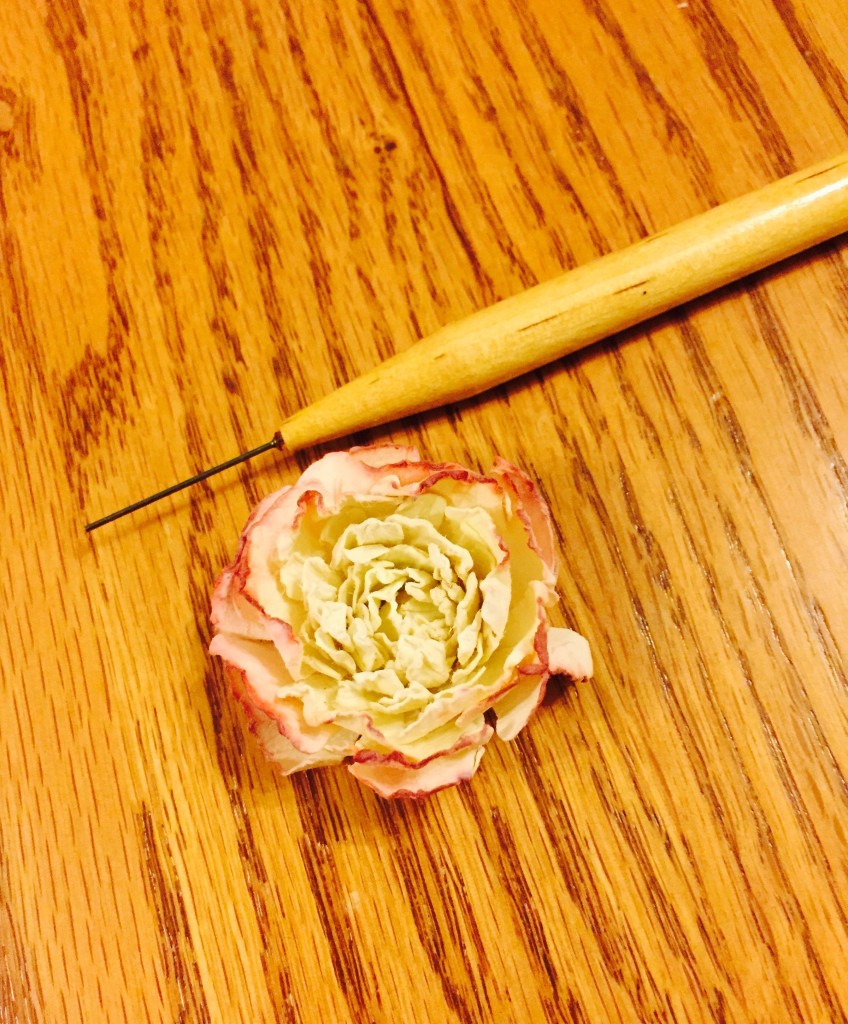
Spray the flower with water again to make the ink run, and gently separate the paper layers—but don’t separate them so much that you flatten them. I used a quilling tool to help separate the layers, but a toothpick would work, too. Then you can either air-dry the florette, or speed up the drying process with a heat gun, moving it frequently so that you don’t burn the paper. This forms the center of your flower.
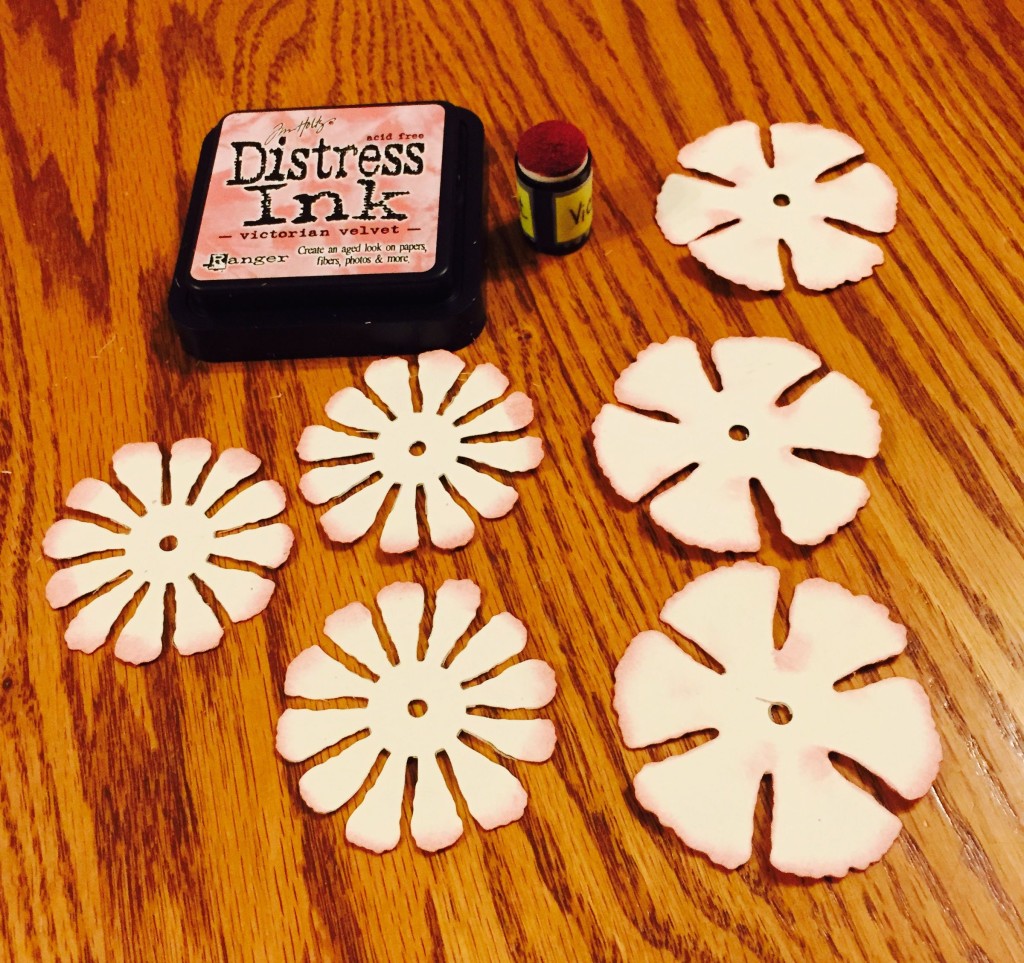
Next, take the remaining two sizes of flowers, six flowers in all, and ink the edges.
Spray these six flowers with water, then scrunch each one into a ball. Open up each flower, and let it air-dry or dry with the heat gun. When you wet the paper and scrunch it up, this breaks the paper fibers. When the paper dries, it is more apt to stay in its scrunched shape than if you had not wet the paper first. Because the flower will be fairly damp as you work with it, you will want to work with good-quality, sturdy paper to prevent tearing. I used Bazzill Basics in Buttercream. I suspect watercolor paper would work beautifully, too.
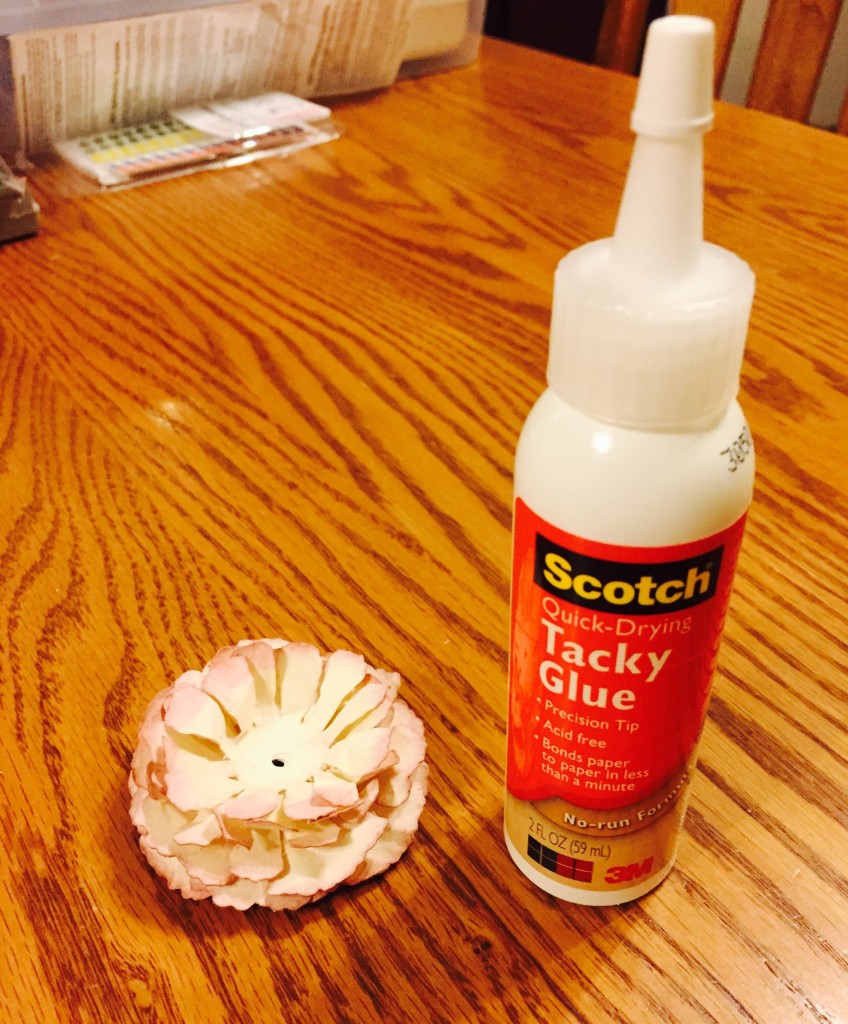
Beginning with the largest flower, glue the flowers together, making sure you stagger the petals. This creates the bottom part of the final flower. Finally, glue the center florette on top. Let the glue dry, and you’re finished!
If you enjoy, as I do, the process of making paper flowers, you may wish to read my other flower tutorial posts:
- Make a paper florette from a decorative edge die
- Using paper scraps to make floral accents
- Crafting your own paper flower when there are no instructions
- Re-do: crafting a Gerber daisy with the appropriate die
- How to craft a paper Gerber daisy
- Clover Flower Frill Templates giveaway
- Spring is in the air!
- Bring spring indoors with paper garlands
Have some tips you’d like to share about making paper flowers? Include them in the comments below.
© 2015 Judy Nolan. All rights reserved.

So many tiny pieces and steps! I love the way you ink the edges. SO pretty!
Thank you Judy for sharing the secrets to some of your beautiful art! Definitely going to try making one of these when I get a moment. Beautiful and wonderfully detailed!
Thanks – Pam
Really cool! I like the way you scrunched up that first set of petals and inked them all at the same time. I’m also not a fan of hot glue because 1) I always hurt myself 2) it makes a mess and 3) it doesn’t always hold that well.
I’ve actually been wanting to make some watercolor paper flowers, but I haven’t gotten around to it. I’d probably just use my Silhouette, but it’s interesting to learn about the new metal base plate for the Sizzix. Well, new to me, at least! I should try to find one – I suspect it would help my metal embossing, too.
Love the finished appearance of your flower. I wish to make flowers for cards, I already have many types of ink pads so am a little hesitant to buy even more. Do the tear drop shaped stamp pads work? – I see there are several in a stack at a reasonable price.
Thank you, Margaret, for visiting my blog.
I’m a big believer in using what you have. I don’t see any reason why you couldn’t use the teardrop-shaped ink pads. Good luck with your project. If you like, you can post a photo of your results on my Facebook page located at @thiscreativejourney. Have fun crafting!
Judy