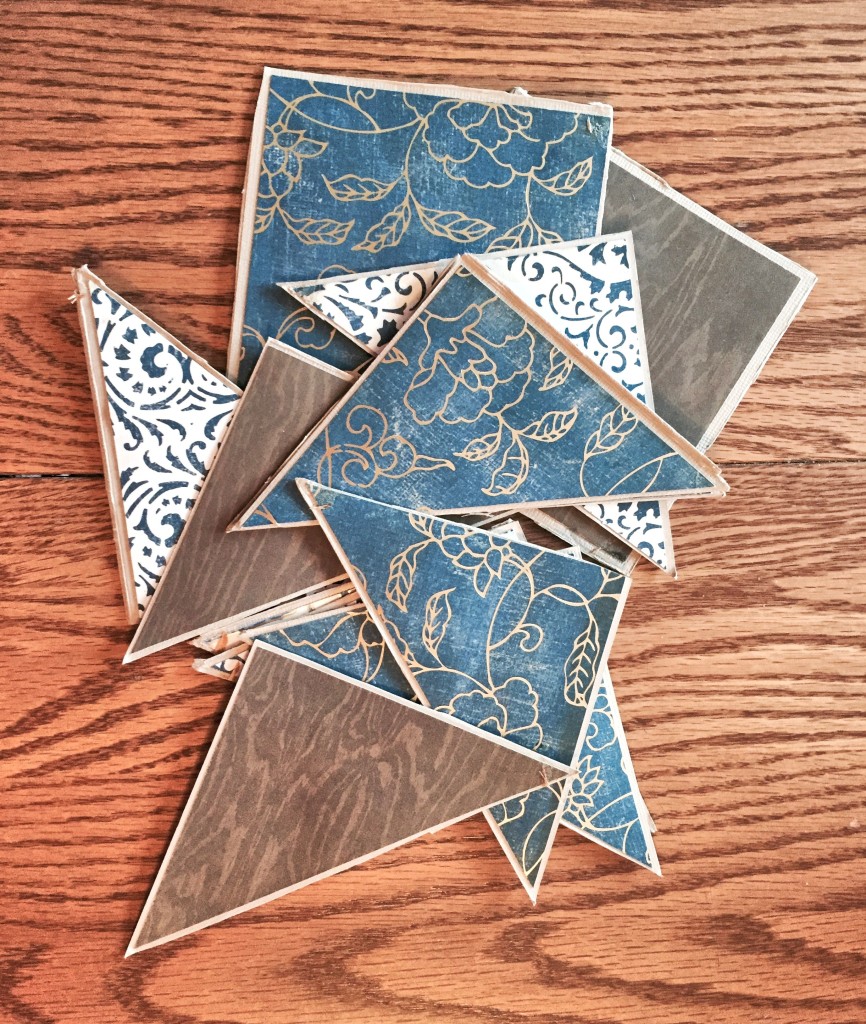
When I made an explosion mini album recently, which involves folding paper in many different directions to form pages, I made the mistake of weighing the pages down with too many layers of decorative paper. This resulted in holes developing where the folds intersected—and a big waste of paper when I had to re-start the project from scratch. I couldn’t bear to throw away the original paper, however, so I decided to cut up the pages into the squares and triangles shown below for re-purposing. Then I pondered.
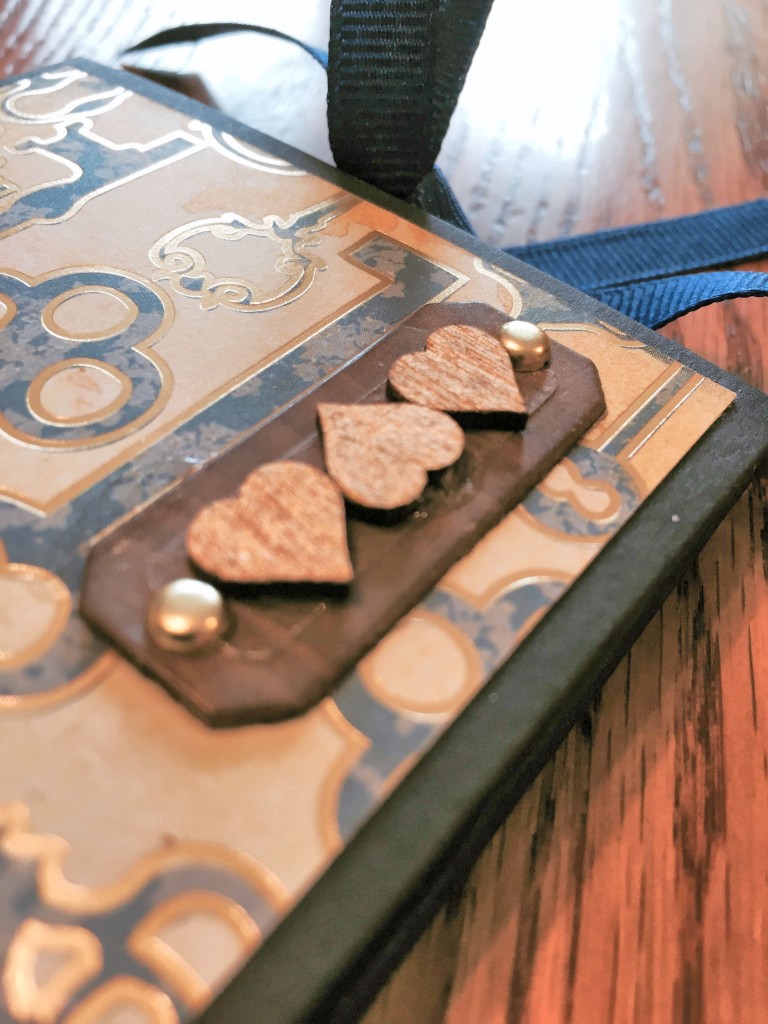
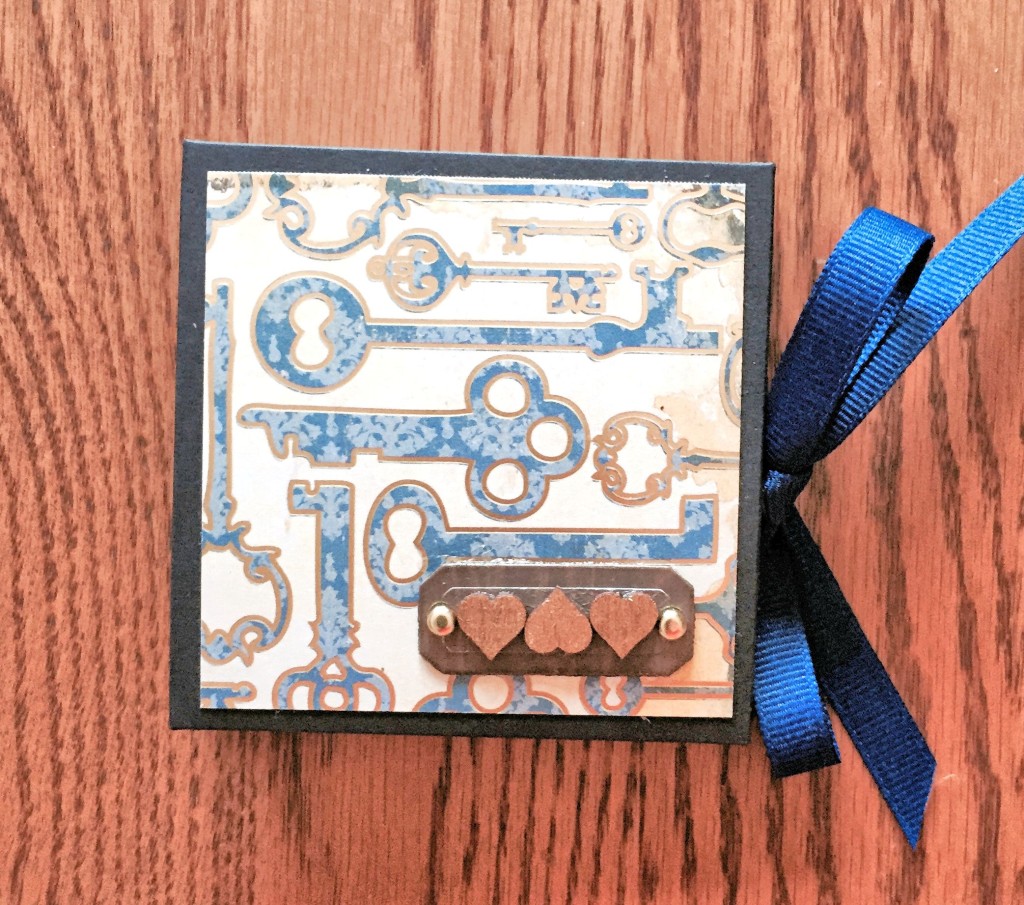
I’ll bet I can die cut those pieces into dimensional paper ephemera shapes, I thought. Because I had a mini photo album waiting for a cover embellishment, it became the first recipient of my re-purposing mission. I cut out a tag with my Big Shot die cutting machine, and modified it with mini brads and pre-cut wooden shapes that I painted gold with Elmer’s Metallic Painter Medium.
The tag is comprised of three layers of glued papers, so it behaves a lot like leather. I subsequently used a leather punch to make the holes for the gold mini brads. The leather punch makes holes in a variety of sizes, so it’s handy for a job like this. The only drawback is that paper tends to get stuck in the hollow metal cones that do the punching. However, my son, who works with leather a great deal, suggested that you can straighten a paper clip and push the paper bits out with it. The tools and materials I used to make the tag are shown below. Lots of items for one tiny tag, but it didn’t take too long to create.
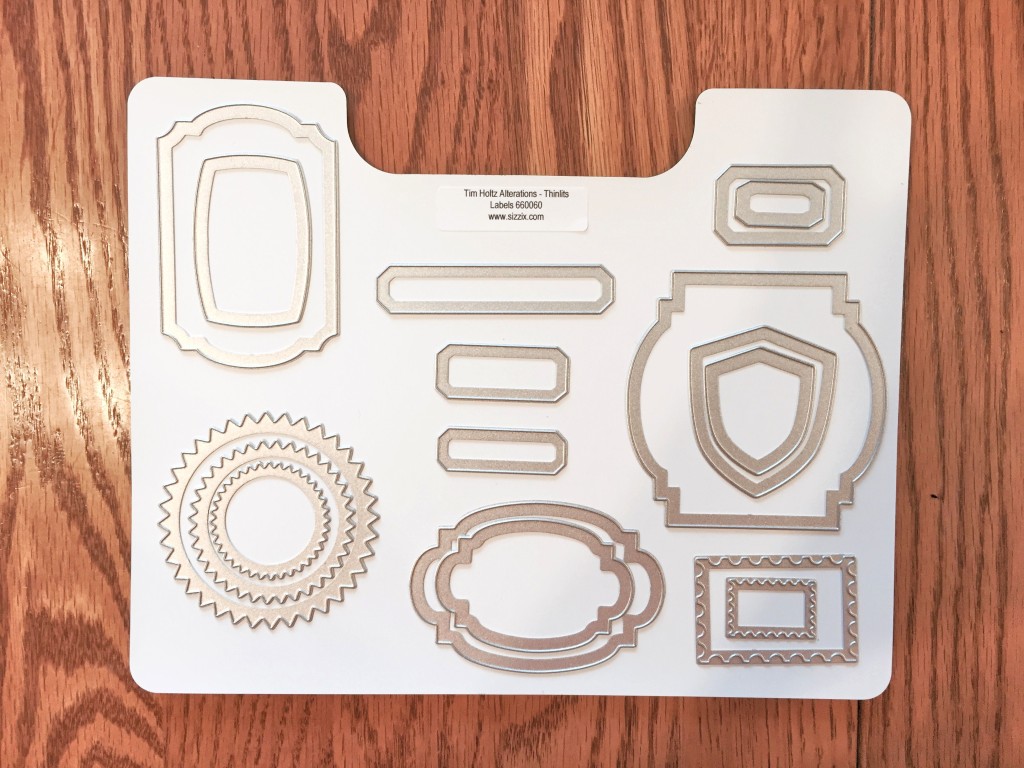
I cut out the tag shape itself using a Tim Holtz Alterations Thinlits die from the Labels #660060 17-piece set, then brushed some Tim Holtz Distress Ink in Walnut Stain along the edges to hide the white paper core. There are lots of wonderful dies in this set that will be useful in creating additional paper ephemera for crafting purposes, I’m certain.
The tiny tag adds a finishing touch to the already tiny photo album without covering up too much of the decorative paper. I anticipate using leftover scraps of paper and thin chipboard, or layered papers, in similar ways in the future. No need to buy pre-decorated chipboard shapes when you can make your own! You can make dimensional tags, eyelets, buttons, letters and numbers, flowers, borders and even flourishes using a variety of cutting dies.
What do you do with your paper scraps? My own mind is spinning with ideas!
© 2015 Judy Nolan. All rights reserved.


Your little tag turned out so cool! I can never bring myself to throw away paper scraps either. I love how you come up with so many new, creative ideas for your book covers!
It’s so great to put scraps to good use! Love the final result.
Good tip about pushing the pieces out with a paperclip! I always tell myself I want to do things with paper, but somehow it doesn’t happen. I have a Sizzix embosser and it’s been stored on the top shelf ever since I moved here 16 months ago!
Mistake?? You repurposed it beautifully. Thankfully, I don’t have paper scraps, but I have LOTS and LOTS of fabric scraps!! I hope to turn some of them into doll quilts.
How cool is that! Love the key paper — the tag turned out just perfect! The only scraps I have are little bits of yarn!
What a great idea! It turned out so well and looks great on the album!