Decades ago, when the elementary schools in my hometown of Wauwatosa, Wisconsin organized summer recreational activities, I was introduced to many types of arts and crafts. If it weren’t for those programs, in fact, I suspect I might never have learned about many of the crafts I enjoy today. We wove lanyard keychains, pounded and rolled clay to make animals, filled easel paper with poster paint drawings, soaked reeds in water to weave baskets, and paper machêd balloons with strips of newspaper and paste to form bowls. Between one craft activity and the next, we played softball, freeze tag and box hockey; held tourneys for ping pong. chess and checkers, and acted out skits. We made homemade kites, threw water balloons at each other, and played hop scotch and four-square. One day there was a corn roast after we soaked the cobs in barrels of water and wrapped them in foil to cook over hot coals. My mother, who was a stay-at-home photographer who specialized in retouching negatives for wedding photos, likely needed some quiet time to get her work done. She sent the two older kids, my brother and me, to the summer school playground while the younger kids, eight and ten years younger than me, stayed home. She got something out of the arrangement, and so did my brother and I. They were glorious summers, ones I probably would not have had a chance to enjoy, for left to my own devices, I would have sat at home all summer and read books.
One summer we made hundreds of crepe paper flowers for a 4th of July playground float. We folded layers of crepe paper squares into quarters, and then folded each half of the quarter once more. We rounded off the open, unfolded edge with scissors, cut a tiny hole into the tip, and threaded a pipe cleaner into the hole to form stamens on one end, and a flower stem on the other. Then we wrapped the flower “stem” with green floral tape to secure everything together. With our fingers, we fluffed out the crepe paper folds. In just a short while, we had a beautiful flower that was easy to assemble.
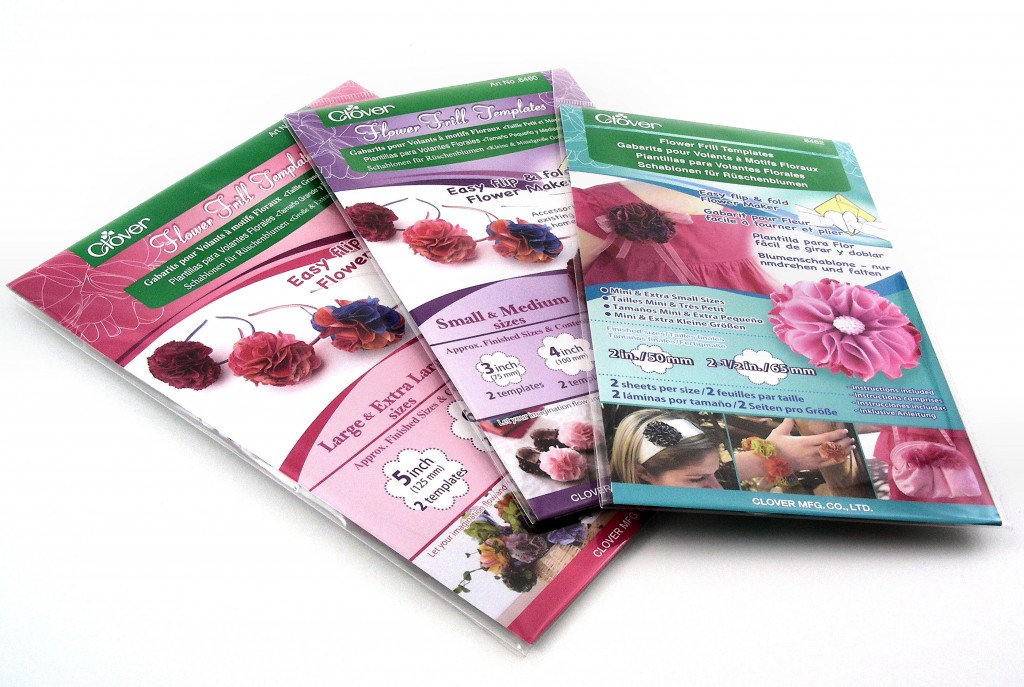
That folding method—taking a square and folding it into eight parts, then rounding it to form a scalloped circle—is the principle behind Clover’s Flower Frill Templates, which come in three sizes: Mini, Extra Small, Small, Medium, Large and Extra Large. Each package comes with two templates of each size, presumably so that when you wear one out, you have a spare. I am not certain why Clover did not laminate these card stock templates the same way that maps are laminated for durability, but I am guessing that this is their way of anticipating future sales!
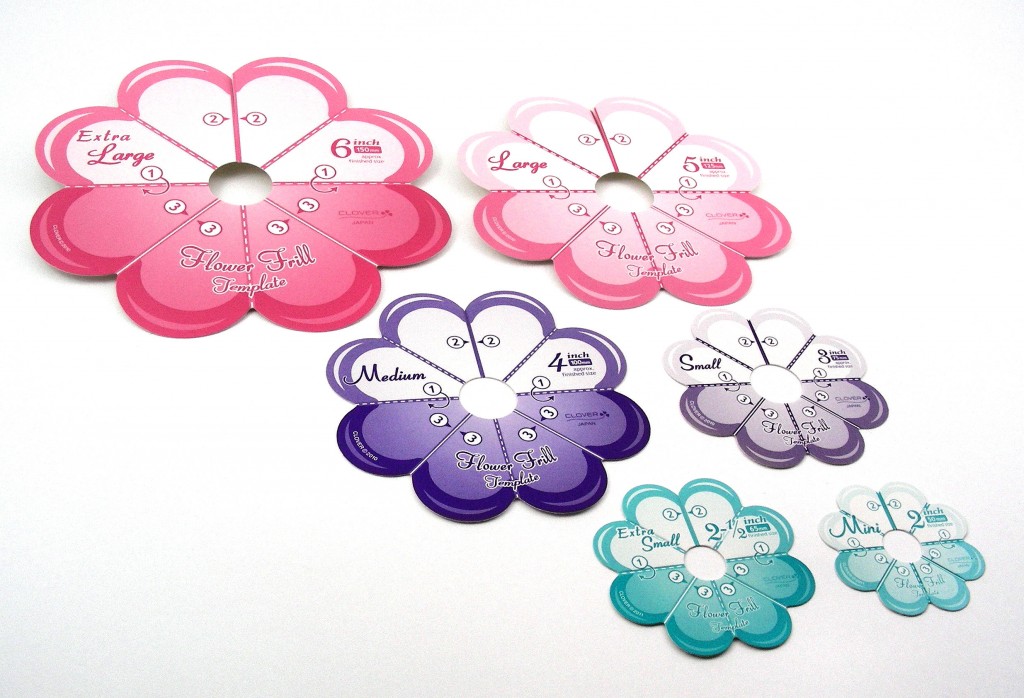
So, how do the templates work? The instructions that come with the tool are the same for every size. You cut squares of fabric (such as muslin, batik, organza, lightweight crepe, lightweight satin or Georgette), medium weight paper (no heavier than 24 lb.), tissue paper or basically any crisp but not-too-thick material. Fold your squares in half. Ahead of time, thread a needle with some strong thread at least 18 inches long, and tie a knot on the end. Then:
- Fold the template in half with the folded fabric sandwiched between both halves. The white half of the template should be on one side of the “sandwich,” and the colored half of the template should be on the other side.
- Fold the template in half again, with the number “2” sections facing each other.
- Fold the number “3” sections on one side together so that they face each other.
- Fold the number “3” sections on the other side together so that they also face each other.
- You are now finished folding, and should have a wedge of fabric with one curved edge. With fabric scissors or pinking shears, cut the fabric along the curved edge of the wedge, making sure not to cut the template.
- Insert the threaded needle into the point of the wedge, and pull the thread all the way through the fabric, leaving a few inches for tying later.
- Remove the template.
- Repeat Steps 1 through 8 as many times as you wish (Clover suggests 15 to 25 times), adding wedges to the thread according to your personal preference to form the petals of a Frill Flower.
- Remove the needle and tie the two ends of the thread together with a double knot.
- Open up the fabric folds to form your flower. If you like, add a bead, pearl, brad or button to the center of your flower.
If you prefer visual instructions, you can view the Clover video below.
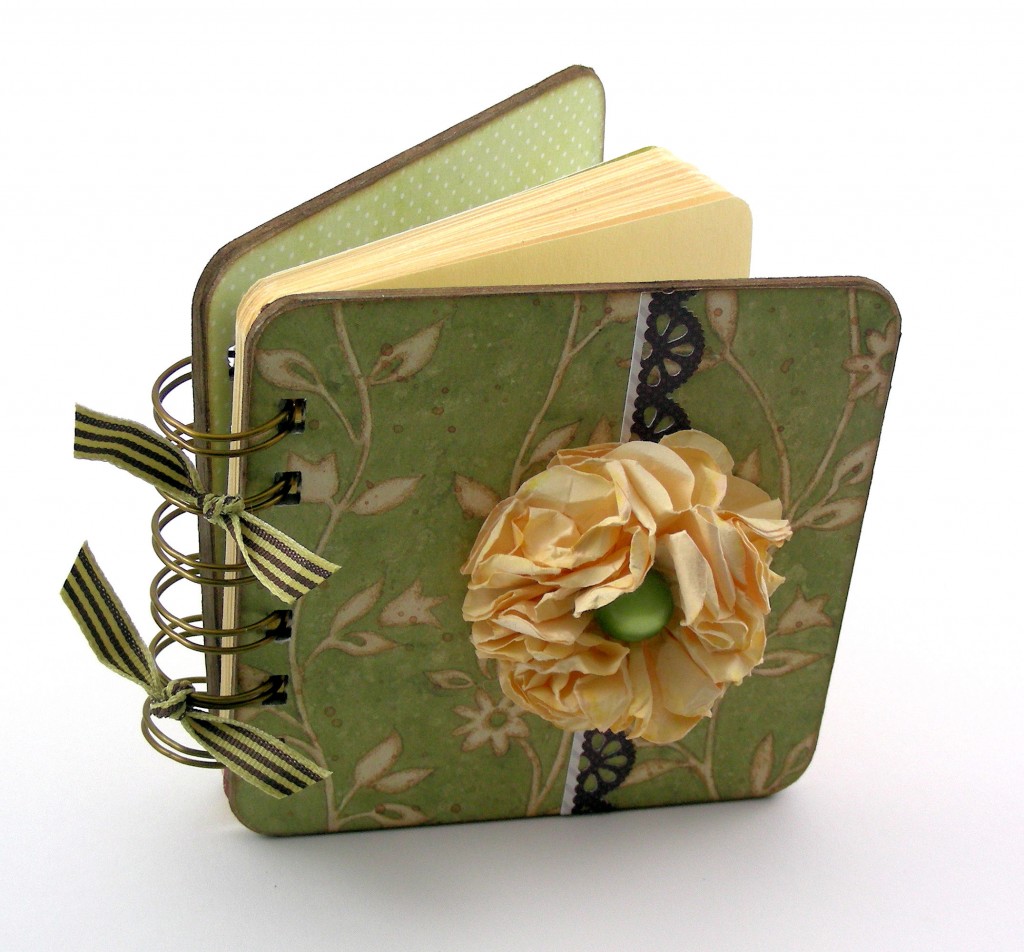
Here is a mini gratitude journal I embellished with a cream paper flower using the Clover Mini Flower Frill Template. I originally tried to use lace fabric, but didn’t like the results.
The instructions called for squares measuring 2.75 x 2.75 inches, but after I cut my paper, I crumpled it to give the petals a more distressed look. Then I uncrumpled the paper, folded it in half, and continued with the template instructions. I threaded 10 “petals” onto a length of buttonhole thread, then cut a circle of heavyweight stabilizer that I glued onto the back of the flower using Fabri-Tacâ„¢ Permanent Adhesive. This glue is a great alternative to using a glue gun, especially since the adhesive is flexible when dry. I sewed a button to the center of the flower, then opened up each petal and fluffed it a bit. Then I walked over to my kitchen sink, got my fingertips wet, and drizzled water liberally over the flower. I crumpled the paper a little more, opened it up again, and then dried the flower with a heat gun. Yes, there are lots of steps to this process, but it was fun because I didn’t really know what the outcome would be.
You can use Flower Frills not only for paper crafting, but also for hair ornaments, corsages, wedding decorations, home decor and more. You can visit the Clover site to download project templates found HERE.
Making these flowers was definitely an adventure. I suspect every flower turns out differently, and that’s part of what makes it fun for me. It was so much fun, in fact, that I’d like to share some of that enjoyment with a giveaway that includes a complete set of Clover Flower Frill Templates in all available sizes. To enter the giveaway, tell me in the comments below about a craft you learned and enjoyed during childhood. I will announce the winner this Friday, May 17th.
© 2013 Judy Nolan. All rights reserved.

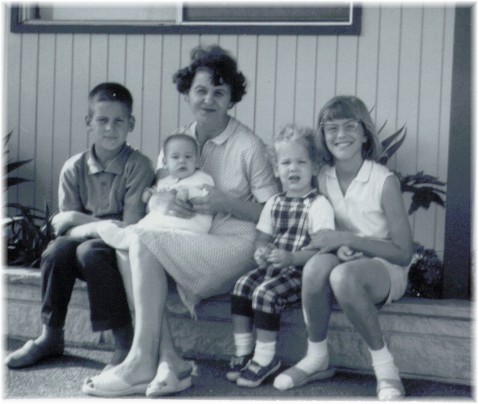
Such a lovely photo of your mom and your siblings, Judy! There are only precious few I have of me, my mom and brother.
I love that the templates can be used for fabric as well. And crafting flowers is so much fun!
One thing I really loved doing as a child (apart from reading) was making stamps from potatoes 🙂
What fun flowers! I can see these embellishing so many projects!
I learned how to use rubber stamps and began my journey into paper crafting through 4-H. Definitely my favorite childhood craft 🙂
We also had a summer program at the grade school when I was growing up. It was all sorts of fun! I remember one time they let us pick out several rolls of crepe paper to take home to decorate our bicycles and bring our bikes back the next day for a parade and judging. I am sure that most of the crafts I learned in childhood I have used in multiple ways as an adult. Mama taught me to sew at a very young age. Daddy was often painting or doing some sort of project he would teach me. I always played with mud outside and play dough in the house. My granddaughters would love making flowers using these templates! 🙂
The flower on your gratitude journal is beautiful!
I learned to embroider at the age of 5. I started embroidering dish towels, and then graduated to pillowcases.
I had my own little hoop and sewing basket. (I still have the basket.)
That’s a cool template! Your family looks like the opposite of my dad’s – he has two brothers and one sister!
Wow – what a wonderful photo! LOL – I had glasses very much like yours. 😉
This is another lovely giveaway! What fun. I must exempt myself from this giveaway since I won your wonderful book. I was finally able to make it to the PO when it was open and there it was waiting for me! Thank you!
Now that I’m thinking about it, there aren’t many pictures of my entire family either! We’re usually too busy “doing” to take pictures.
I actually learned how to make jewelry when I was a kid, and now selling it is my job! Never would have expected that back in the day. 🙂
love your family photo! and your glasses! ( I know I had similar ones!)
Your post reminds me of where I learned to make so many crafts–Summer camp and Girl Scouts. I loved crafts! One of the very cool things we did in Girl Scouts was to color with crayons on kimonos made from old sheets by our mothers. We then wore these to a Japanese restaurant where we had to take off our shoes and sit at a low table. Maybe I’ll write a post about this sometime since I have photos. One Dad was a professional photographer and his photos, along with an article, appeared in our newspaper.
Your flower is lovely!
That’s a great family photo! It’s wonderful there were programs that introduced you to crafty things! I used to go to some too but have always had the perfectionist gene so found them very frustrating. My mom is very crafty though so I’m glad I was exposed to it and eventually able to be somewhat creative!
The flower on your journal is lovely! Thank you for offering this giveaway!
Flowers are what stands for the greatest things in creation.. they sleep in the winter and bloom in the spring.. I love flowers and have been using them in my crafts since I can remember.. I really love your flowers..
Judy – did you ever make clover necklaces? I loved doing that as a child. Now we mow our lawns so close – hard to get enough long-stemmed clovers!
Hope all is well with your Etsy shop. Mine is ArtistryUnleashed.
Have a great weekend!
Peggy