4/25/15. Visit Clogged glue bottle tips, revisited, for a revised assessment.
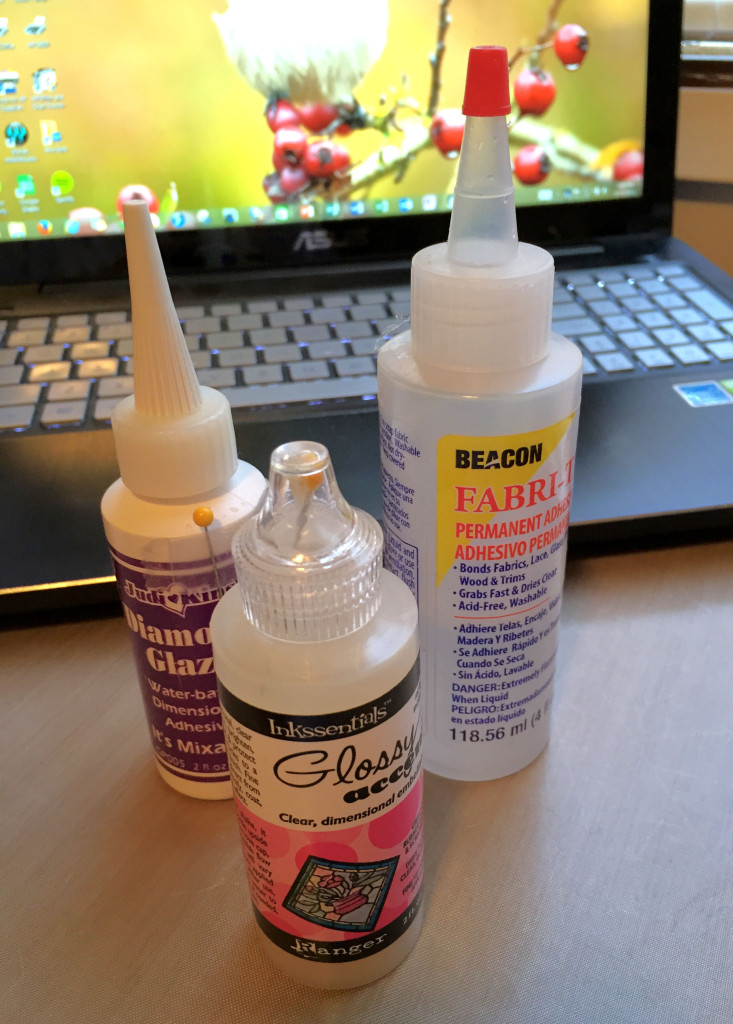
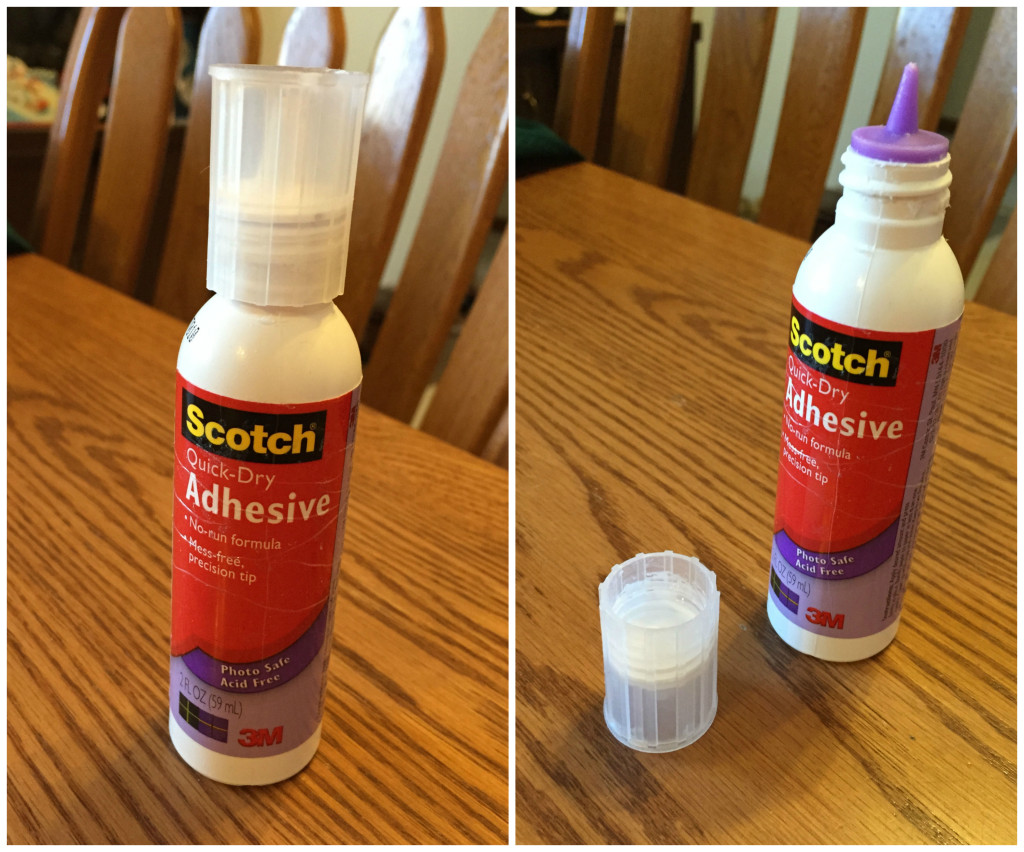
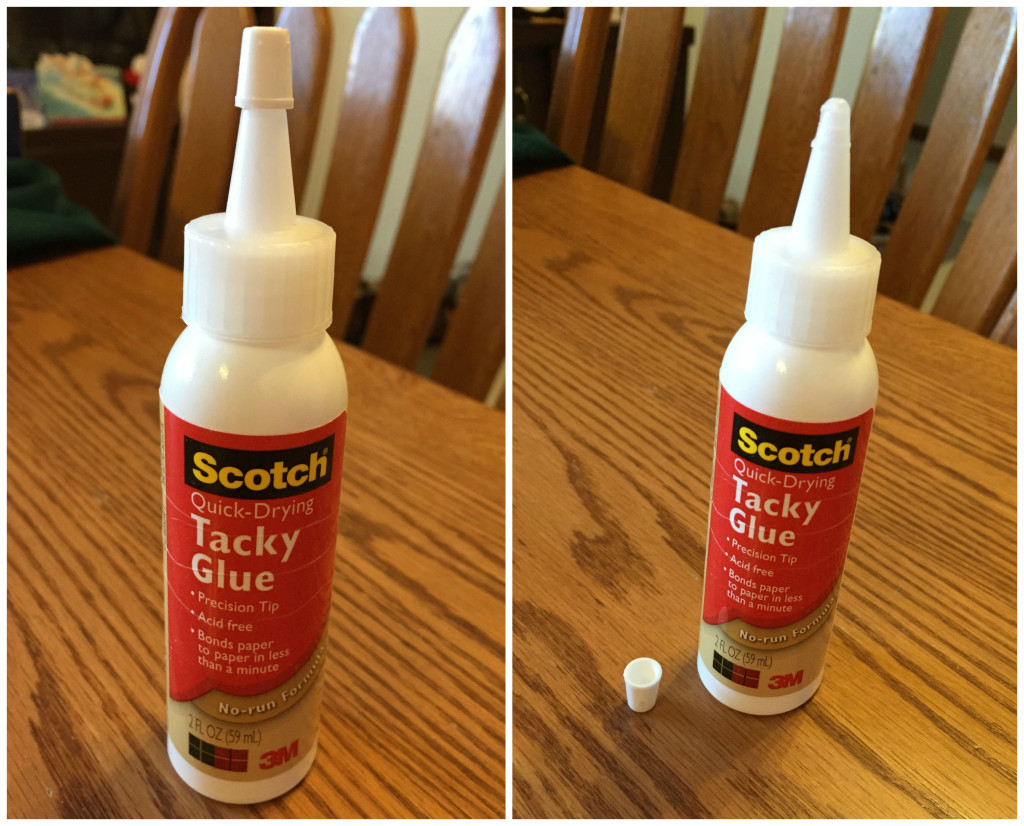
I watched a video recently, No Plug Glue Toppers for Paper Crafting, from Laura Denison of Following the Paper Trail, that inspired me to try her solution for clogged glue bottle tips. If you’re like me, then you have tossed more than one bottle of otherwise perfectly serviceable glue, simply because the bottle tip was clogged beyond your ability (or willingness) to clean it out. For me, chief offenders are Beacon’s Fabri-Tac, Ranger’s Glossy Accents, Judi-Kins Diamond Glaze and Scotch’s Quick-Drying Tacky Glue (previously known as Quick-Dry Adhesive). I find myself taping a pin to the side of the bottle to poke out the glue that has clogged in the tip, but eventually that solution fails and I discard the bottle.
My favorite liquid adhesive for scrapbooking, when I need something that dries quickly and allows you to adhere paper to paper, metal, plastic, leather, foam core and other materials, is Scotch Quick-Drying Tacky Glue. At the online Joann.com site, the blurb beneath the photo of the adhesive reads:
This quick-drying; permanent tacky adhesive securely attaches three-dimensional objects made of metal and plastic as well as papers. The fine tip allows for precision application. It is ideal for paper; plastic and metal; and bonds to most paper to paper in less than a minute. Other features: won’t bleed through most papers; has a low wrinkle formulation; sets quickly; is photo safe and dries clear.
This great glue, however, has one of the worst clogged tip issues I have encountered. When it was originally released, it had a precision tip that released a fine stream of glue, as well as a flat top screw lid that allowed you to store the bottle upside down, helping to prevent clogging.
What a great idea! But someone at 3M decided to “improve†the bottle and replace it with a standard glue bottle tip that clogs quickly, especially because it’s the nature of this adhesive to dry fast.
Laura Denison began experimenting with a solution that works, I think, if you apply it correctly. She realized that most adhesives do not bond to silicone, so she began several weeks of experimentation that involved replacing her glue bottle tips with “classic†baby bottle nipples made from silicone. The advantages of this method are:
- The new bottle tip never clogs.
- You can seal the bottle hole overnight by squeezing out a bead of glue that dries on the outside of the nipple but flicks off with a fingernail in the morning when you need the glue again.
- You can produce a fine, consistent stream of glue that allows you to insert adhesive into small areas.
- The nipple can be transferred to a new bottle of glue, or it can be re-used by pouring the new glue into the old bottle, making the nipple an economical investment.
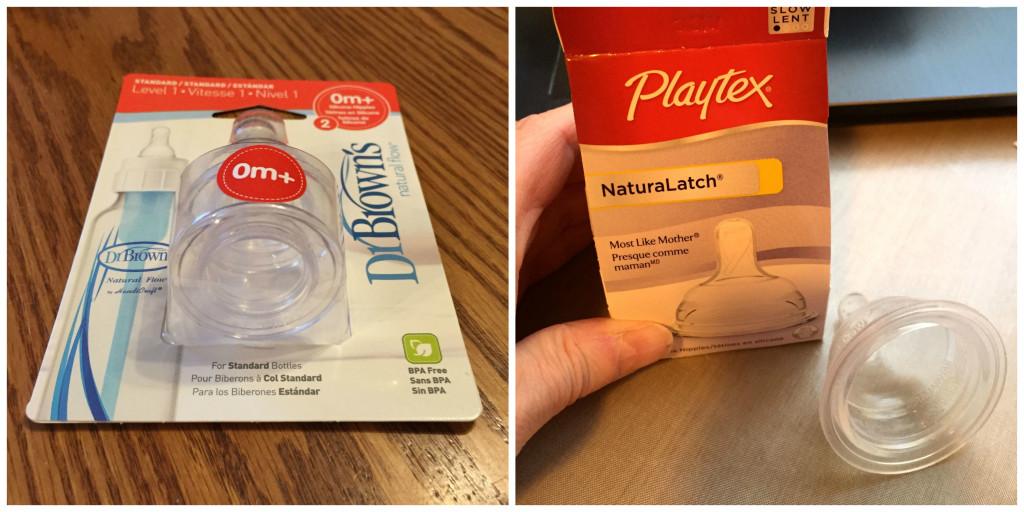
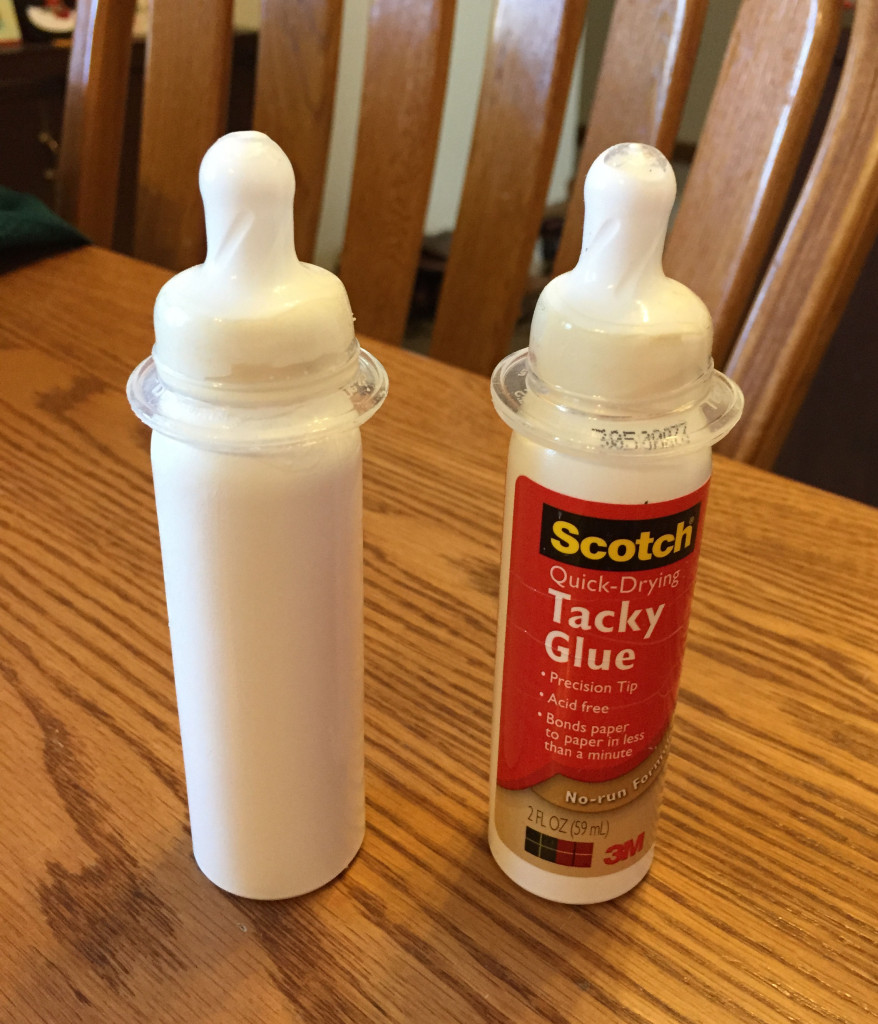
So, how does this work? Laura advises you to use classic baby bottle nipples with a bottom diameter of about three quarters of an inch. If you look at two types of nipples, side by side, you’ll understand immediately what type of nipple you need to purchase. The one on the left is a classic nipple, while the one on the right is too large.
In addition, you’ll want to select nipples designed for newborns up to 3 months old. If you want a larger-sized glue hole, then go ahead and purchase a nipple for babies that are 3 to 6 months old. Make sure, however, that the nipples are made of silicone. Rubber nipples won’t work because glue will adhere to them and clog the same way the plastic glue bottle tips do.
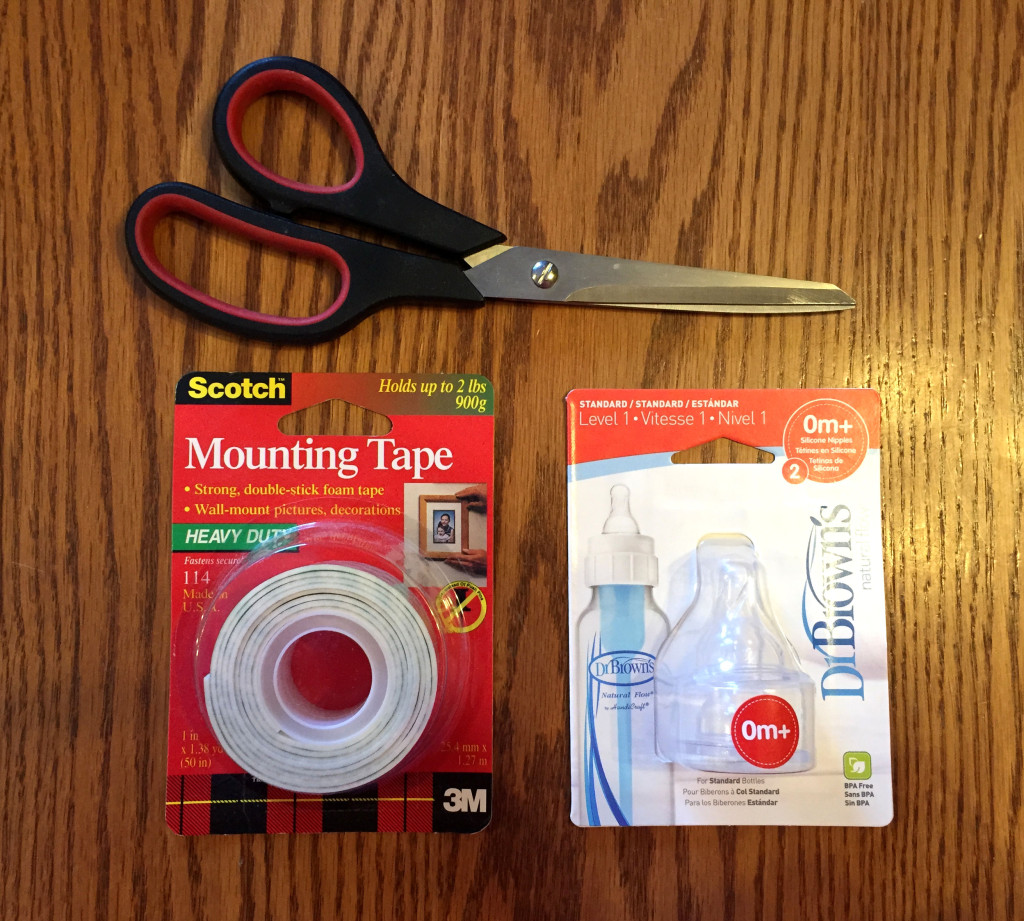
What you’ll need to convert your old bottle tips to new ones is simple: a pair of scissors, double-mount foam tape, and a silicone baby bottle nipple.
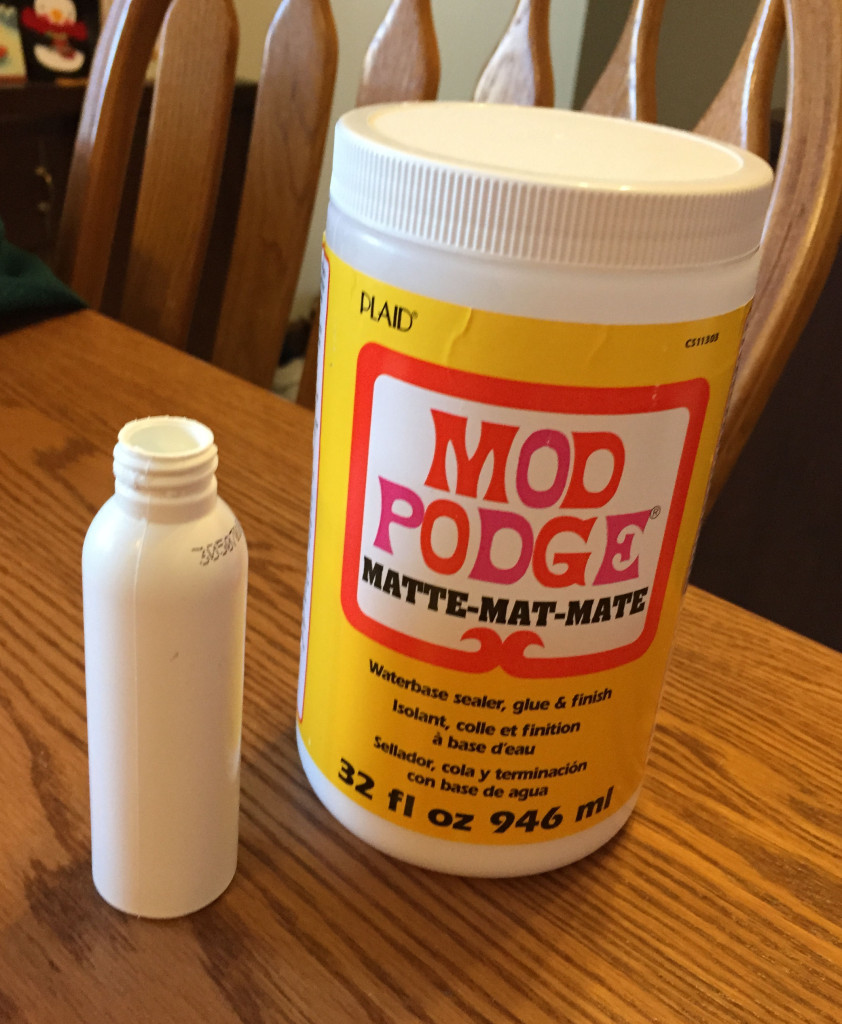
Remove the old bottle tip and lid, and toss it. I decided I wanted to have a fine-tipped 2-ounce bottle for my Mod Podge that I normally buy in 32-ounce jars. I washed out an old Scotch Quick-Drying Tacky Glue bottle with soap and water, removed the old tip and the brand label, and filled the bottle with Mod Podge. A word to the wise: don’t overfill your bottle. I did, and it wasn’t pretty!
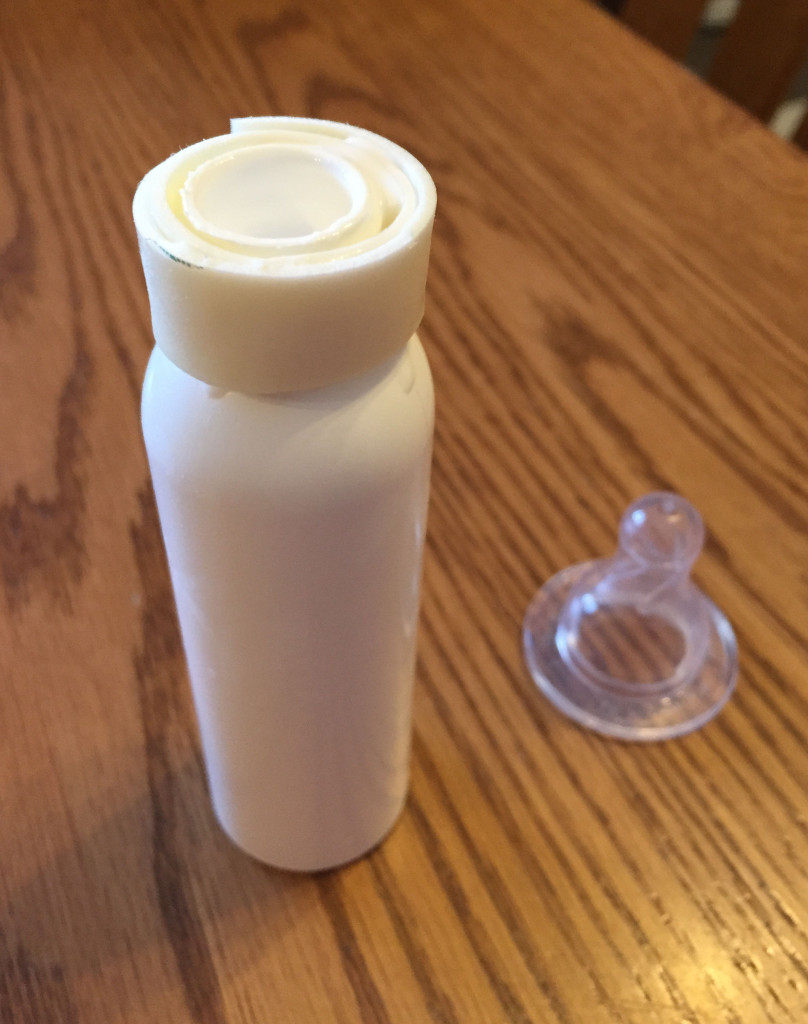
Next, you’ll need to prepare the double-mount foam tape. Cut it to such a length that it will wrap twice around the glue bottle’s screw threads. The foam tape should be trimmed, if necessary, to be as wide as the height of those screw threads. Leave the backing paper on as you begin to wrap the tape, and remove it just before the tape overlaps the first round. Then, press it firmly into place. The purpose of the mounting tape is to provide a more secure seal for the nipple.
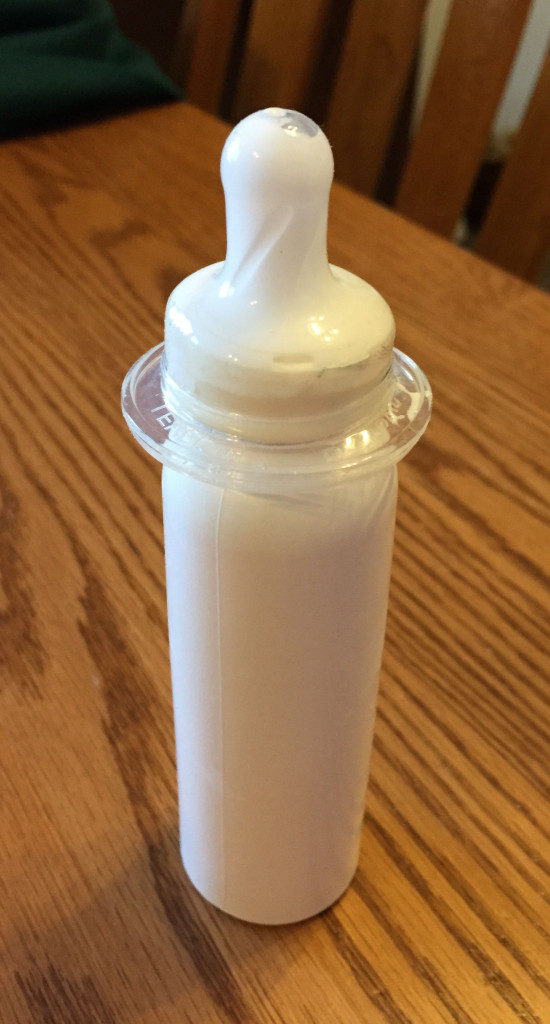
Carefully stretch the baby bottle nipple over the top of the bottle, making sure that you completely cover the foam tape. If you don’t, you won’t have a secure seal, and glue will leak out. How do I know? I made that mistake. That’s it! Your bottle is recapped with a much more functional tip that won’t clog.
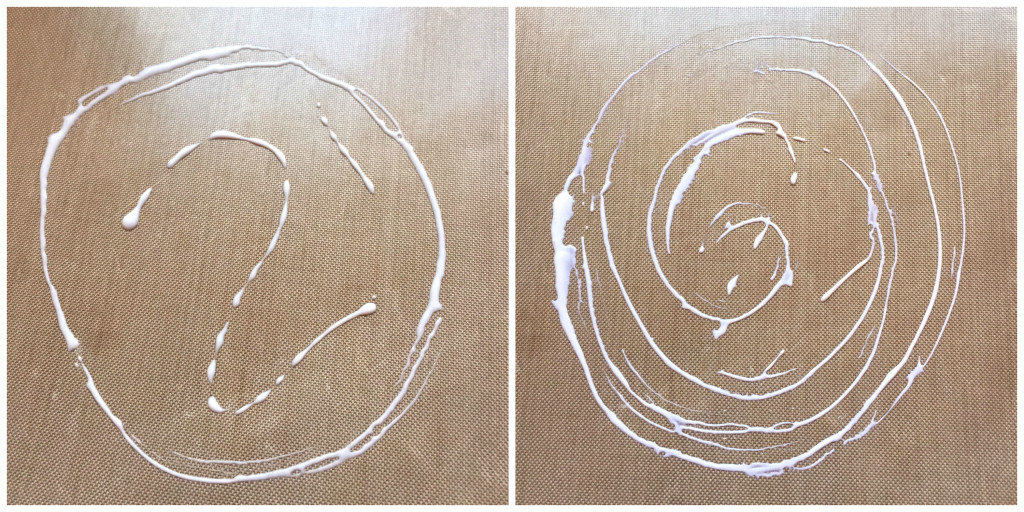
You’ll notice that for both types of glue, Mod Podge on the left and Scotch Quick-Drying Tacky Glue on the right, the glue stream is pretty fine.
I replaced two glue bottle tops today with nipples. Yeah, they look pretty funny, but this solution works. Thank you, Laura!
© 2015 Judy Nolan. All rights reserved.

Oh thank you Judy! I’m going to try this on my Fabri-tac. It is expensive and I am always losing at least half of the glue due to this problem.
So good to know! I hate wasting time unclogging glue bottles. I use a lot of Scotch Scrapbooker’s Glue, which clogs really easily, most likely due to the fact that it also dries very quickly. Thanks for sharing!
What a great “tip”!
What a handy tip! The Glossy Accents and Diamond Glazes always do this to me!
Interesting solution to a problem everyone has faced at one time or another. Too bad, though, that the glue manufacturers actually create these problems for us…. no doubt so there’s a built in replacement time, therefore amassing more $$ for them….
Now I know what to do all of those baby bottles I couldn’t out! Thanks for sharing these helpful hints!
Wow – great idea! I have lots of adhesives that I’m always trying to clear out with pins and stuff, which mostly just results in having ruined pens…
Strange yet useful! What a good idea 🙂
Sarah
I install letters in office building. I like the precision red tip on the Scotch Quick Drying Tacky Glue but I like “Beacon Gem-Tac” Permanent Glue. Most glues work by the moisture or solvent evaporating off. I use water base glues. When the bottle is full it’s easy to control the bead by squeezing the sides of the bottle. As the bottle empties I have to hold the bottle more vertical. When I quit squeezing the bottle air is sucked into the bottle through the nozzle, each time this reacts with a tiny bit of glue in the nozzle and eventually thickens the glue in the nozzle and clogs it. The air in the bottle also thickens the glue and a layer of thick glue is stuck to the inside of the bottle. With the red nozzle I take it off and push a paperclip through it from the inside out so I don’t release a bit of hard glue back into my bottle only to come back later like a stroke and clog the tip again at an inopportune time.
What I’ve done: Cleaned out a used 4 oz. bottle of Gem-Tac. Drilled a 1/16″ hole in the side of the bottle where my thumb would be to squeeze the bottle (could also melt a hole with a large hot paperclip). Found a balloon that I could slip into the bottle uninflated so as to fill up the interior as best I could. Then I wrapped the balloon around the threads of the bottle and filled the balloon with fresh Gem-Tac and inserted the red tip. I used the uncut tip that came with the Gem-Tac or the flat top cap that comes with Scotch Glue as a cover. As I squeeze the bottle I can control the amount of glue I dispense. When I release my thumb air fills the bottle back up but not through the nozzle, tainting the glue. I used the whole bottle without a clog and left the bottle in my truck for weeks at a time between using it. The bottle was near empty and had been setting for a month when I decided to pull the balloon out to see if it had been damaged. No damage to the balloon and what little glue that was in the balloon was still soft and useable. I will try this again as I’ve cleaned the red tip and have a couple dozen balloons left. I only have 2 tips so I’ll have to keep using them over and over. I looked for bottle liners but they are only made for baby bottles. If they made them for glue bottles I think they would be better than a balloon as they are thinner and they have a nice seal around the lip. But alas they don’t so balloons will have to do. The red tips are a pain to find also.