It has been a while since I have been sewing on a consistent basis . . . and what I sew today is very different from what I used to sew. Decades ago I sewed dresses and skirts for myself, and play clothes for our son. Today my projects are much smaller and tend to be functional home items such as potholders, aprons, organizers, and—as I announced in January—bags. But not a single bag has been sewn since the beginning of the year, I must admit. I have received two bag patterns through the online Bag of the Month Club, but beautiful as they are, I am a little intimidated by all the pages of the instructions: 25 pages for the Bye Bye Love Bag and 15 pages for the Butterfly Sling Purse.
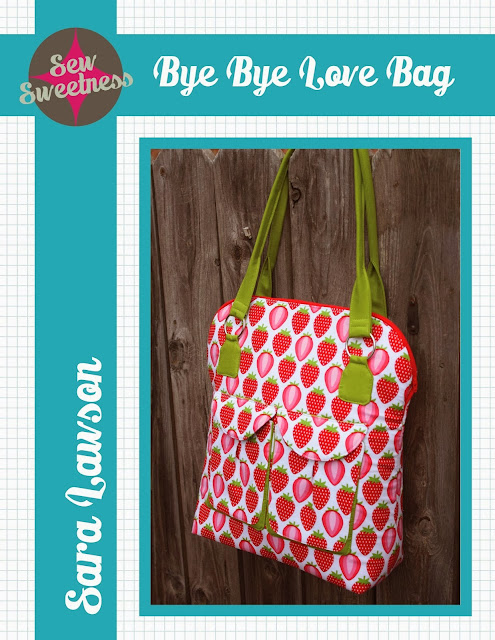

So, I have decided some warm-up bag projects may be in order before I run a full bag marathon.
Earlier this week, I attended a Purse Party held at Quilter’s Cupboard in Ankeny, Iowa. This is the second or third one to which I have gone. It is typically held in mid-February and is designed to introduce sewists to a wide range of bag patterns, bag sewing tools, and—this time—to different options for lining or adding structure to your bag. “We all know,” says Cindy Peters, owner of Quilter’s Cupboard, “that the outside of your bag is only as good as the inside of your bag.”
Below are some tips I’ve gathered from the collective Purse Parties I have attended:
1. When you sew with vinyl, either use a Teflon-coated presser foot, or adhere a little transparent tape to the bottom of the foot so that it will glide smoothly over the vinyl, instead of sticking to it.
2. If you like to add some hand embroidery to your bag projects, backing it with Shapeflex woven fusible interfacing adds body without weight.
3. If you are working with multiple fused layers of fabric and/or fusible yardage, let each layer cool down before adding more layers.
4. One way to mash seams is with pliers.
5. Use Scotchguard on bags to make them dirt-resistant.
6. Use spray starch after washing bags to give the fabric that crisp “just bought” feeling.
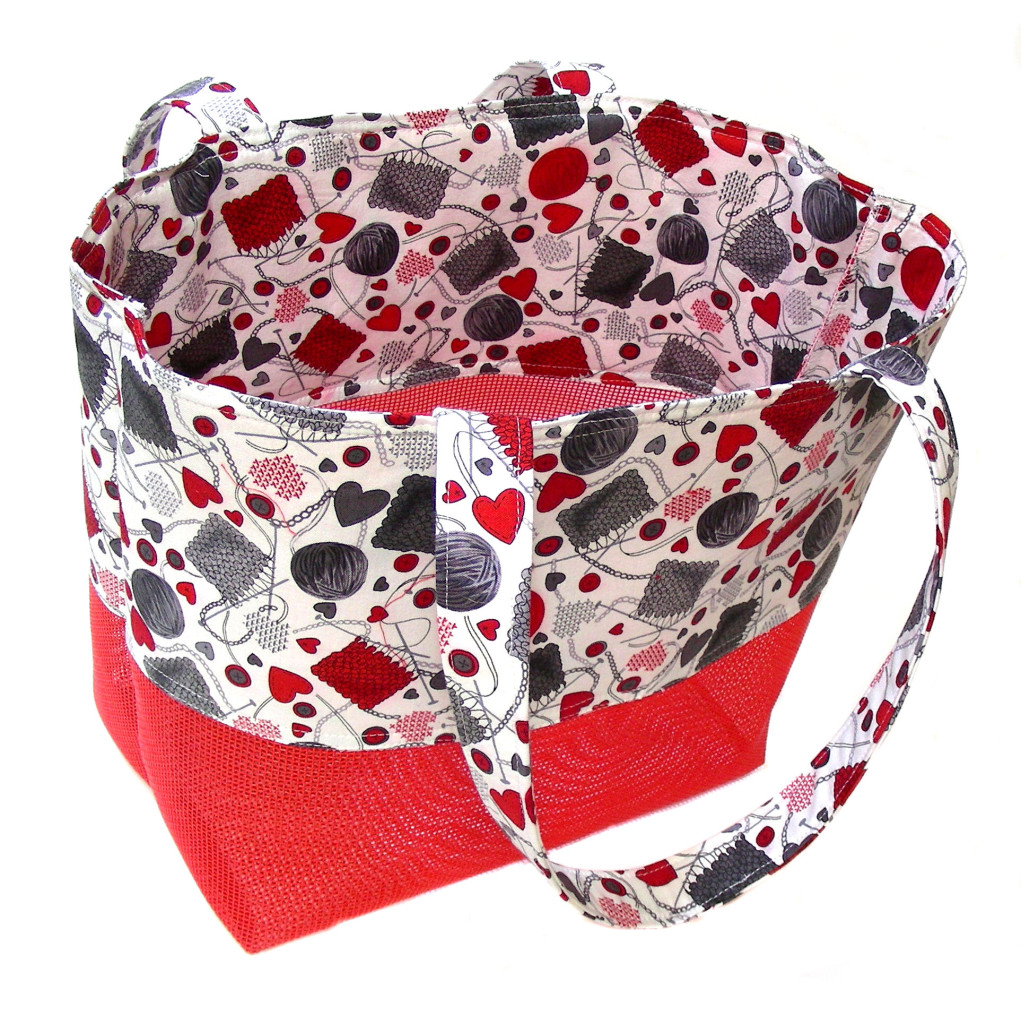
So, what is the first warm-up bag I decided to tackle? At the Purse Party held earlier this week, all of the attendees were given a free pattern using vinyl .pet mesh (also known as vinyl bag mesh). The owner of the business, in fact, told us she made dozens of these bags as Christmas gifts. “They work up really fast,” she said, “and they’re addictive.” I took Cindy at her word, and decided to make a yarn project bag for myself. This project, incidentally, satisfies all the requirements for the February Blogging Business Artisans challenge, spelled out by Sharla of Beaded Tail:
Love is celebrated this month so show us what you love! Whether it’s time with family, spring around the corner, food or furbabies, create something that shows us what you love!
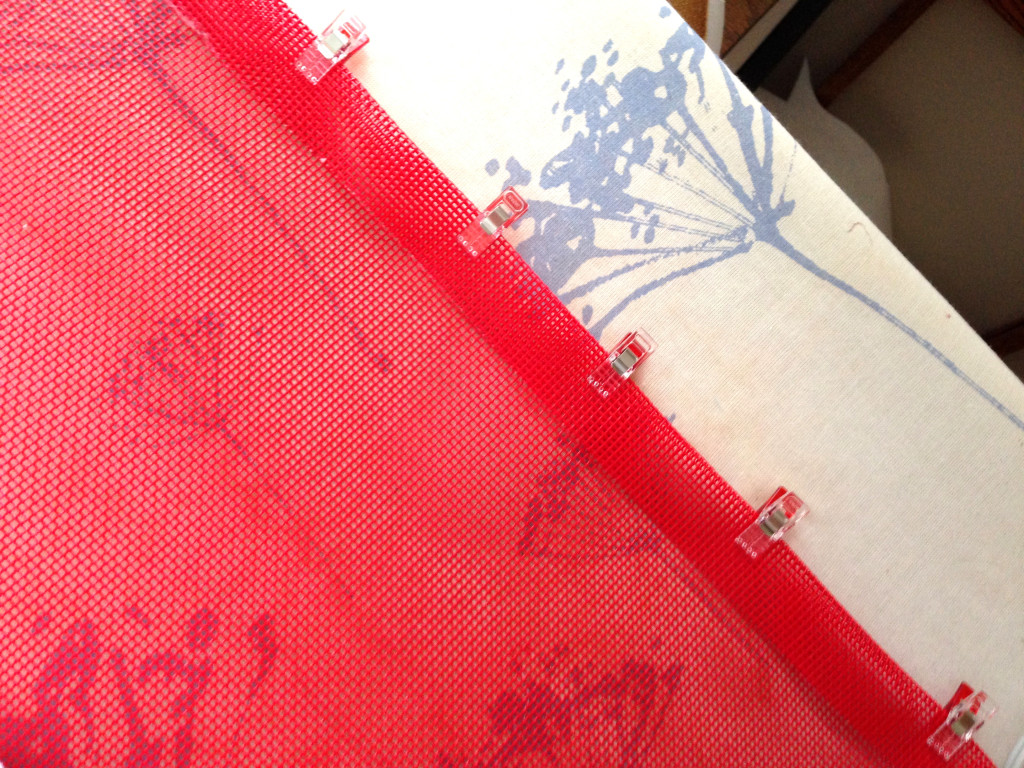
When you work with vinyl—whether it’s solid or the mesh variety—you can’t really use pins because they leave behind holes. I find Clover Wonder Clips to be indispensable. They are rather expensive at $6.95 for 10 of them, however, so binder clips from the office supply store will work equally well if you’re on a tight budget.
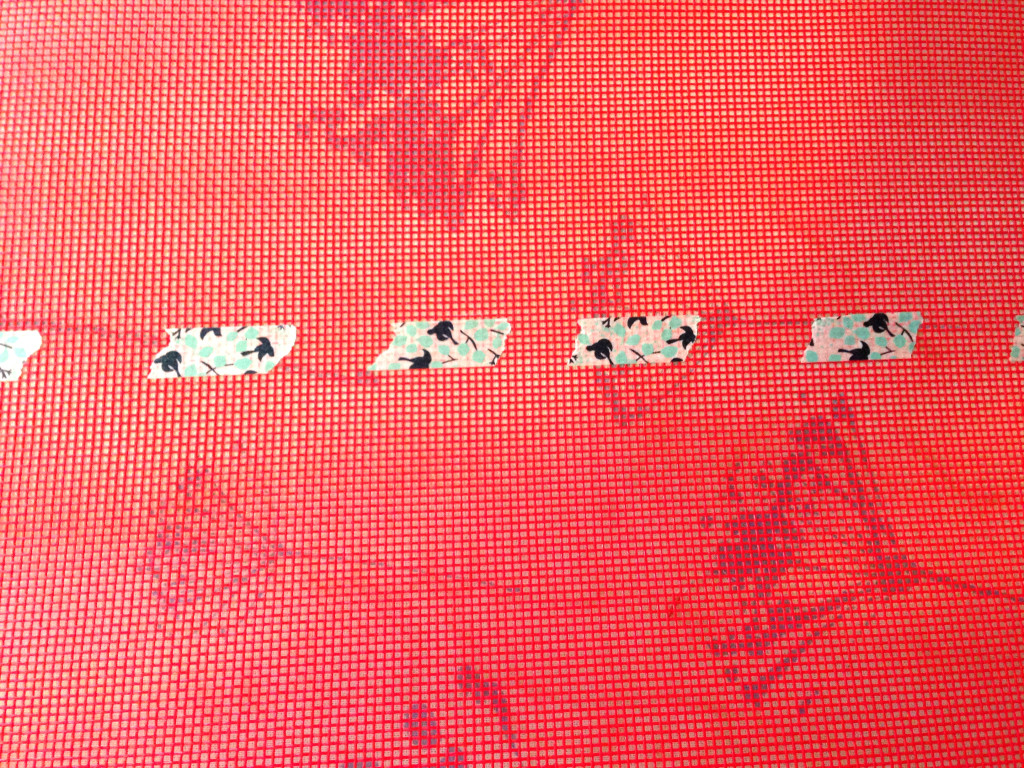
The pattern suggests you use chalk to draw a stitching line on the pet mesh, but I couldn’t find my chalk marker. Washi tape is a great substitute, however. Thankfully, I had a roll on hand, courtesy of Deb Baroff of Stroll Through Storyland, who was my Secret Santa this past December. Thank you, Deb!
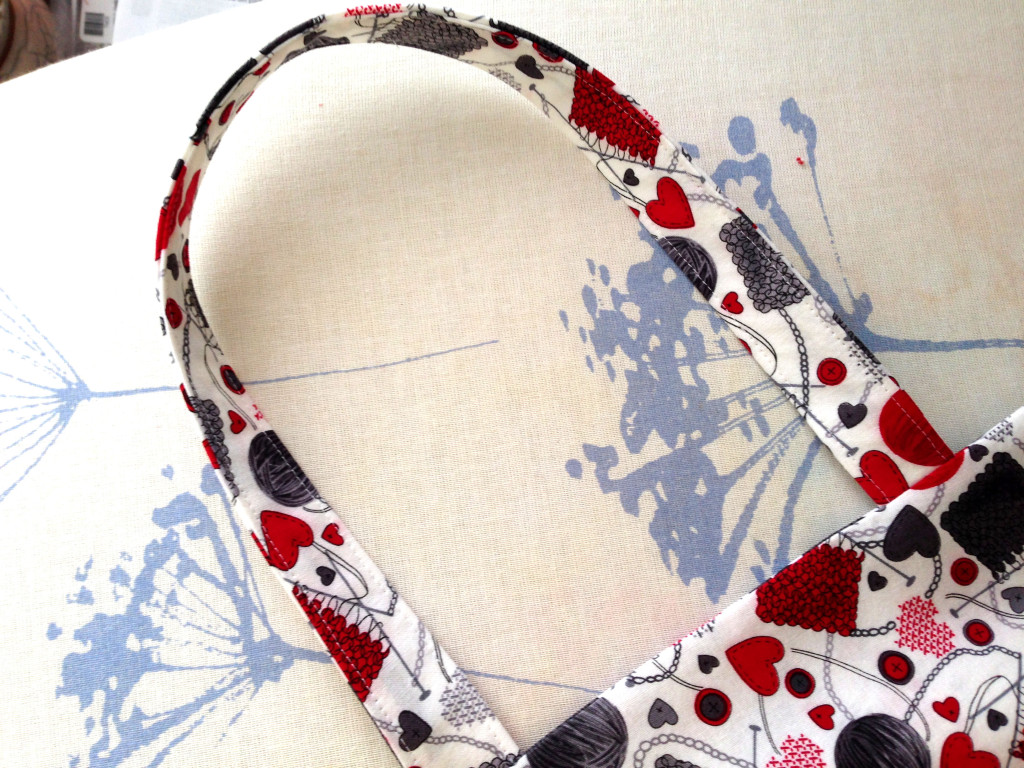
The straps on the bag were made using the Lazy Girl Wrap & Fold method. Basically, you wrap a strip of stabilizer (Stiff Stuff, in my case), or interfacing, “like a hot dog in a crescent roll,” according to Joan Hawley of Lazy Girl Designs. This is a quick and easy alternative to sewing a tube of fabric, turning it inside out, and threading stabilizer through it. As Joan says, “Ewwww. And we can do better.”
Because I worked on this bag between other tasks—answering e-mails, doing laundry, finishing some handmade books, and more—I suspect it took me longer to finish it than if I had sewn it without interruption. However, I would guess it took only a few hours to complete. Cindy told her Purse Party participants that you can also use favorite-but-outgrown or worn out T-shirts for the front of your bag if you back the knit fabric with stabilizer. If I try this, I will share it with you in a future post. For now, this is my finished yarn project bag. The fabric, “Knitty Kitty,” was designed by Greta Lynn for Kanvas Studio in association with Benartex. If you use it, be aware that the red is not color-fast; I tend to pre-wash my fabrics in cold water and then tumble dry them on low heat. The red in this fabric bled a little—not critical for a bag like this that will probably not be laundered or, if it is, will be hand-washed and air-dried.
 Next on the agenda is a small zipper pouch to hold T-pins used for seaming when I crochet. I am confident that if I take on a few smaller projects before attempting the official Bag of the Month patterns, I will handle the sewing more confidently. Kristin Link of Sew Mama Sew suggests that if you take the time to enjoy the ritual of sewing, you’ll get more out of it. “There is a zen proverb that goes, ‘when walking, walk,'” she says in her post, Joyful Sewing: 12 Tips for Enjoying a Stress-free Hobby. That’s my goal, so I’m going to walk through a few simpler bag projects before running with more complicated ones.
© 2014 Judy Nolan. All rights reserved.



I love your new bag!! You’ll enjoy the Emmaline bag patterns — those extra pages offer clear, fool-proof instructions, once you build your confidence.
Bag of the month club? I’d better not tell my mom! I’ve never really made many bags, but I’ve used Scotguard on the few I’ve done. I’ve never been brave enough to try much of anything complex, though.