In the last couple of weeks I have been organizing my paper crafting tools, moving them from plastic shoe boxes to three-ring binders to make them more visible and accessible. In previous posts I discussed how I used a variety of vinyl sleeves to store acrylic and rubber cling stamps, as well as cutting dies. These sleeves can be purchased at office supply stores.
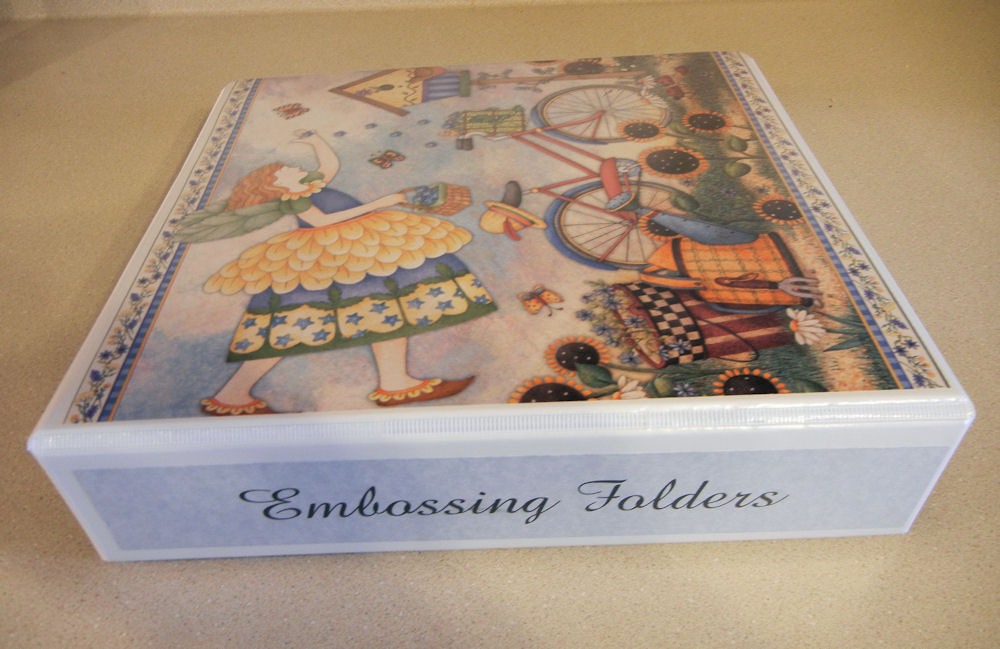
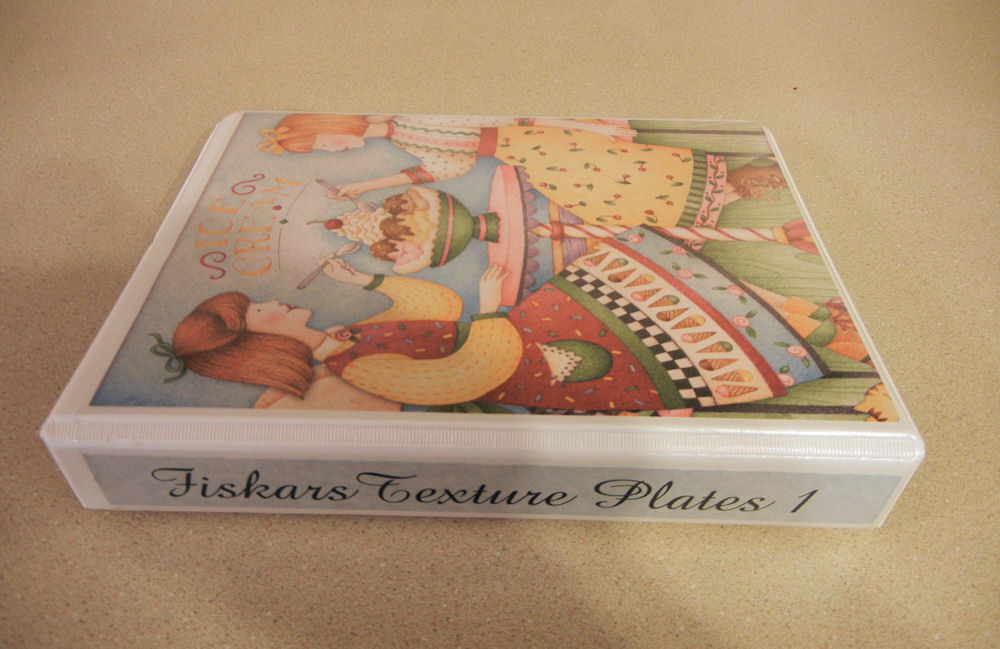
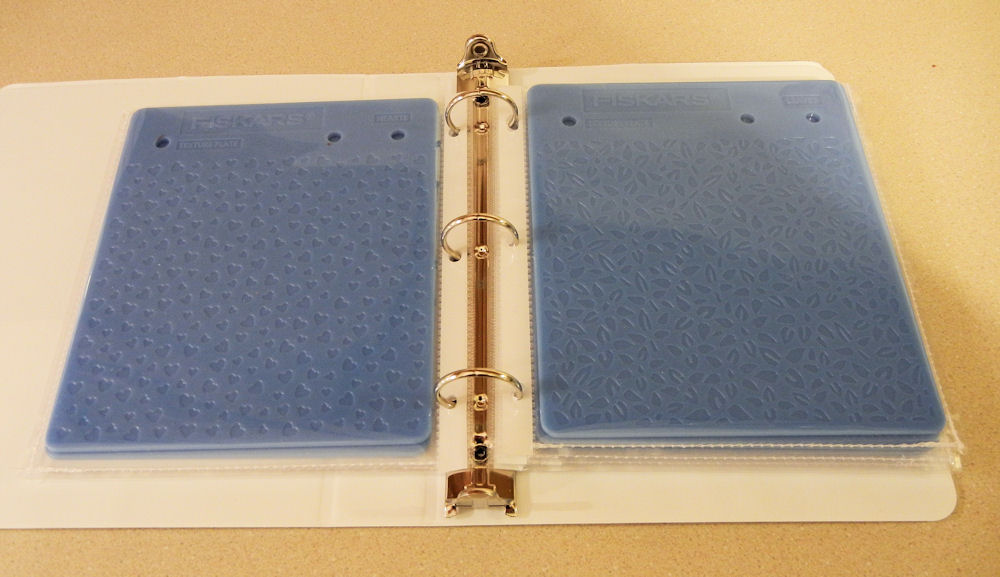
This last week I transferred all of my embossing folders and Fiskars Texture Plates into binders. I used a standard-sized three ring binder for Cuttlebug™, Lifestyle Crafts™ (formerly QuicKutz) and Sizzix® embossing folders, and a smaller 7-1/2 inch x 9 inch binder for Fiskars Texture Plates.
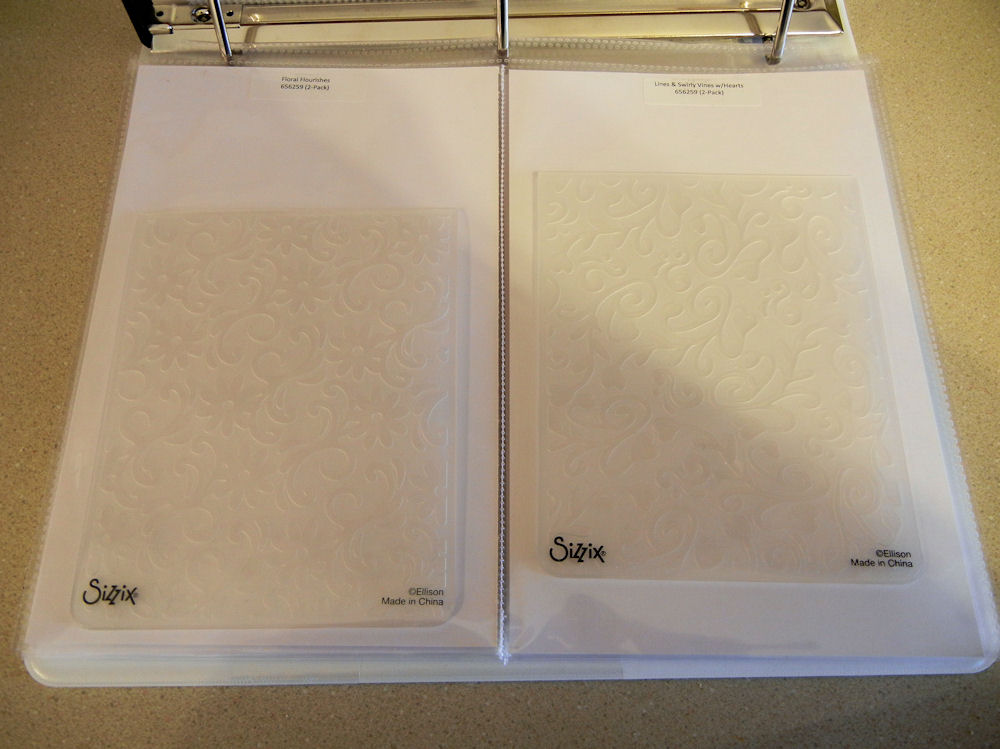
Because I already had an unused box of vinyl sheet protectors, I decided to use them for the embossing folders. However, they had to be subdivided into 2 sections to hold two embossing folders, side by side. Ahead of time, I sliced a sheet of 8-1/2 inch x 11 inch card stock in half, cutting it 1/16th of an inch shy of a half-sheet. Then I inserted it into the sheet protector, and used the edge of the card stock as my sewing guide. In almost no time at all, I had a thick stack of pages ready to insert in my binder. Instead of labeling the embossing folders, I stuck labels to half-sheets of card stock. Why? Sometimes I apply paint or embossing powder to the plastic embossing folders. You don’t want to adhere paper labels to something that will get washed later.
Some of my embossing folders come in varied sizes, particular when I have bought them as a set. I had to sew customized pockets for them, which was surprisingly easy to do. I took a sheet of thin chipboard (the kind you find in a package of sheet protectors—no big surprise there!) and slid it inside the sheet protector. Then I used a metal ruler as a cutting guide, and sliced through the vinyl with a Sliceâ„¢ ceramic cutting blade. You can use any blade that is handy, to be honest, but use a light touch. You don’t want to cut through your chipboard to the back side of the sheet protector! Then I sewed the open sides of the pockets. The sheet protector shown below has four pockets.
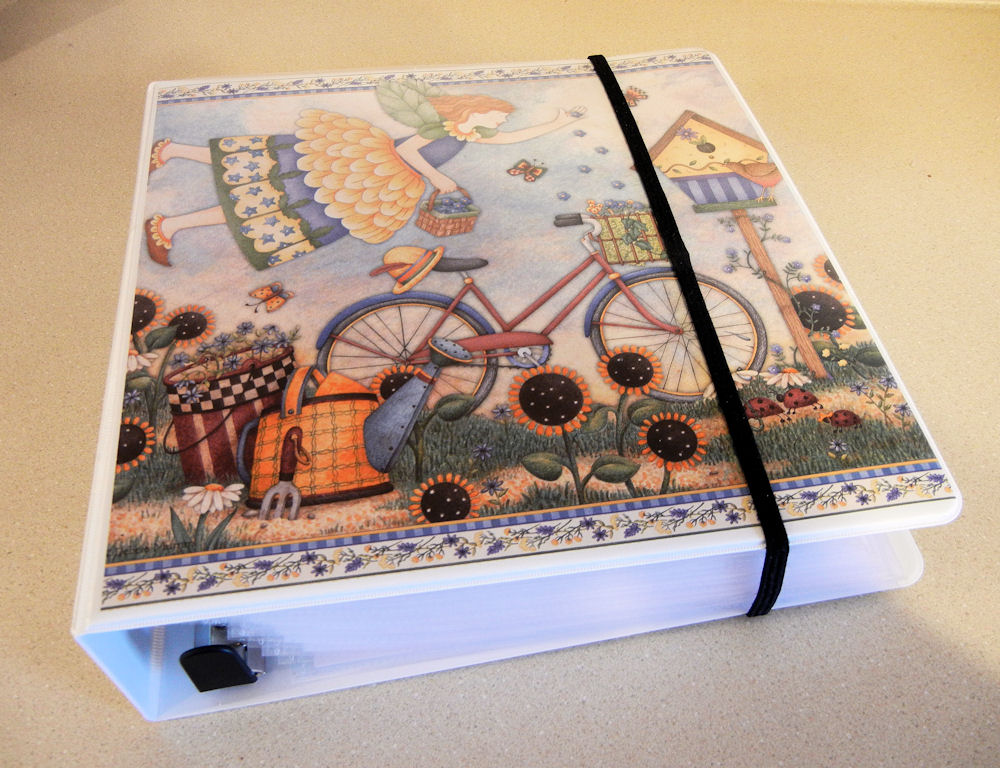
I discovered that the lightweight pages in the binder have a tendency to droop, and was afraid this would result in torn pages where the binder rings went through the pages. To remedy this difficulty, I just wrapped an elastic hair band around the binder. This worked nicely.
My next challenge was customizing the sheet protectors to fit 5-3/4 inch x 7 inch Fiskars Texture Plates. This took more work. Initially I sliced off 1-7/8 inches from both the top and bottom of a sheet protector, and 2-7/8 inches from the right side. Then I took what was left and tried to stitch the bottom and right edges to form a pocket. This didn’t work because the two layers of vinyl were too slippery. You can’t pin vinyl, and I didn’t want to take the time to stabilize the two layers by “pinning” them with paper clips. Instead, I sliced off part of the bottom, then stitched it closed right away. Then I sliced off the right side of the page, and stitched it closed, too. Doing it in stages seemed to keep the vinyl from slipping. You’ll notice that I used a permanent marker to dot where holes need to be punched to fit the page inside the binder.
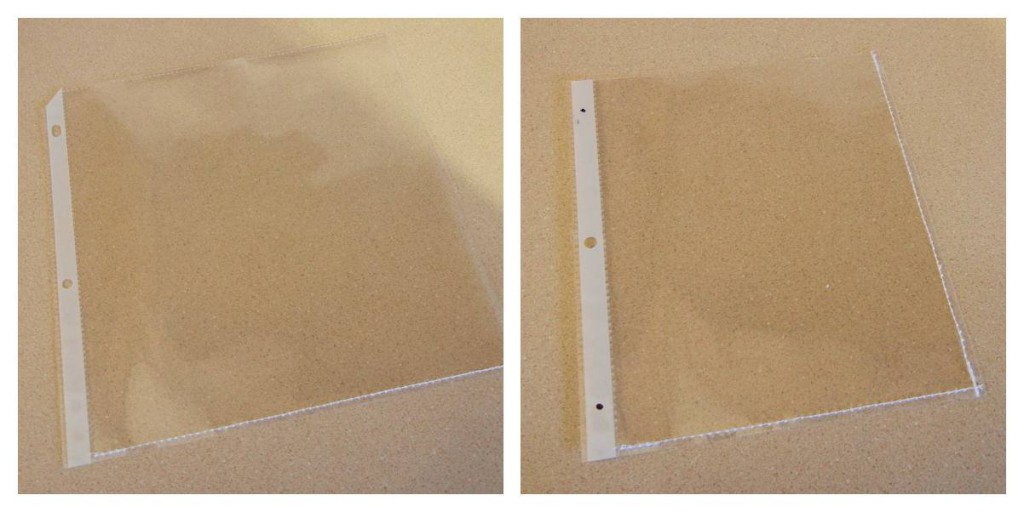
Right photo: Trim right edge of sheet protector and stitch it.
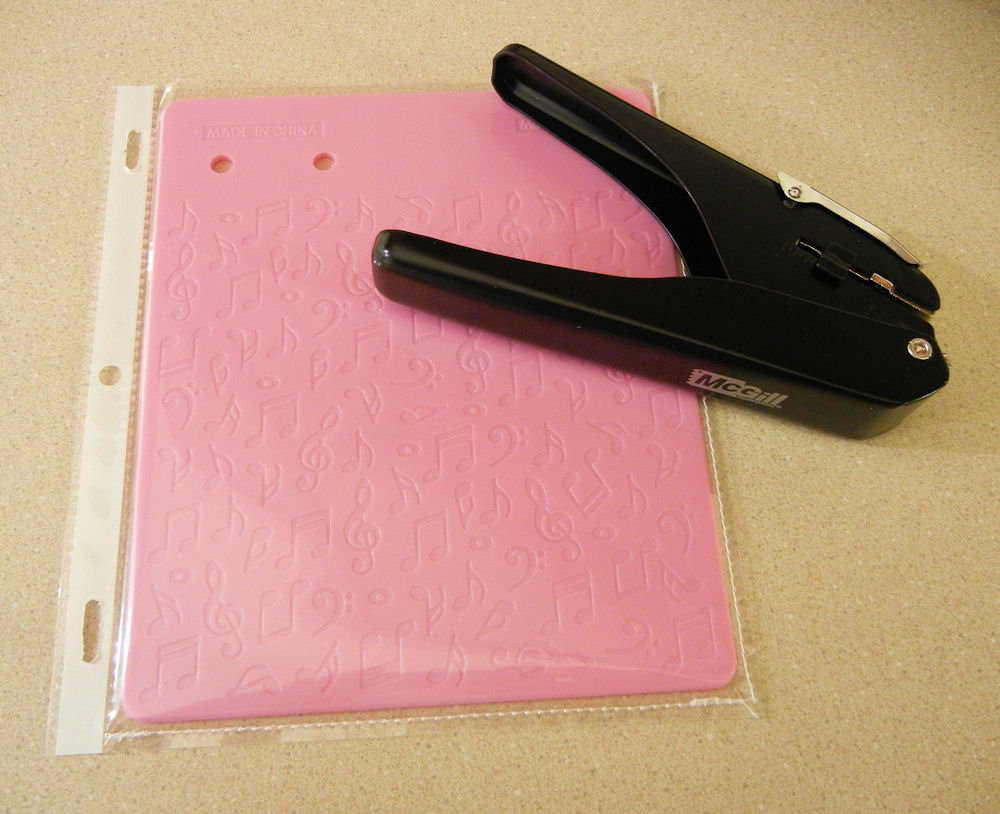
The finished pocket holds a Fiskars Texture Plate snugly. I hole-punched the left side of the page to fit inside the binder.
As I was punching holes in the customized pockets, I learned that if I was even slightly off in my measurements, the page didn’t line up with the binder rings. My choices were to be more careful, or use a more accommodating punch. I used my McGill Badge/Slot Punch, and that worked much better.
I know it sounds like a lot of work to customize vinyl sheet protectors for your embossing folders and texture plates, but I got the job done in one evening—not too bad!
© 2013 Judy Nolan. All rights reserved.



These customized pages are so handy! I love the one with four pockets…great work!
I used to have a system called a ScrapRack and it had pockets similar to these in all different sizes. I noticed that if you filled them too full that they drooped as well…something I didn’t like about the system. Your hair band is a great idea to fix that!
Once again you have a fantastic storage idea! The other day, I was looking around my apartment and thinking that crafters shouldn’t be allowed to live alone. With no one else to hold me responsible, my things sometimes get a little out of hand! I’ll need to get better about organization, though, once my guy gets back!