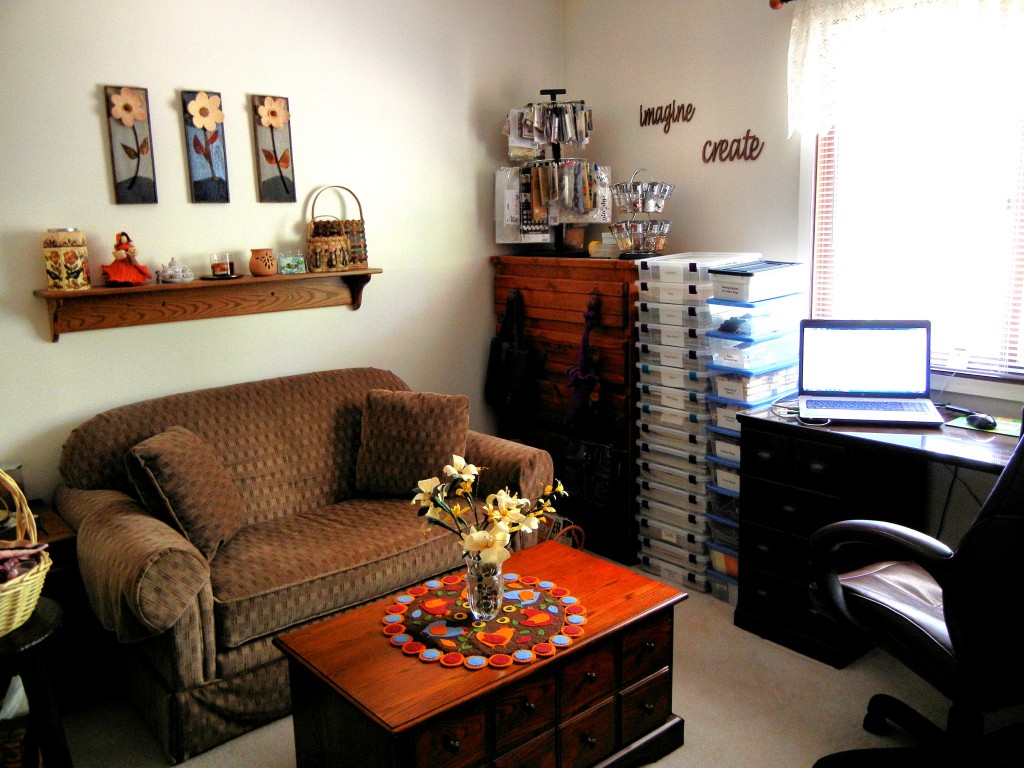
In my previous post I mentioned that the delivery of a new desk prompted a massive clean-up effort in my paper crafting studio. If you’re like me, you’re using part of your home as your studio space, chuckling a bit as you use the word “studio.” Some of you may have your tools and supplies spread throughout the house simply because there is not dedicated space available for your craft. Because our son moved to the Chicago area after he graduated from college, I am fortunate to have a spare bedroom I can use. It’s not an overly large room at 10 x 13 feet, but it’s adequate for my needs and can still double, in a pinch, as a guest room. And I recognize that it’s still more space than some people have.
When your crafting space is located in your home, it usually needs to be multi-functional. Most of us don’t have the luxury of building a room onto our house (nice to dream about it, though!). Consciously or unconsciously, we all generate a few rules that our work space has to follow in order for it to fit into our everyday lives. Here are my own guidelines, which I hope you’ll find helpful as you design or re-organize your crafting area.
Decide what furniture you will keep
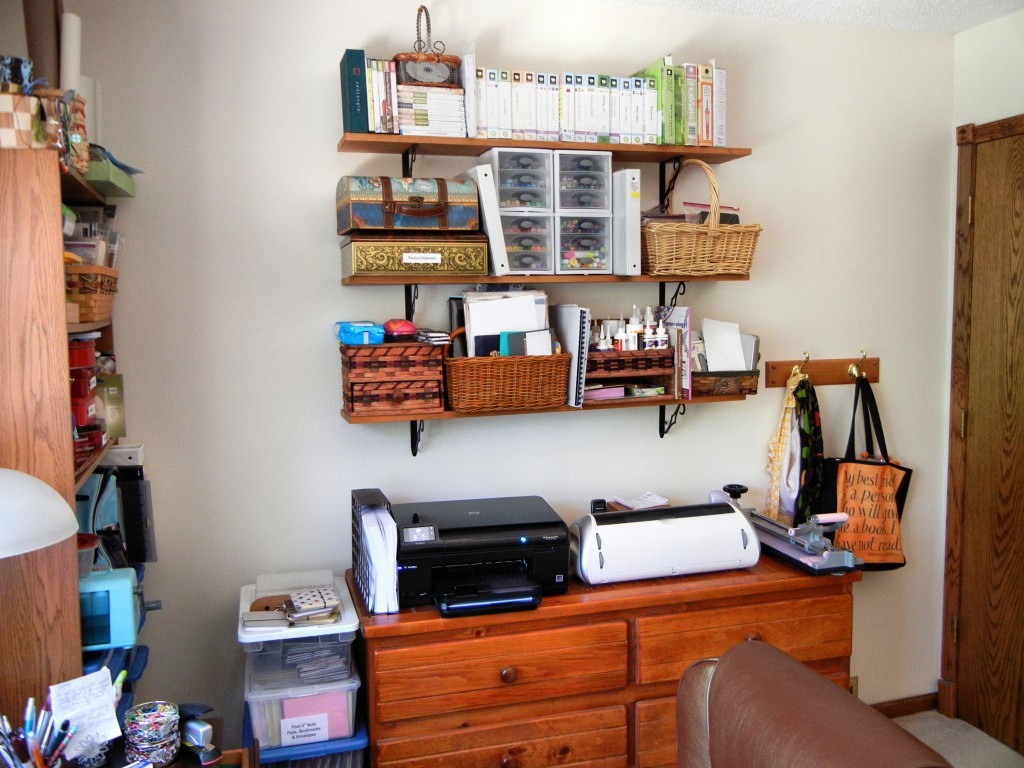
While I admire vertical storage systems with neatly organized cubes, shelves and wire baskets, there is something to be said about re-using what you already have. In my case, that means drawers. I retained two dressers from my son’s old bedroom set, as well as a nightstand. The tall dresser in the corner holds folded fabrics in half-yard increments, while the wide dresser contains binding tools and supplies, specialty papers, and partially completed projects.
The nightstand next to the sleeper sofa serves as an end table and keeps my digital cameras and supplies in one place. One drawer is empty in case I have an overnight guest.
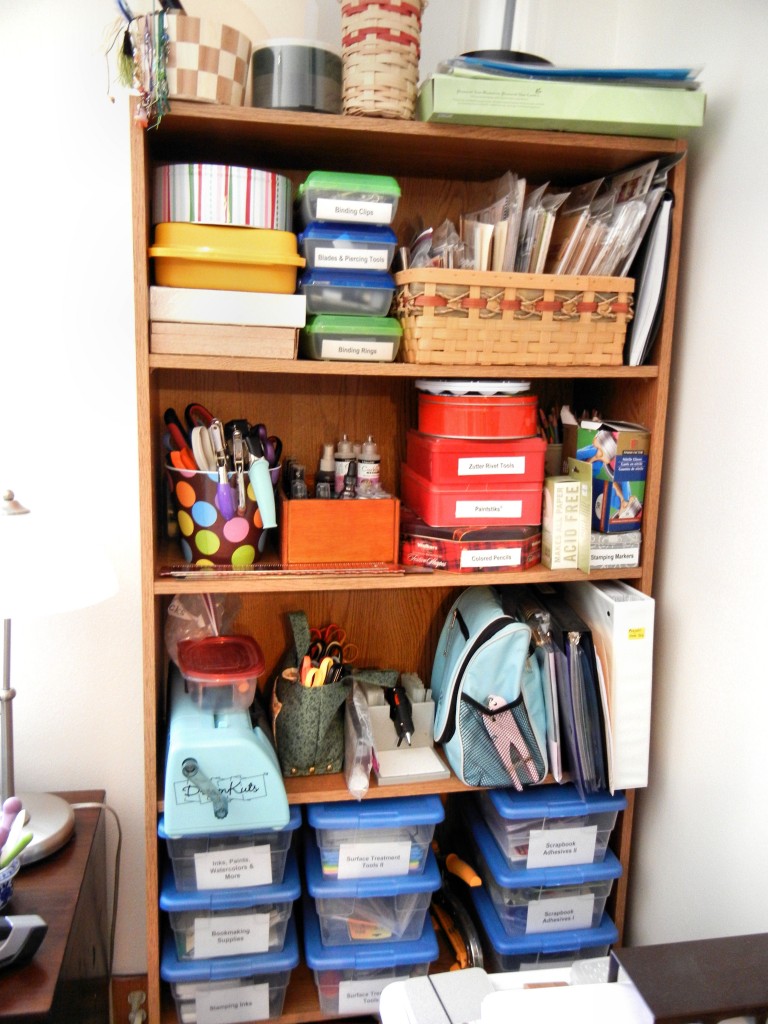
I kept my son’s old bookcase not for books and magazines, but instead for boxes, baskets, tins and tools. My craft book collection is too large for this bookcase, so the books are located elsewhere in the house.
Make sure new items are multi-functional
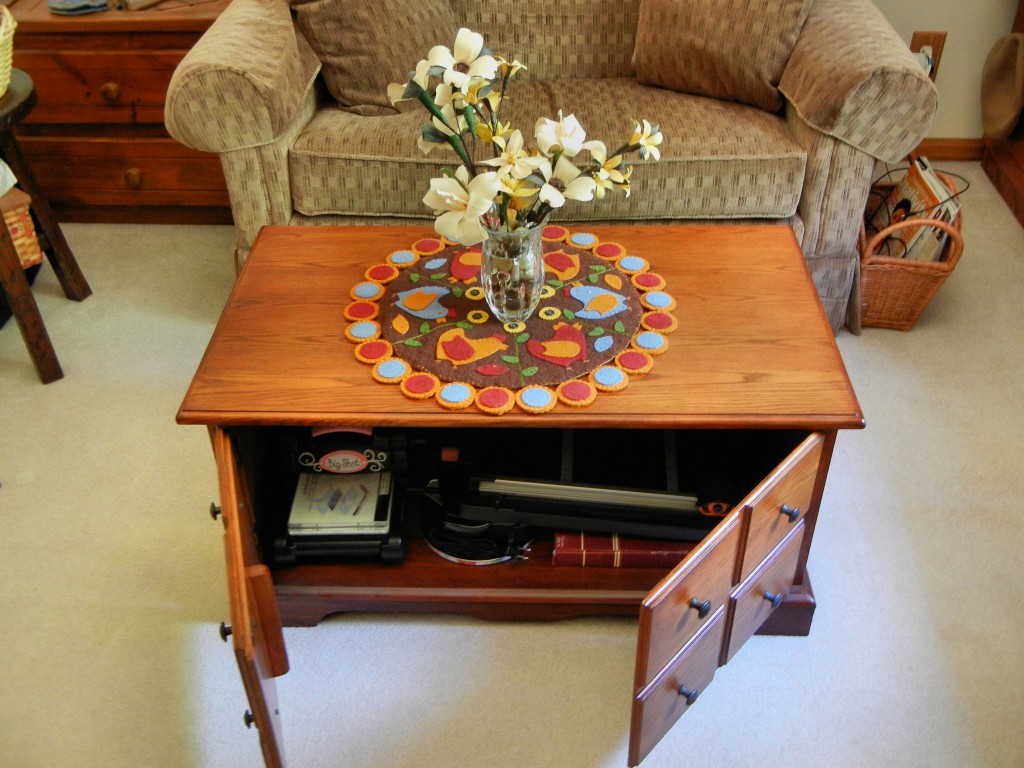
Paper crafting requires a lot of horizontal space. If I don’t want to take every project to the kitchen table (admittedly, some of them still end up there), I have to make the most of what I have. In addition to my desk surface, I use a coffee table that serves as both work and storage space. The doors open up, allowing me to store awkward-sized tools inside it, such as my Big Shotâ„¢ die cutting machine, a tempered glass mat, a full-sized Fiskars paper cutter, and a Ranger melting pot.
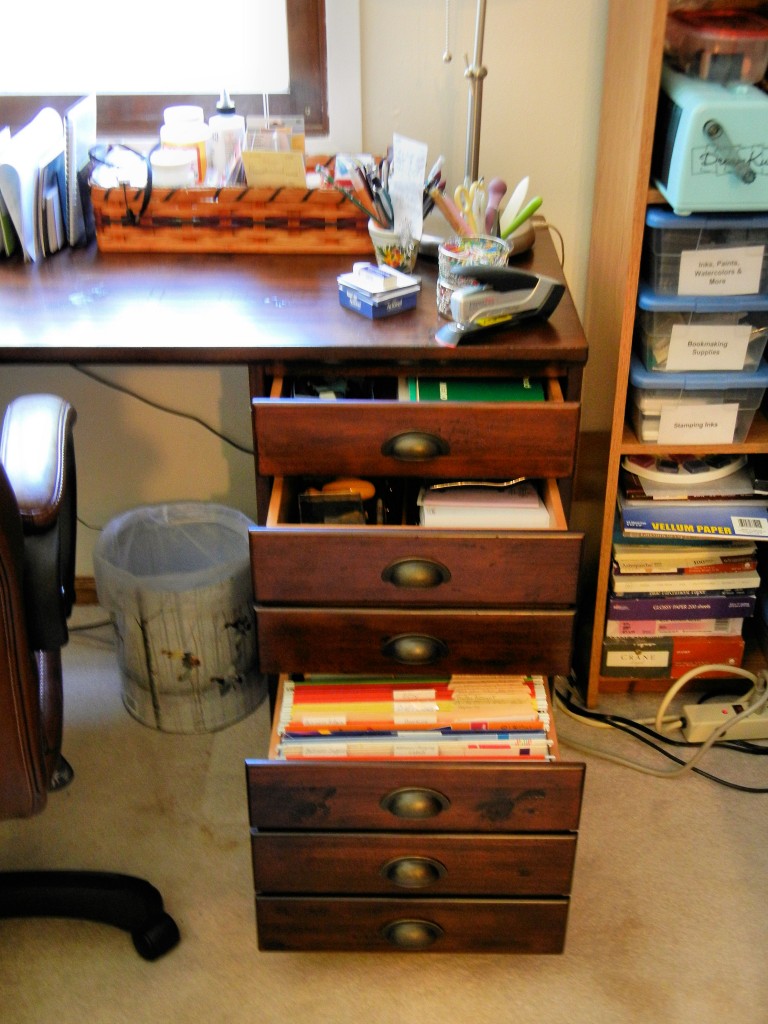
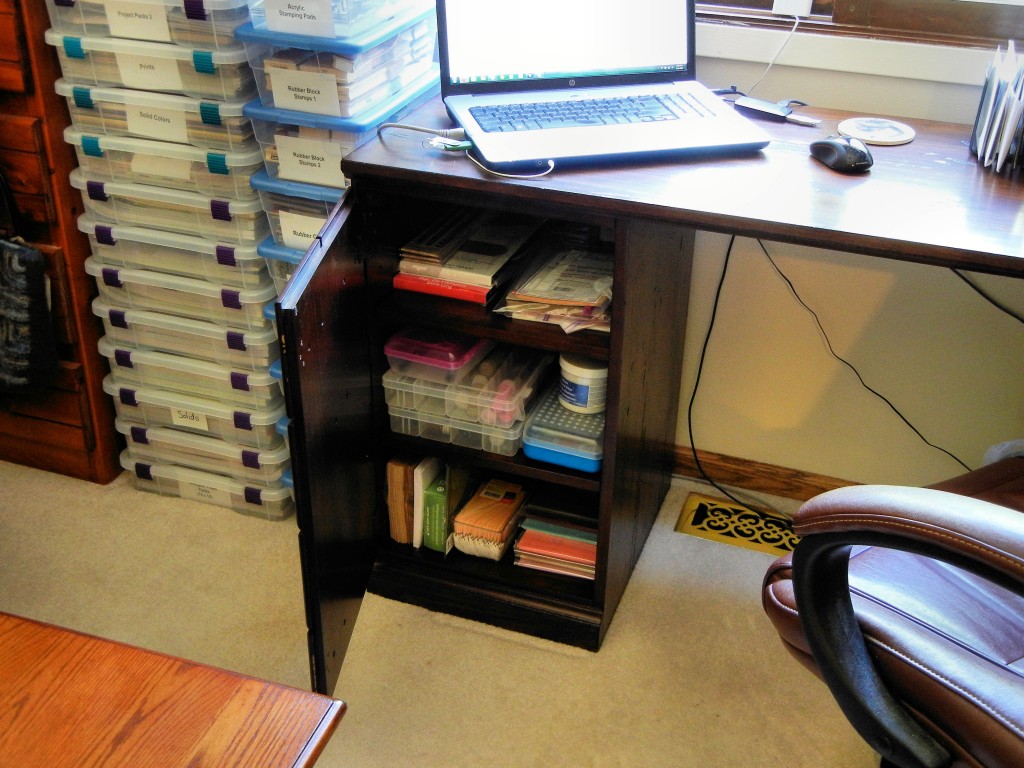
My new desk purchase was prompted by a need for more practical storage space. It is a pedestal-style desk, with the pedestals being interchangeable. The left side features 3 shelves, while the right side has 3 drawers, one of which is for files.
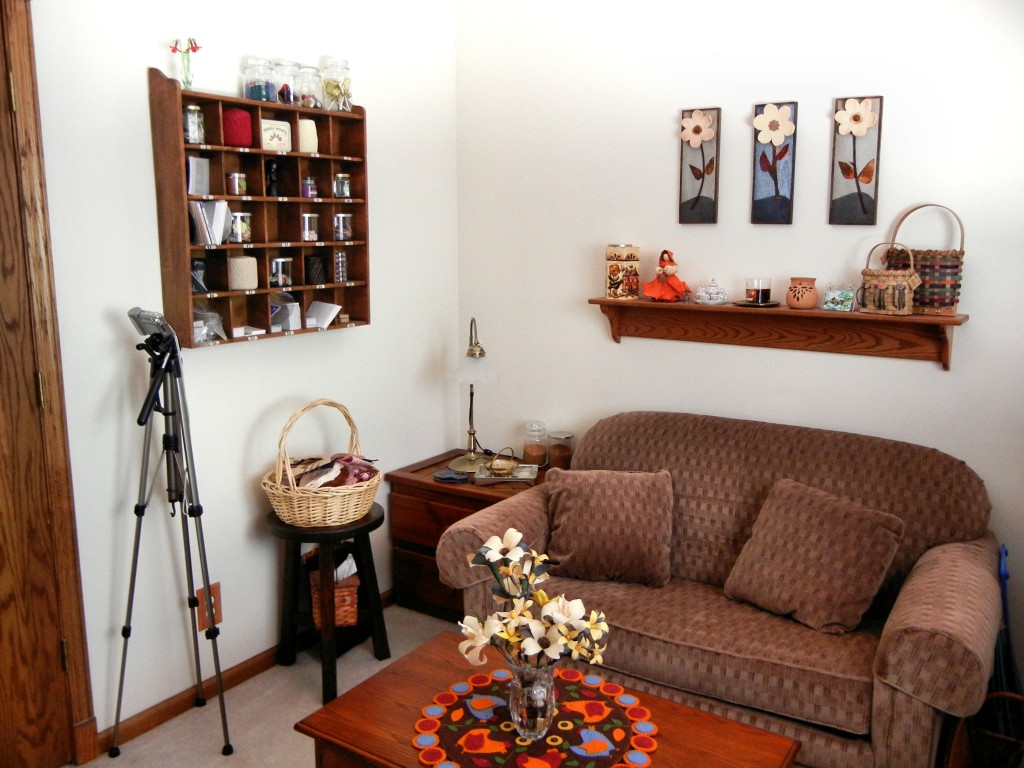
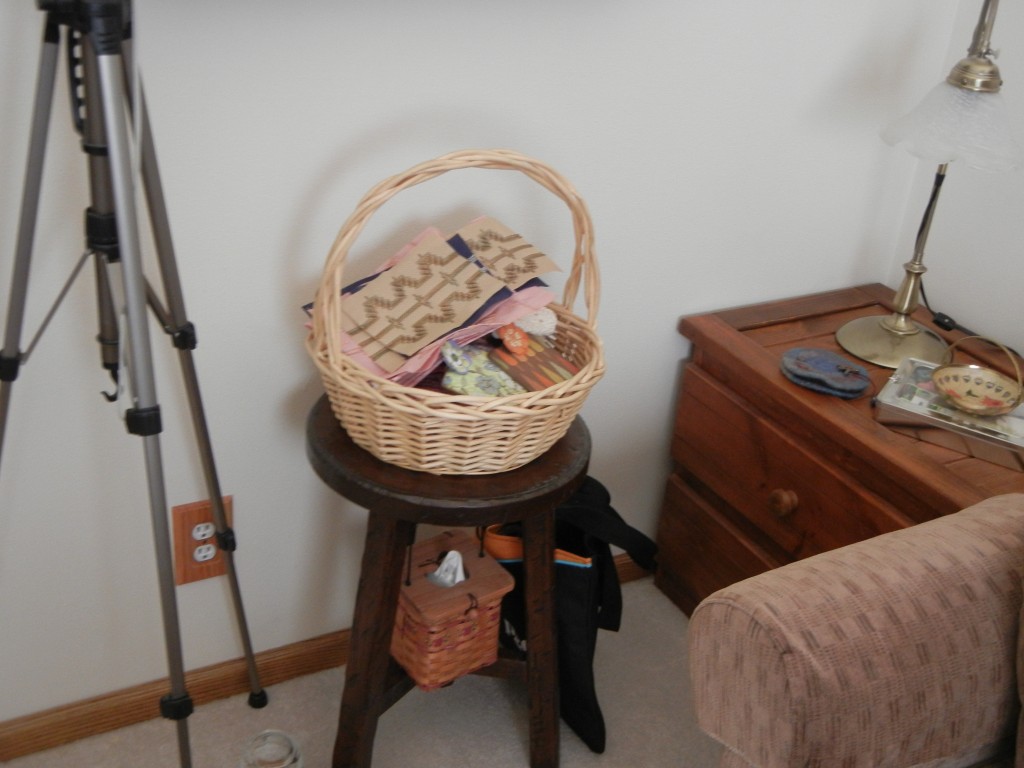
The stool standing against the wall holds a basket with items that either need to be photographed or require hand sewing. Obviously, the sleeper sofa is a good place to get that work done! The stool is also great when I have a guest who needs to sit beside me in front of my laptop, since there is not a large amount of floor space for a second swivel chair.
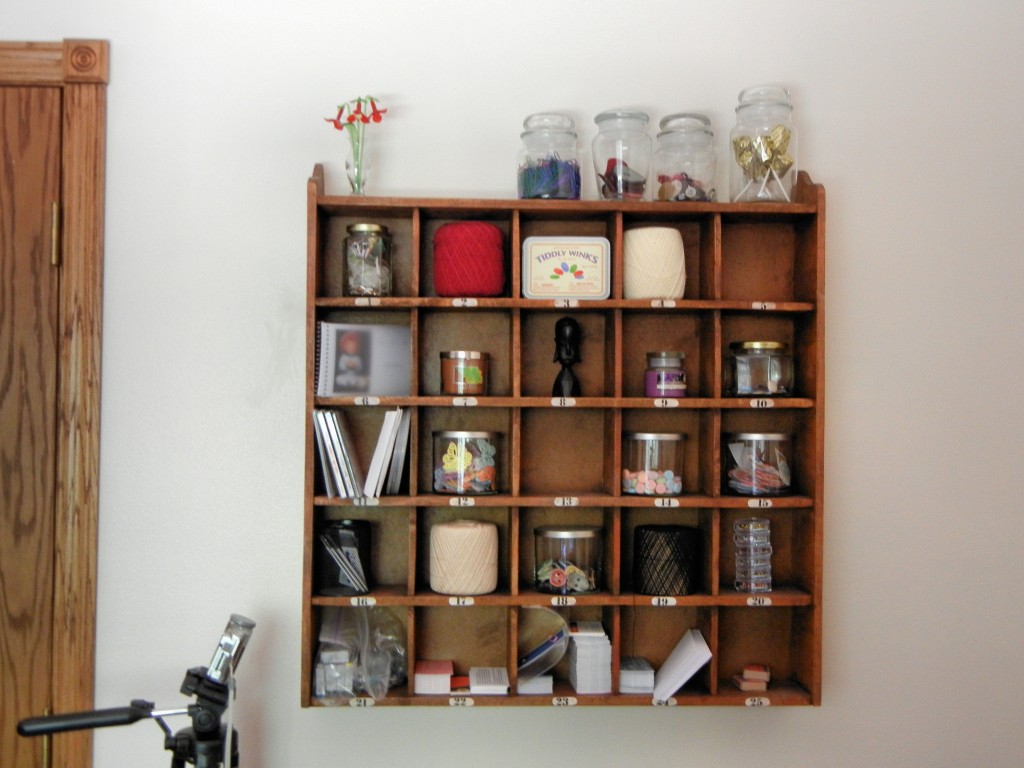
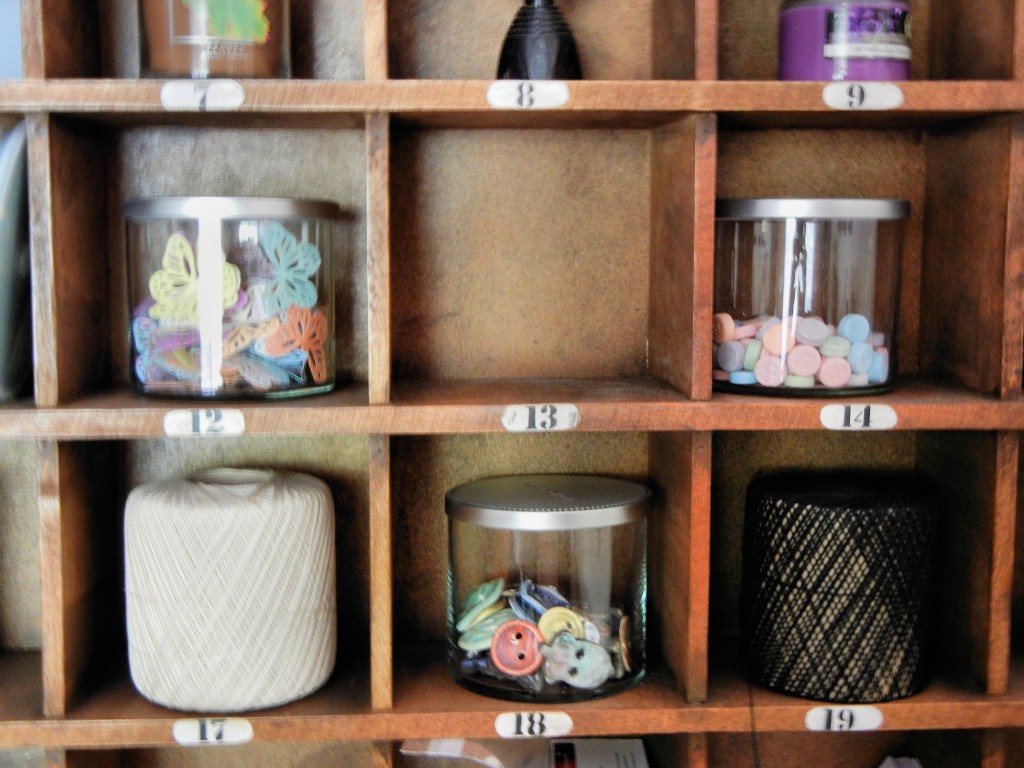
I have a lot of odds-and-ends in my room that are difficult to put away—jars of buttons, plastic tins filled with metal eyelets, stacks of business cards for the items I sell, and of course some knick knacks. I found this cubby organizer for my wall, and it’s perfect for items that would normally clutter my horizontal space.
Re-cycle common items in uncommon ways
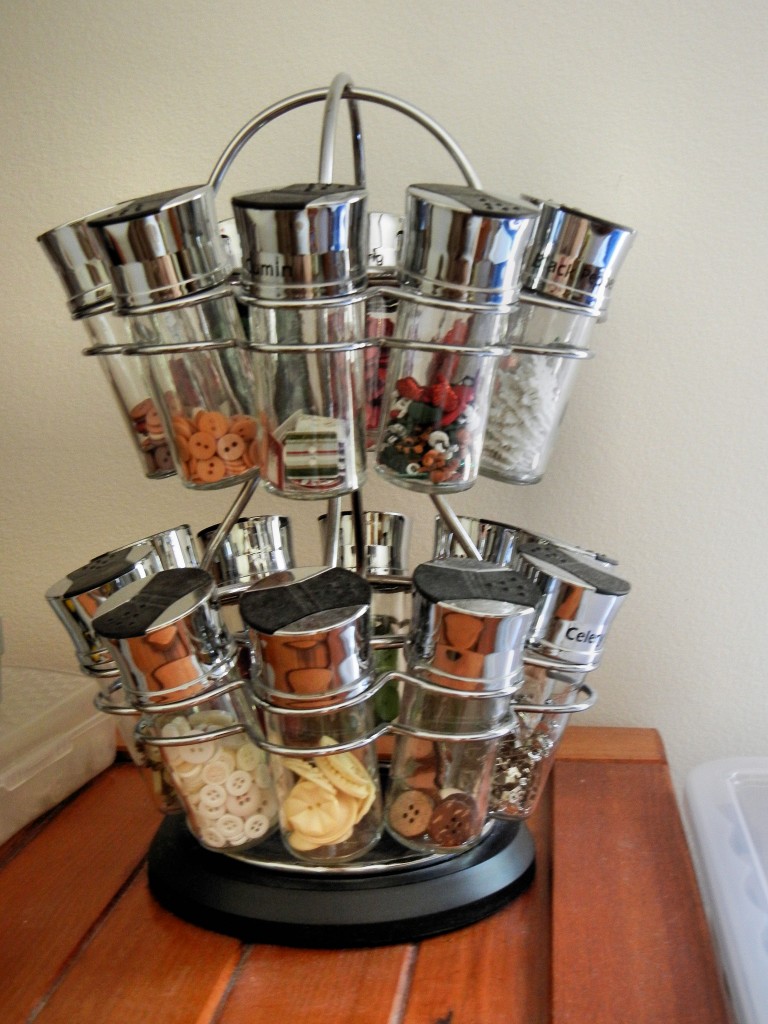
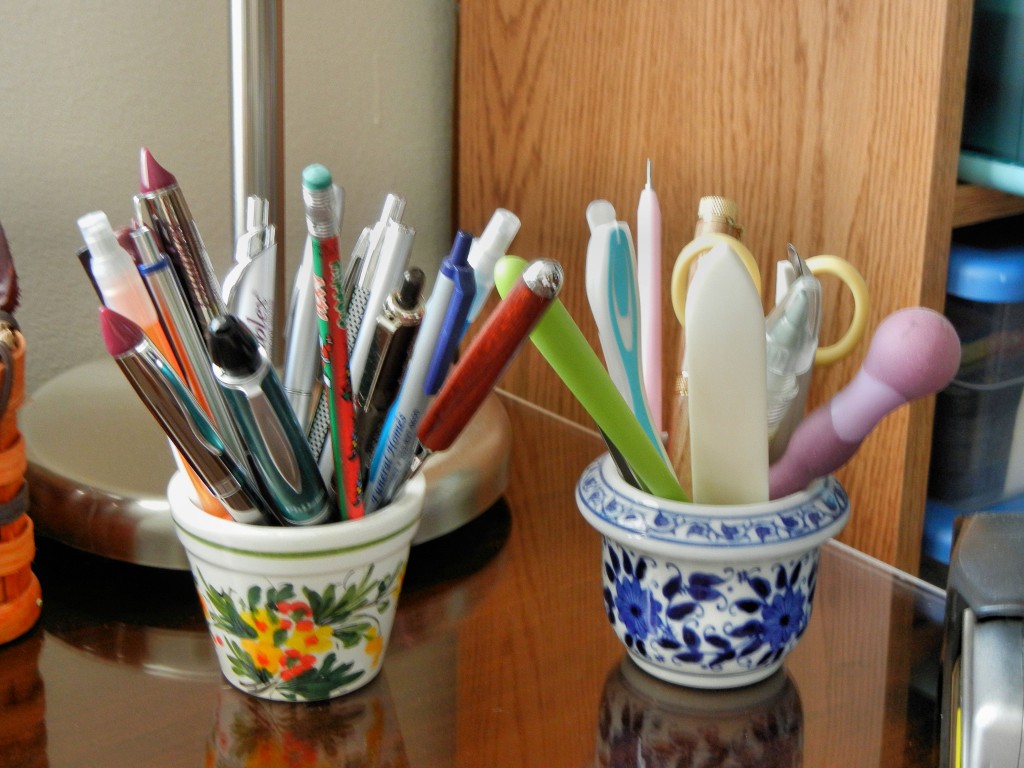
I use a spice rack for buttons, and some of my mother’s mini flower pots for pens, pencils and paper crafting tools.
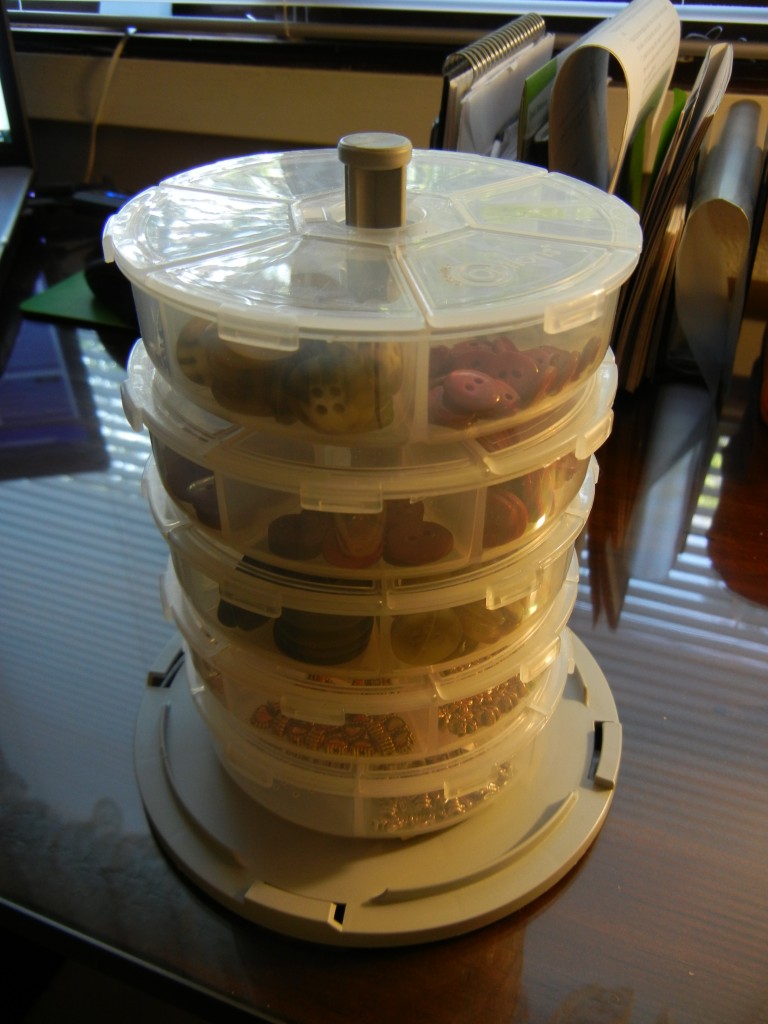
I save the spindle on which CDs are stacked, and slide Creative Options Beader’s Donuts (available at Archiver’s) on them instead, filling them with buttons and charms.
I save empty candle jars and fill them with paper die-cut shapes, buttons, paper clips, and candy (gotta have something to sweeten your day!).
Keep it simple, and keep it organized
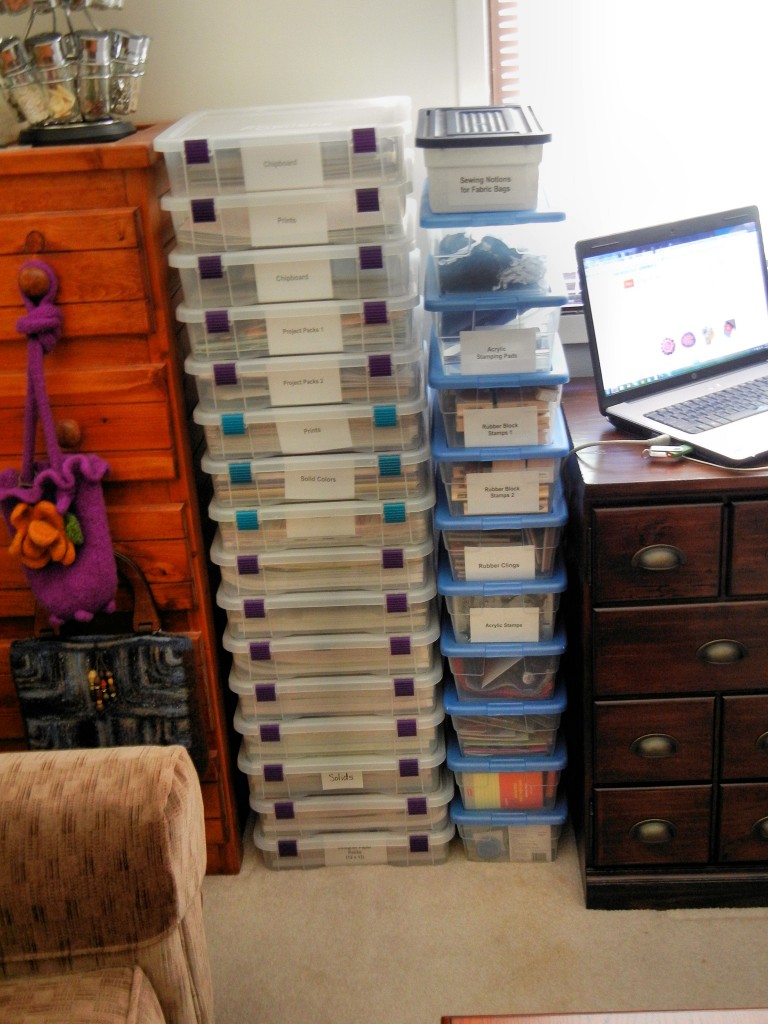
No matter how many drawers, shelves and cubbies you fill, you’ll still have items left over that need a home. I collect many different kinds of paper and stack them in 12-inch x 12-inch see-through Creative Options boxes that I buy from Archiver’s. I store stamping pads, rubber block stamps, rubber clings, acrylic stamps, inks, rollers, and many other items in ordinary plastic shoe boxes that I pick up at Target. I am still in the process of labeling them, but find this uncomplicated system easy to keep up, portable and space-saving.
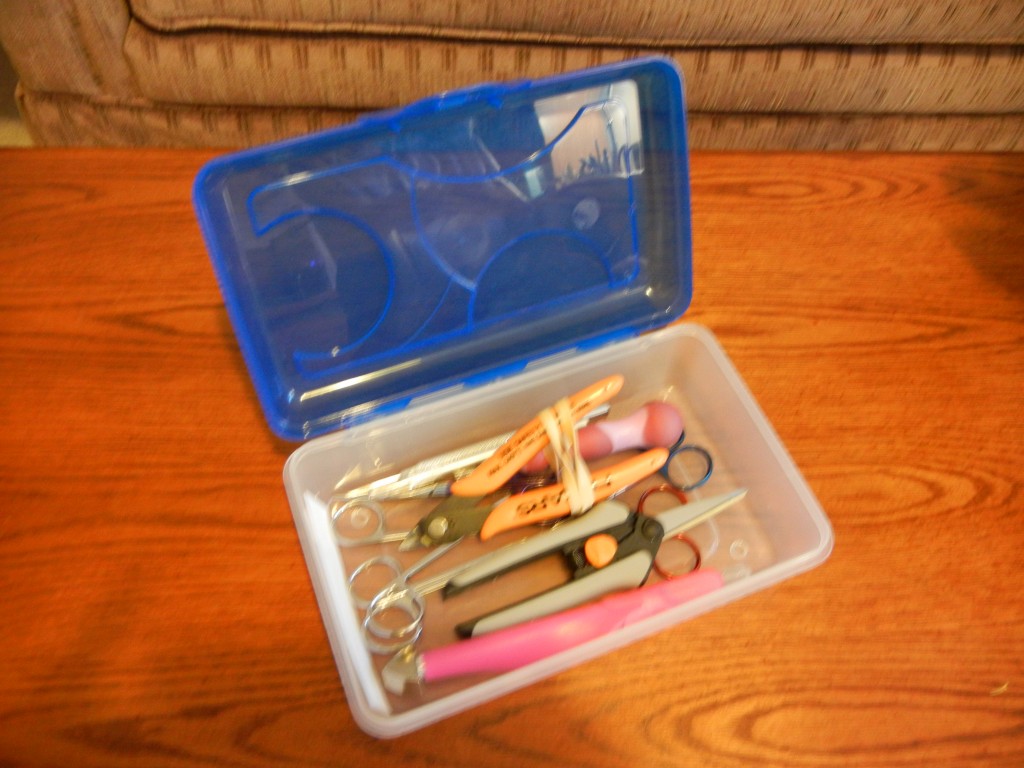
I use plastic fishing tackle boxes for glitter, and ordinary school-style pencil boxes for paintbrushes, binder clips, piercing tools and blades, and many other tools.
Don’t forget about inspiration!
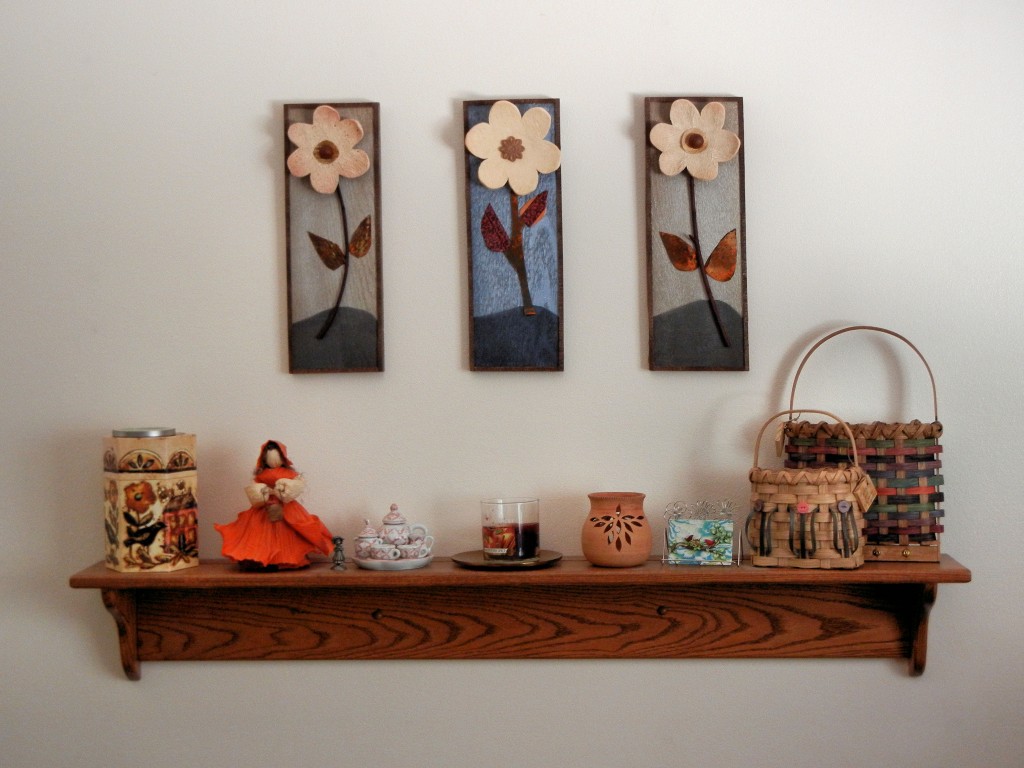
Looks for colors, textures and designs that inspire you without cluttering up your room. You can paint your walls in a favorite color, for example, or add color to cream-colored walls (as I do) through the use of wall accents and decorative items. I asked Edi of Memories for Life Scrapbooks to laser cut some wall words for me, which I tacked above one dresser.
On a knick knack shelf, I gathered a small collection of Smoky Mountain art and other folk crafted items.
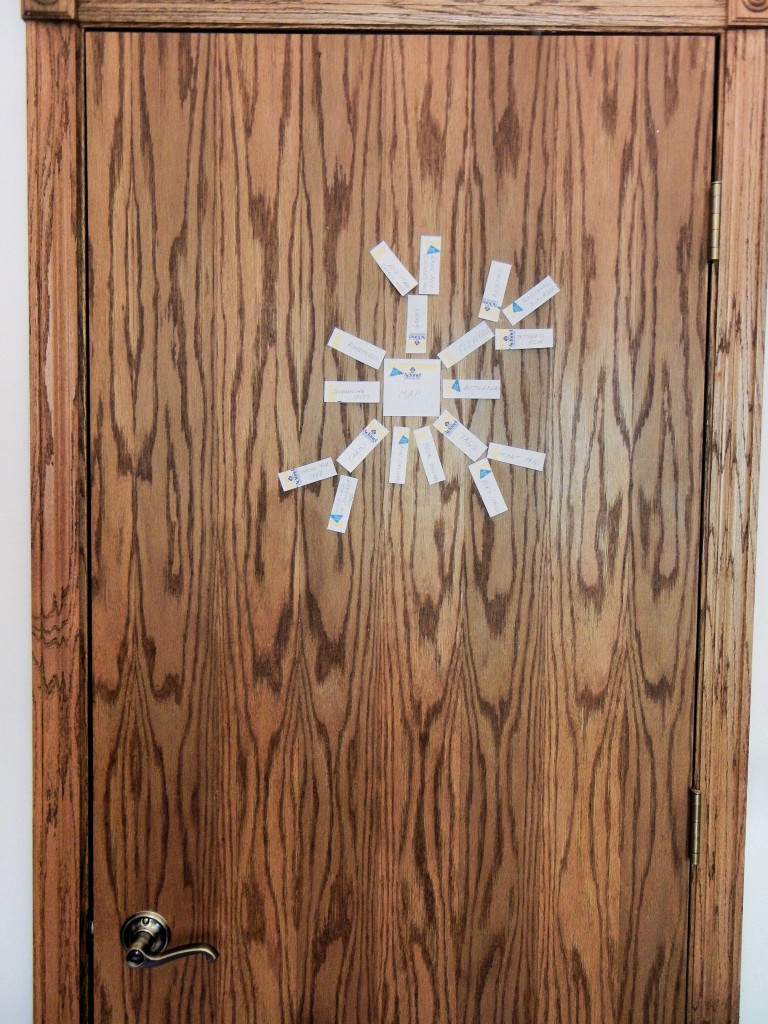
I use the back of a closet door as a display board for mind mapping, where I flesh out project ideas using temporary-adhesive note paper.
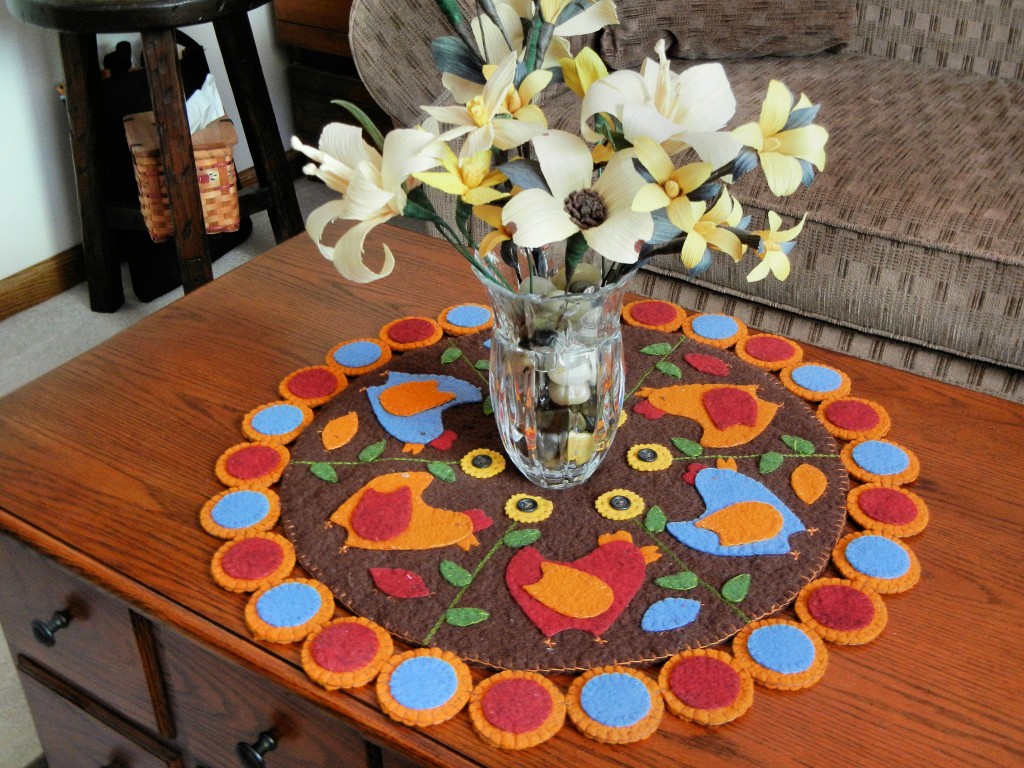
On the coffee table is a felted needle mat I stitched, highlighted by some corn husk flowers I stuck in a vase. The little touches, I think, make the difference between wanting to spend time in your room, creating, versus choosing something else to do.
In her book, Organizing Your Craft Space, Jo Packham discusses how all of us have different decorating styles that affect the way we organize our craft space. She describes these styles as The Idealist, The Adventurer, The Leader and The Guardian. Of course, there are touches of all of these styles inside us, and that’s what makes a room interesting. According to Packham, my decorating style is The Idealist, or “natural and simple,” with a preference for cotton textiles, comfortable vs. matching furniture, and live plants and fresh flowers. Mostly, I guess that’s pretty accurate, although I have to admit that while I might prefer fresh flowers, I kill them. So, a workaround in the form of artificial flowers is usually necessary! In any event, if you’re looking for a fun read about craft organization, you’ll want to check out Packham’s book. You may also be interested in reading my earlier post called Wanted: more storage space!
What have you done with your own craft space? I encourage you to link to photos of your work area in the comments below.
© 2012 Judy Nolan. All rights reserved.



Your craft space looks fabulous! What great organizing ideas too! Thanks for sharing your inspiring photos!
You have so many great storage ideas! I love the CD spinner and spice rack! And guests definitely won’t be staying in mine…I think they’d be afraid a pile would fall on them…lol

My room is about the same size at 11×11, but yours looks so much bigger
Thanks for sharing my Wall Words too
Loved seeing all the innovative ways you’ve organized your supplies! Here is one of my first blog posts, with a tour of my “girl cave” studio. It’s messier now.
http://pasqueflowerponderings.blogspot.com/2011/05/girl-cave.html
Wow! You are so organized! I’m inspired to keep on working on my space. You should submit to Where Women Create. Have you seen that magazine? Love the CD Spindle idea and that you decorated with items you made. The felt topper caught my eye in an earlier photo and I was glad you did one closer up. : )
I like the labels on the containers and the tip to have a piece be multi-functional. The room looks great.
I spy Edi’s words in there! (and a new header again!). Your room is really packed full of supplies, but they are organized in such creative ways that everything has it’s place and it’s all tidy. So nice!
Looks wonderful and very conducive to creating!! LOVE your new desk!!!
Your space looks great! Thanks for sharing so much detail about all of your organizational methods with us. I love how many inexpensive and recycled items you’ve been able to use.
Excellent post, your space looks so organized and so nice to work in!
Great organization tips and hints! Enjoyed the tour of your craft room!