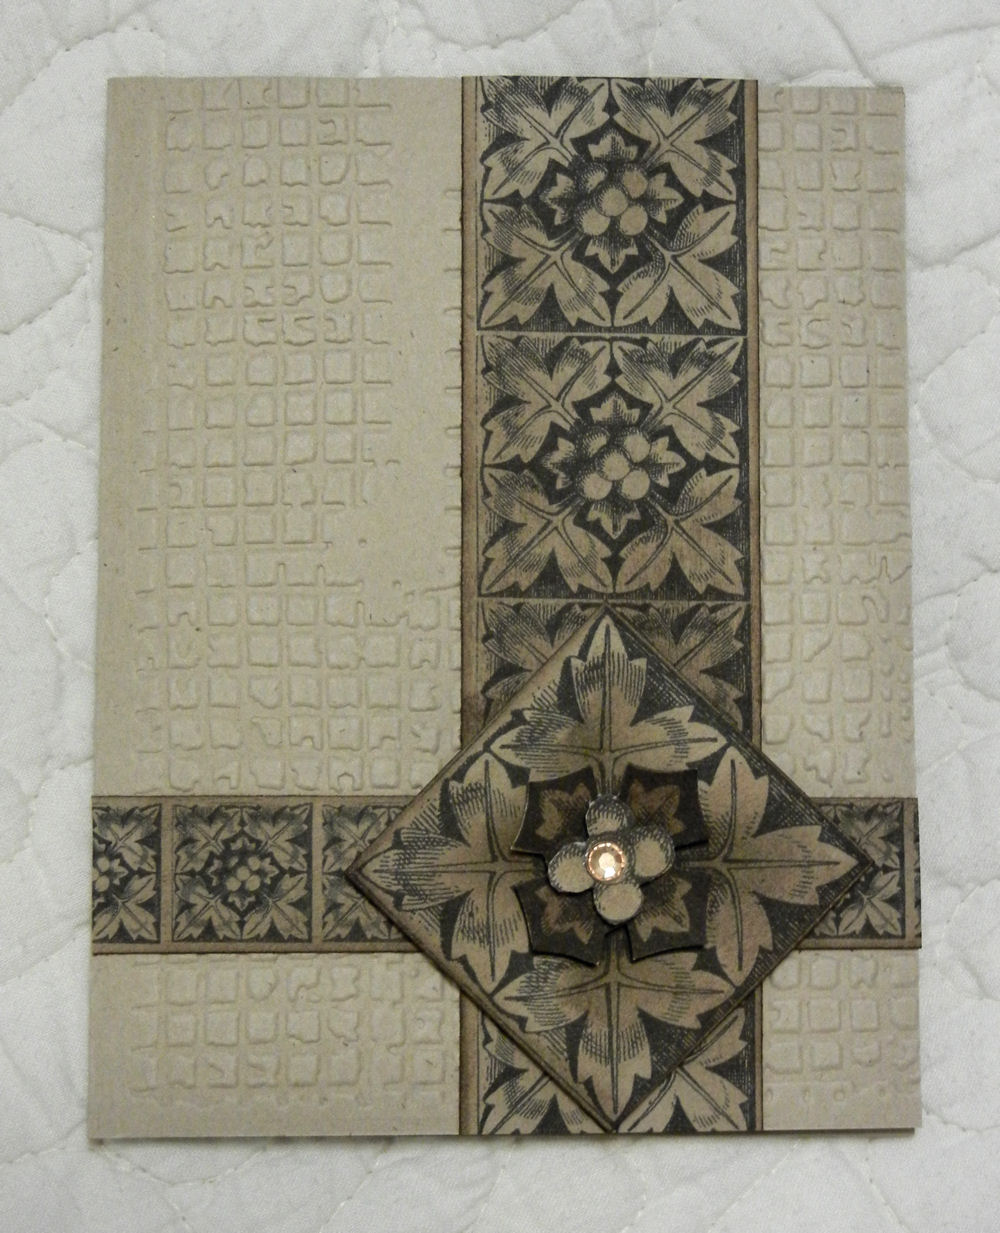
If you’re like me, you struggle to find graphic designs that are gender-neutral, particularly when it comes to blank note cards. Recently I read a Hero Arts blog post by Shari Carroll called Manly Sophistication and Video that caught my attention. Shari recommends using the Stone Etchings woodblock stamp set or Stone Etching Flower in Flower Borders Digikit from Hero Arts to create an attractive card that is appropriate for men or women.
While I love the Stone Etching Flower design itself (and at 99 cents it is very reasonably priced), I wondered whether ordinary clip art might not serve the same purpose. True, it is a little more work to size and print your images, but the benefit to doing so is that you have a much larger range of possibilities. Besides, what else are you doing with that 10-year-old-plus clip art CD?
I dug into my stack of clip art CDs and discovered some wonderful Dover Clips. Next, I inserted a selected image into my favorite word processing program, which happens to be WordPerfect, and sized the image to match the needs of the note card. To tell you the truth, however, you could use any other software program you prefer, such as Microsoft PowerPoint, since it is so commonly available.
If you watch Shari’s video below, you’ll notice that she includes a text strip on the front of her card that I have chosen to omit. My husband, who likes the look of the card without it, said that he would prefer to write his own message inside—and he thinks that makes the card more universal. Also, Shari uses Earth Designers Papers card stock with overprinted text, but I chose instead to emboss card stock with an embossing folder.
Here, then, are the steps I followed. If you make this same card, I would love for you to include a photo link of your finished card in the comments below this post.
Instructions:
1. Gather your supplies and tools, as follows, to make a set of 4 note cards in A2 size:
- Favorite clip art CD
- Card stock (4 sheets of 8-1/2 in. x 11 in.)
- Letterhead (2 sheets, ivory) – optional
- Paper trimmer
- Bone folder
- Scissors
- Walnut Stain Distress Ink and applicator
- Embossing folder or texture plate
- Adhesive foam dots or squares
- Adhesive tape runner
- Adhesive rhinestones, adhesive pearls, or brads (your choice)
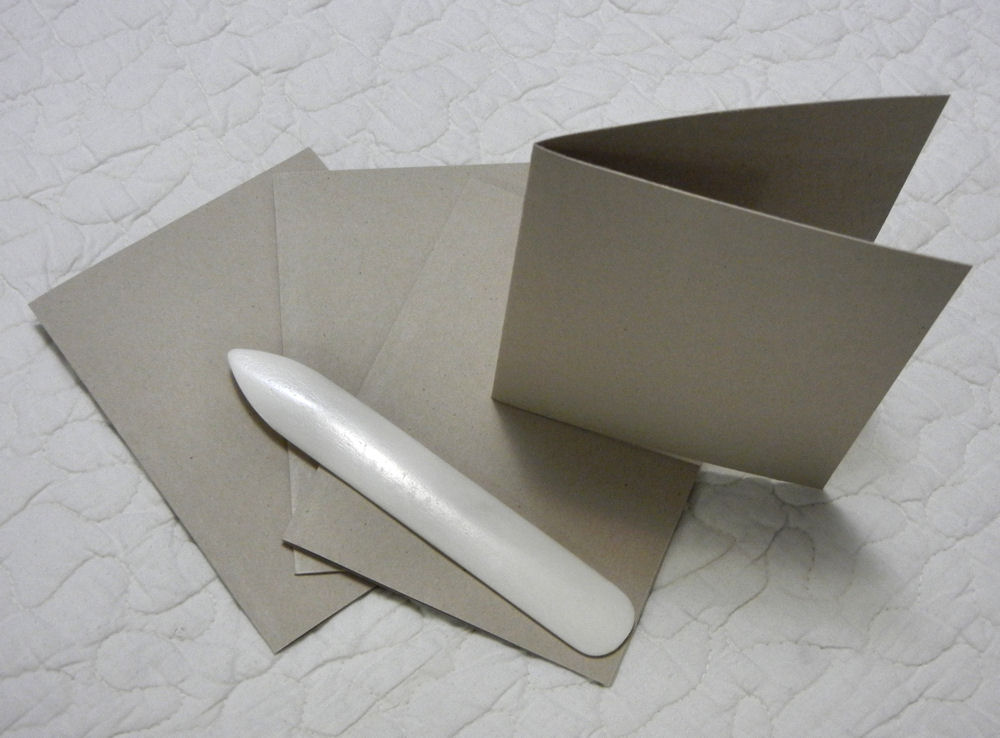
2. Using your paper trimmer, slice in half 2 sheets of card stock so that each piece measures 8.5 inches x 5.5 inches. Fold each piece in half so that you end up with 4 note cards measuring 4.25 inches x 5.5 inches.
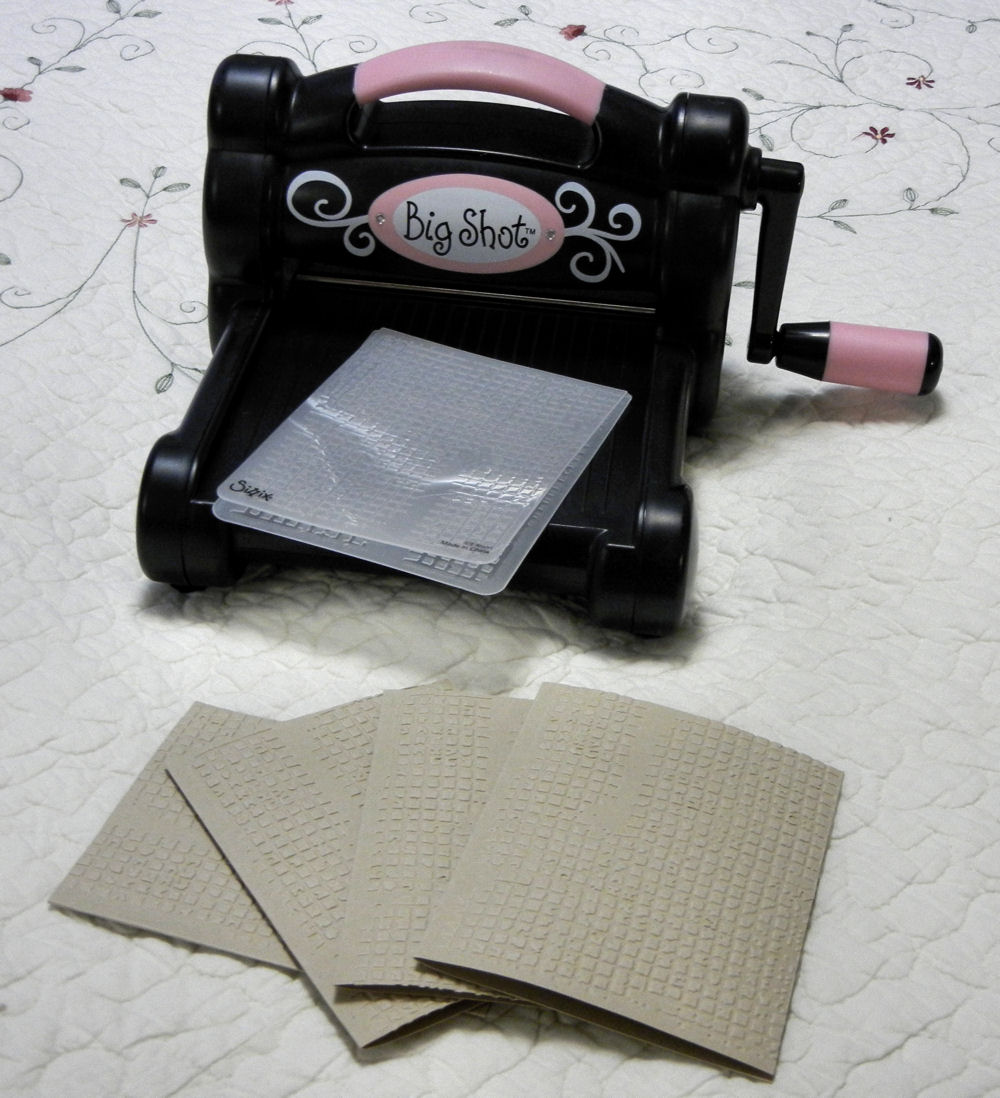
3. Emboss the front of your cards using an embossing folder or texture plate. I used my Sizzix® Big Shot machine and Tim Holtz’s Bricked Texture Fades Embossing Folder, also from Sizzix.®
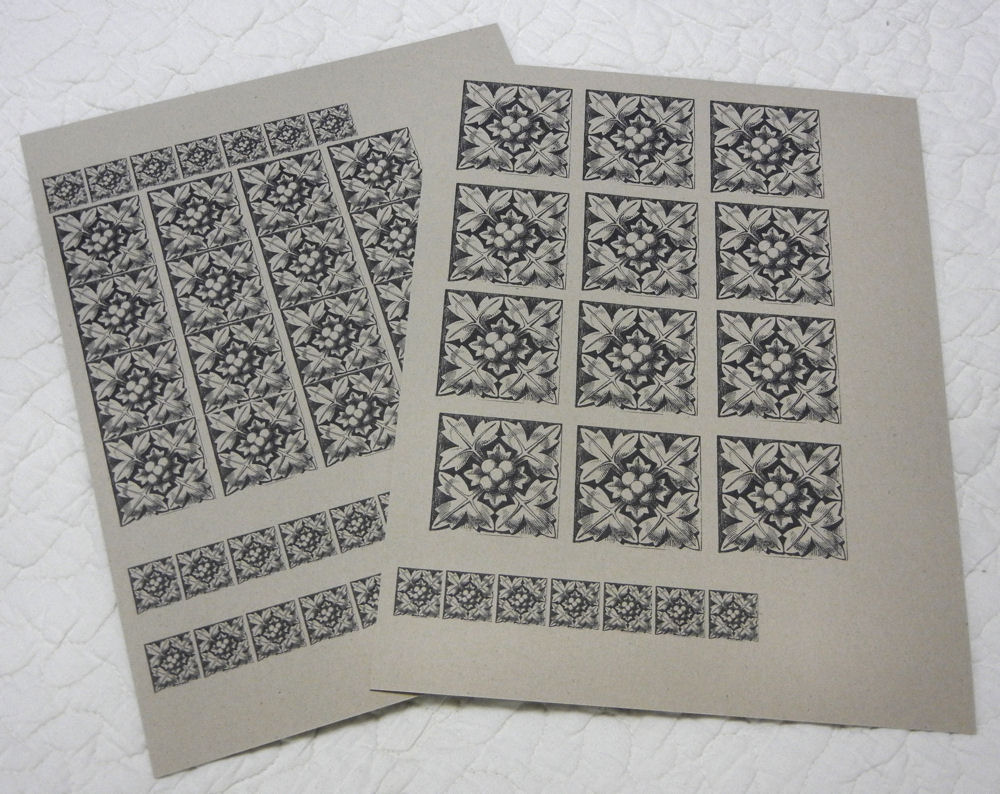
4. Choose a square design with a round “layered look†motif from your favorite clip art CD, and print the following on card stock. I used 2 sheets of Archivers “Kraft†card stock, and chose a Dover Clips design.
- 12 large squares (about 2 inches x 2 inches each)
- Border Strip 1: 4 columns of 4 medium squares (about 1.5 inches x 1.5 inches each)
- Border Strip 2: 4 rows of 7 small squares (about .75 inch x .75 inch each)
5. Using scissors or paper trimmer (whatever works best), cut out the designs as follows:
- Set aside 3 large squares for each card. (Do not cut apart at this point.)
- Set aside Border Strip 1 (1 column of 4 medium squares) for each card.
- Set aside Border Strip 2 (1 row of 7 small squares) for each card.

6. Use the applicator to apply Walnut Stain Distress Ink to the designs as follows:
- Apply ink heavily to 1 large square and lightly to 2 large squares (for each card).
- Ink the edges of the Border Strips.
7. Cut apart the large squares. Leave 3 of them intact as “whole†squares, but cut out the circular motif from 3 of the large squares, as well as the motif centers of 3 more large squares. Apply an adhesive rhinestone, adhesive pearl or brad to the motif centers.

8. Layer the 3 pieces comprising the large squares, from smallest to largest, using adhesive foam dots or squares.
9. Take Border Strip 1 and Border Strip 2, and set it on top of your card in an upside-down cross shape to get a feel for the layout of your card. When you are satisfied with the appearance, adhere both Border Strips to your card.
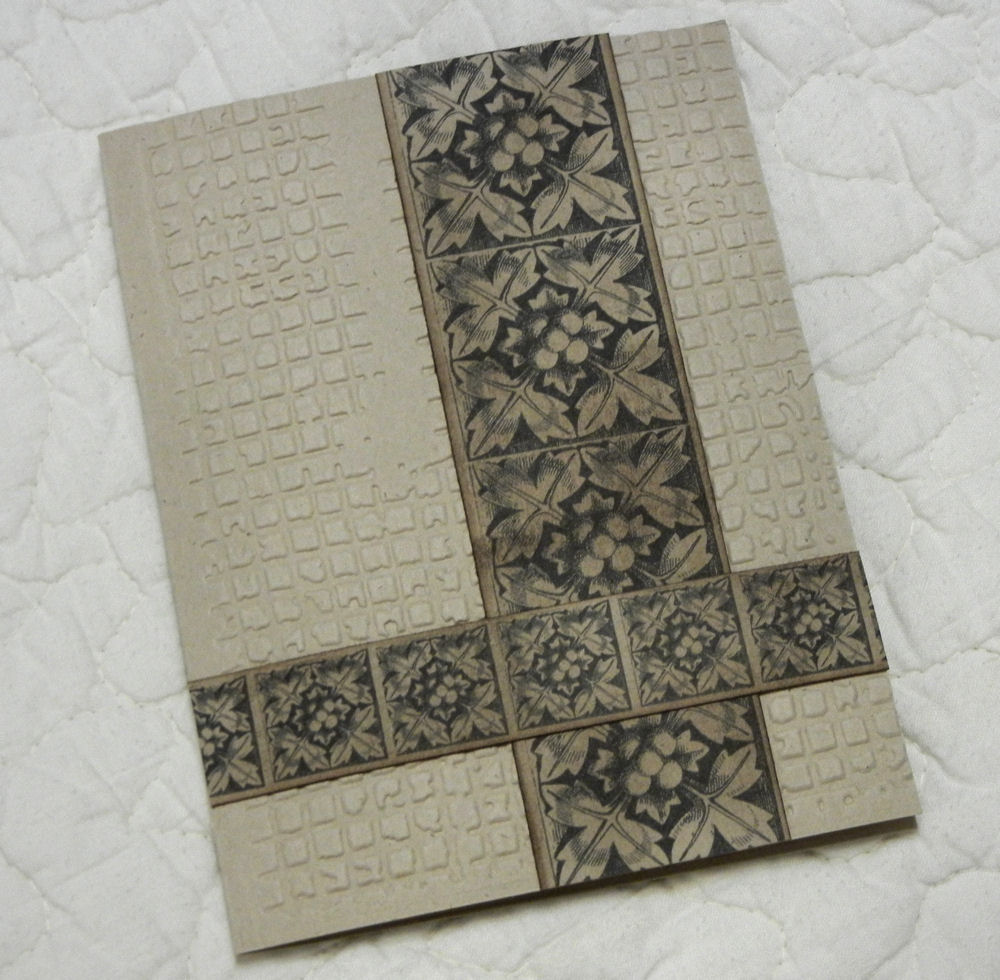
10. Using adhesive foam dots or squares, adhere the large layered square to the intersection of the Border Strips.
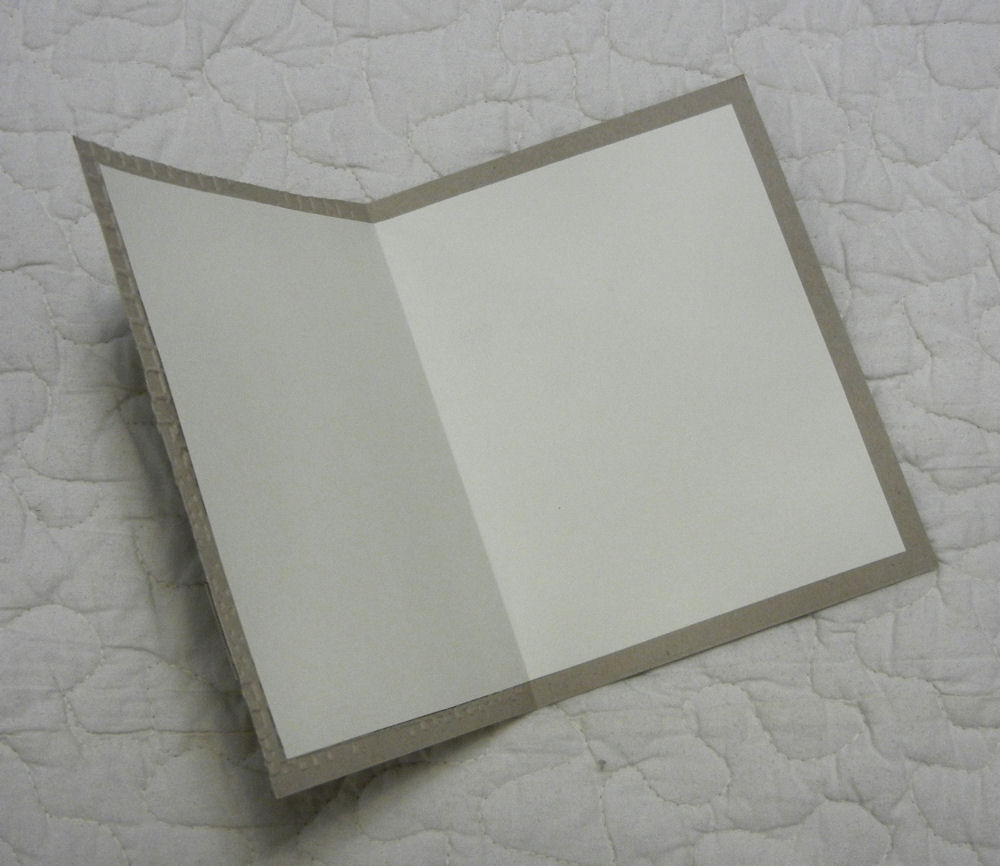
Optional: If desired, cut a 5-inch x 8-inch rectangle of ivory letterhead to insert on the inside of the card. Fold in half, and apply to the inside of the card with adhesive tape runner.
© 2011 Judy Nolan. All rights reserved.


Very nice card Judy. I like the embossing you used on yours. I enjoyed the video too.
Thanks so much, I really enjoyed that:):)
Awesome gender neutral cards! I love your choice of embellishment. Great job!
Great tutorial!
Great to meet you through the Etsy Blog Team!
I am a new follower/subscriber to your blog.
Best,
Mary C. Nasser
http://www.marycnasser.com/blog.html
Your card looks great! I always have the hardest time with masculine cards. I’ll definitely keep this post handy for Father’s Day!
That’s a wonderful card!
and thanks for the tutorial.
great tutorial–wonderful card! I do like that embossing folder.