In my previous post, How to Save Time and Money for Your Craft Business Design Needs, I described—among other items—how I used ordinary office software to design a custom photo album. In this post, you’ll see how the software design translated into reality when I assembled the parts of the album.
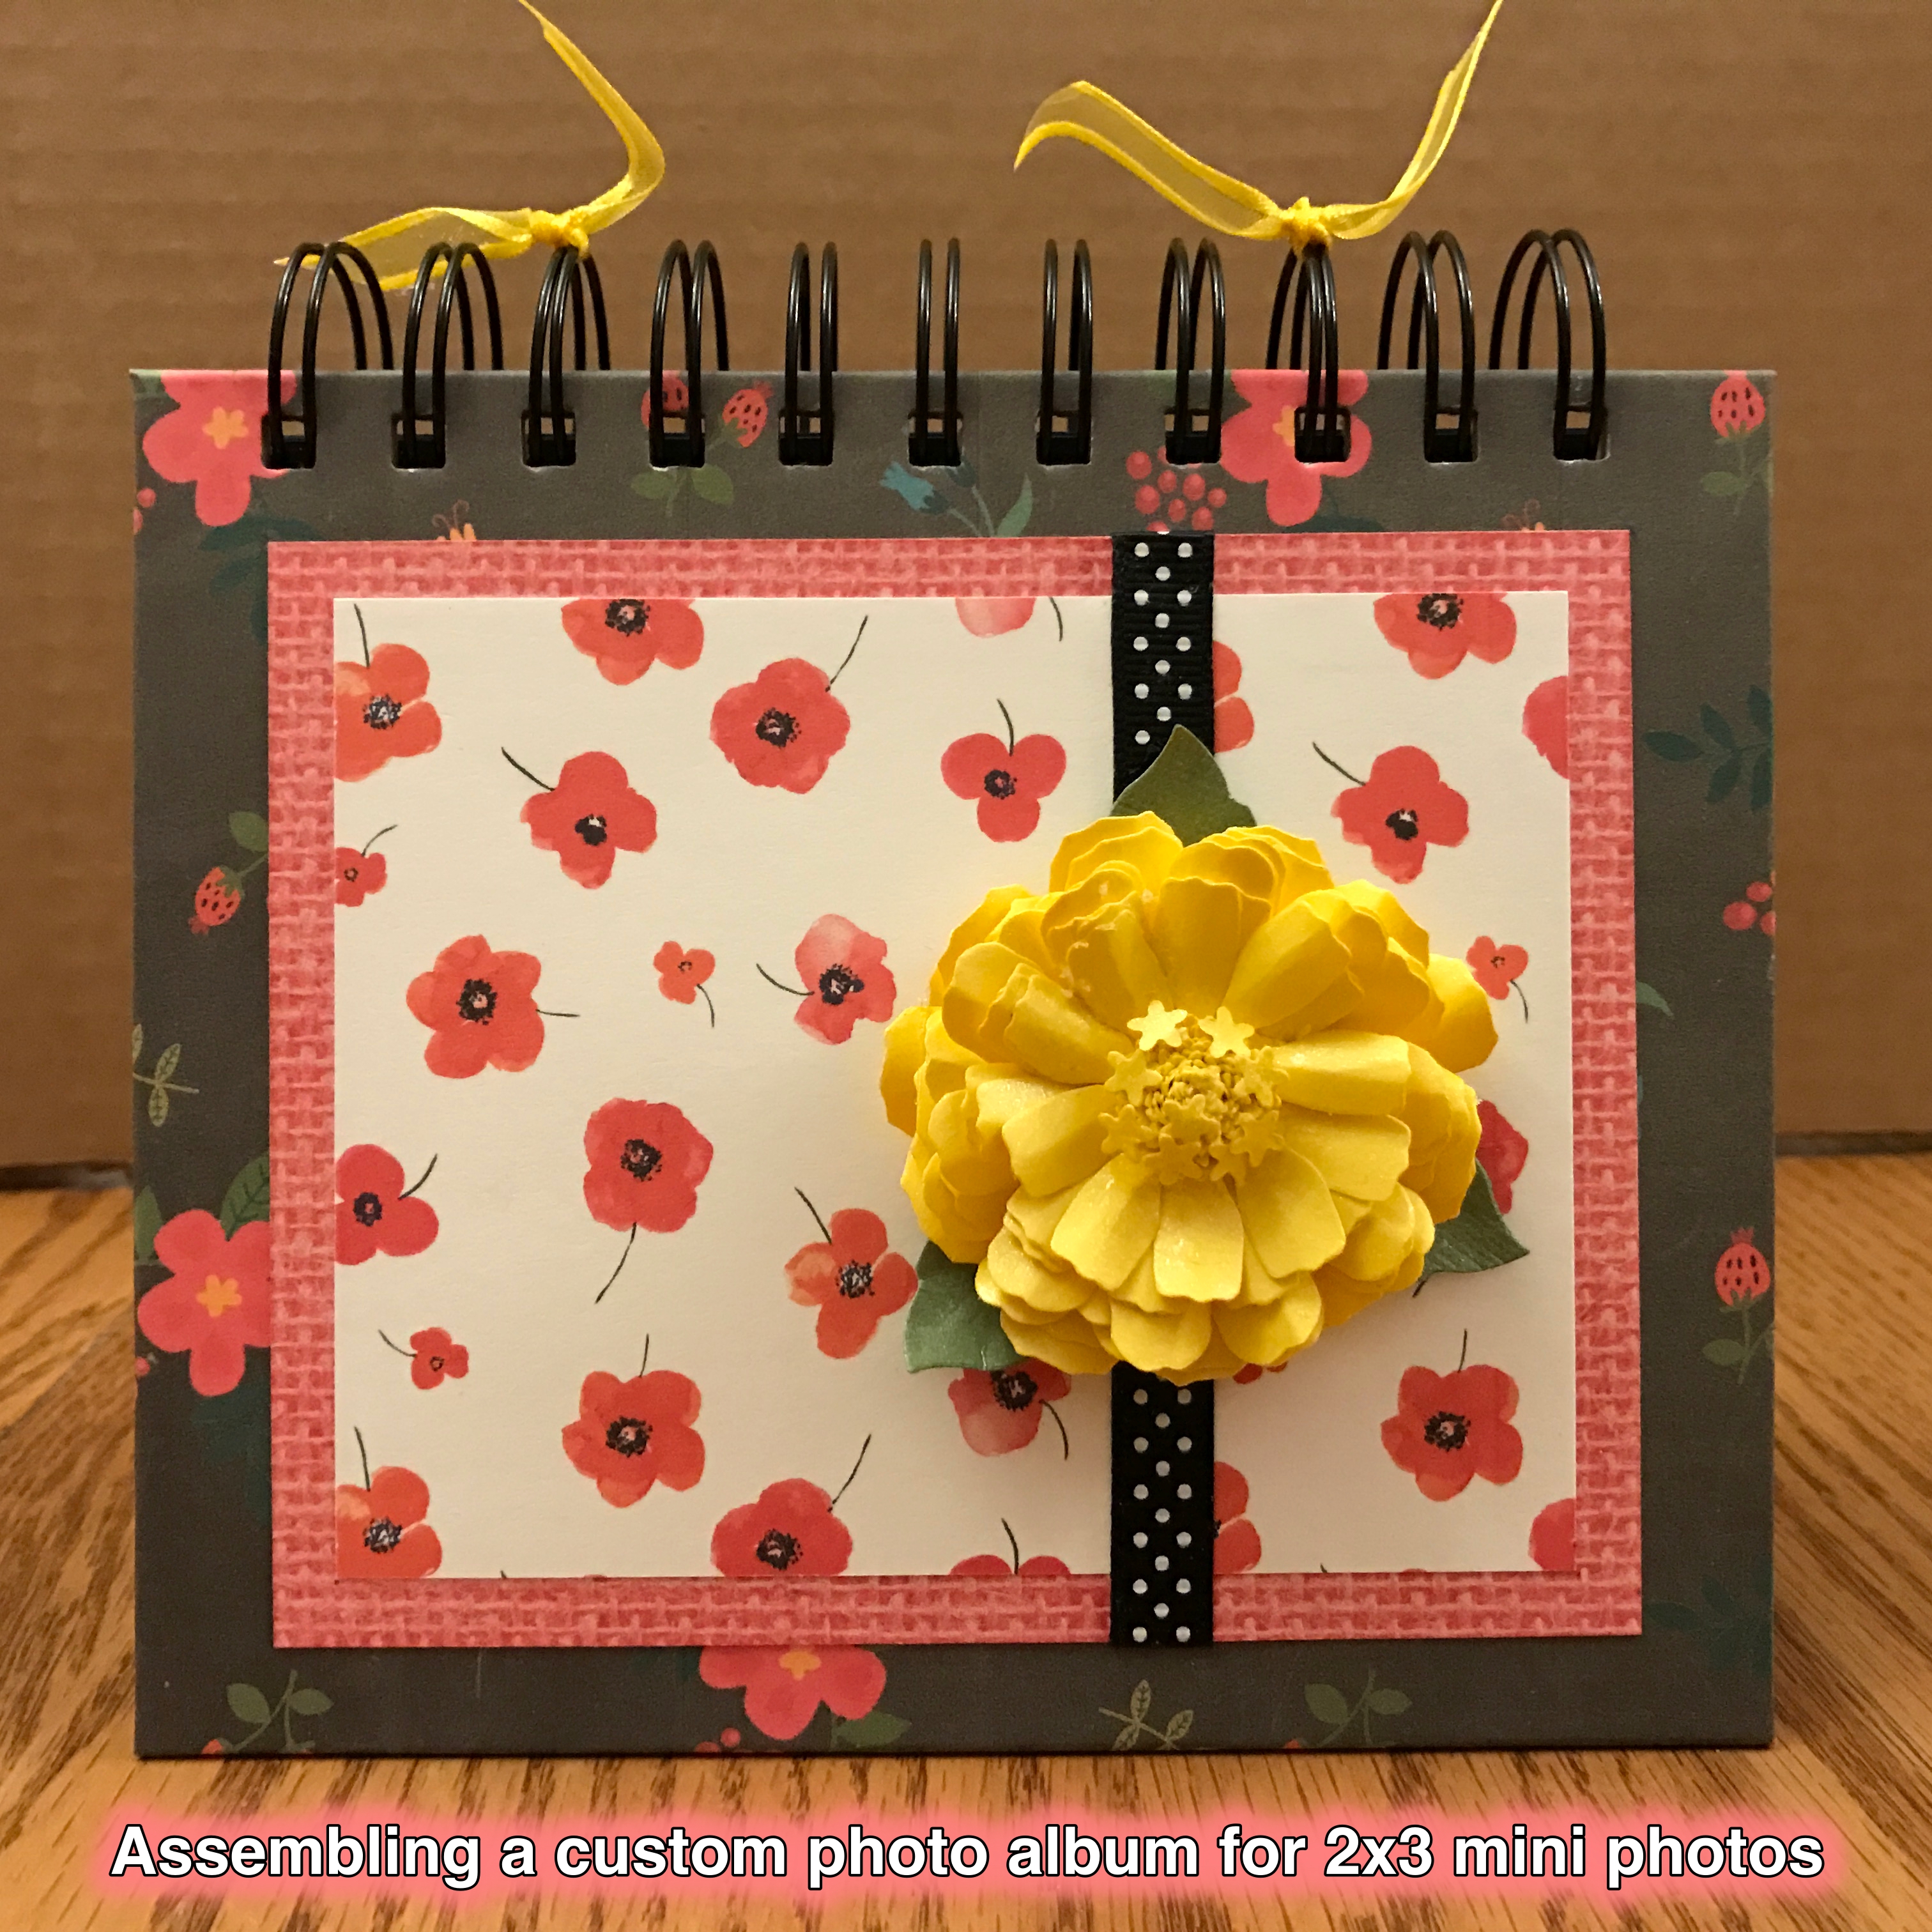
I began with two stacks of card stock, one in black for 5-inch x 6-inch pages, and another stack in ivory for 2-1/2 inch x 3-1/2 photo mats.

My best friend for adhering the photo mats to the pages is Scor-Tape because it’s strong, lasting and lightweight.
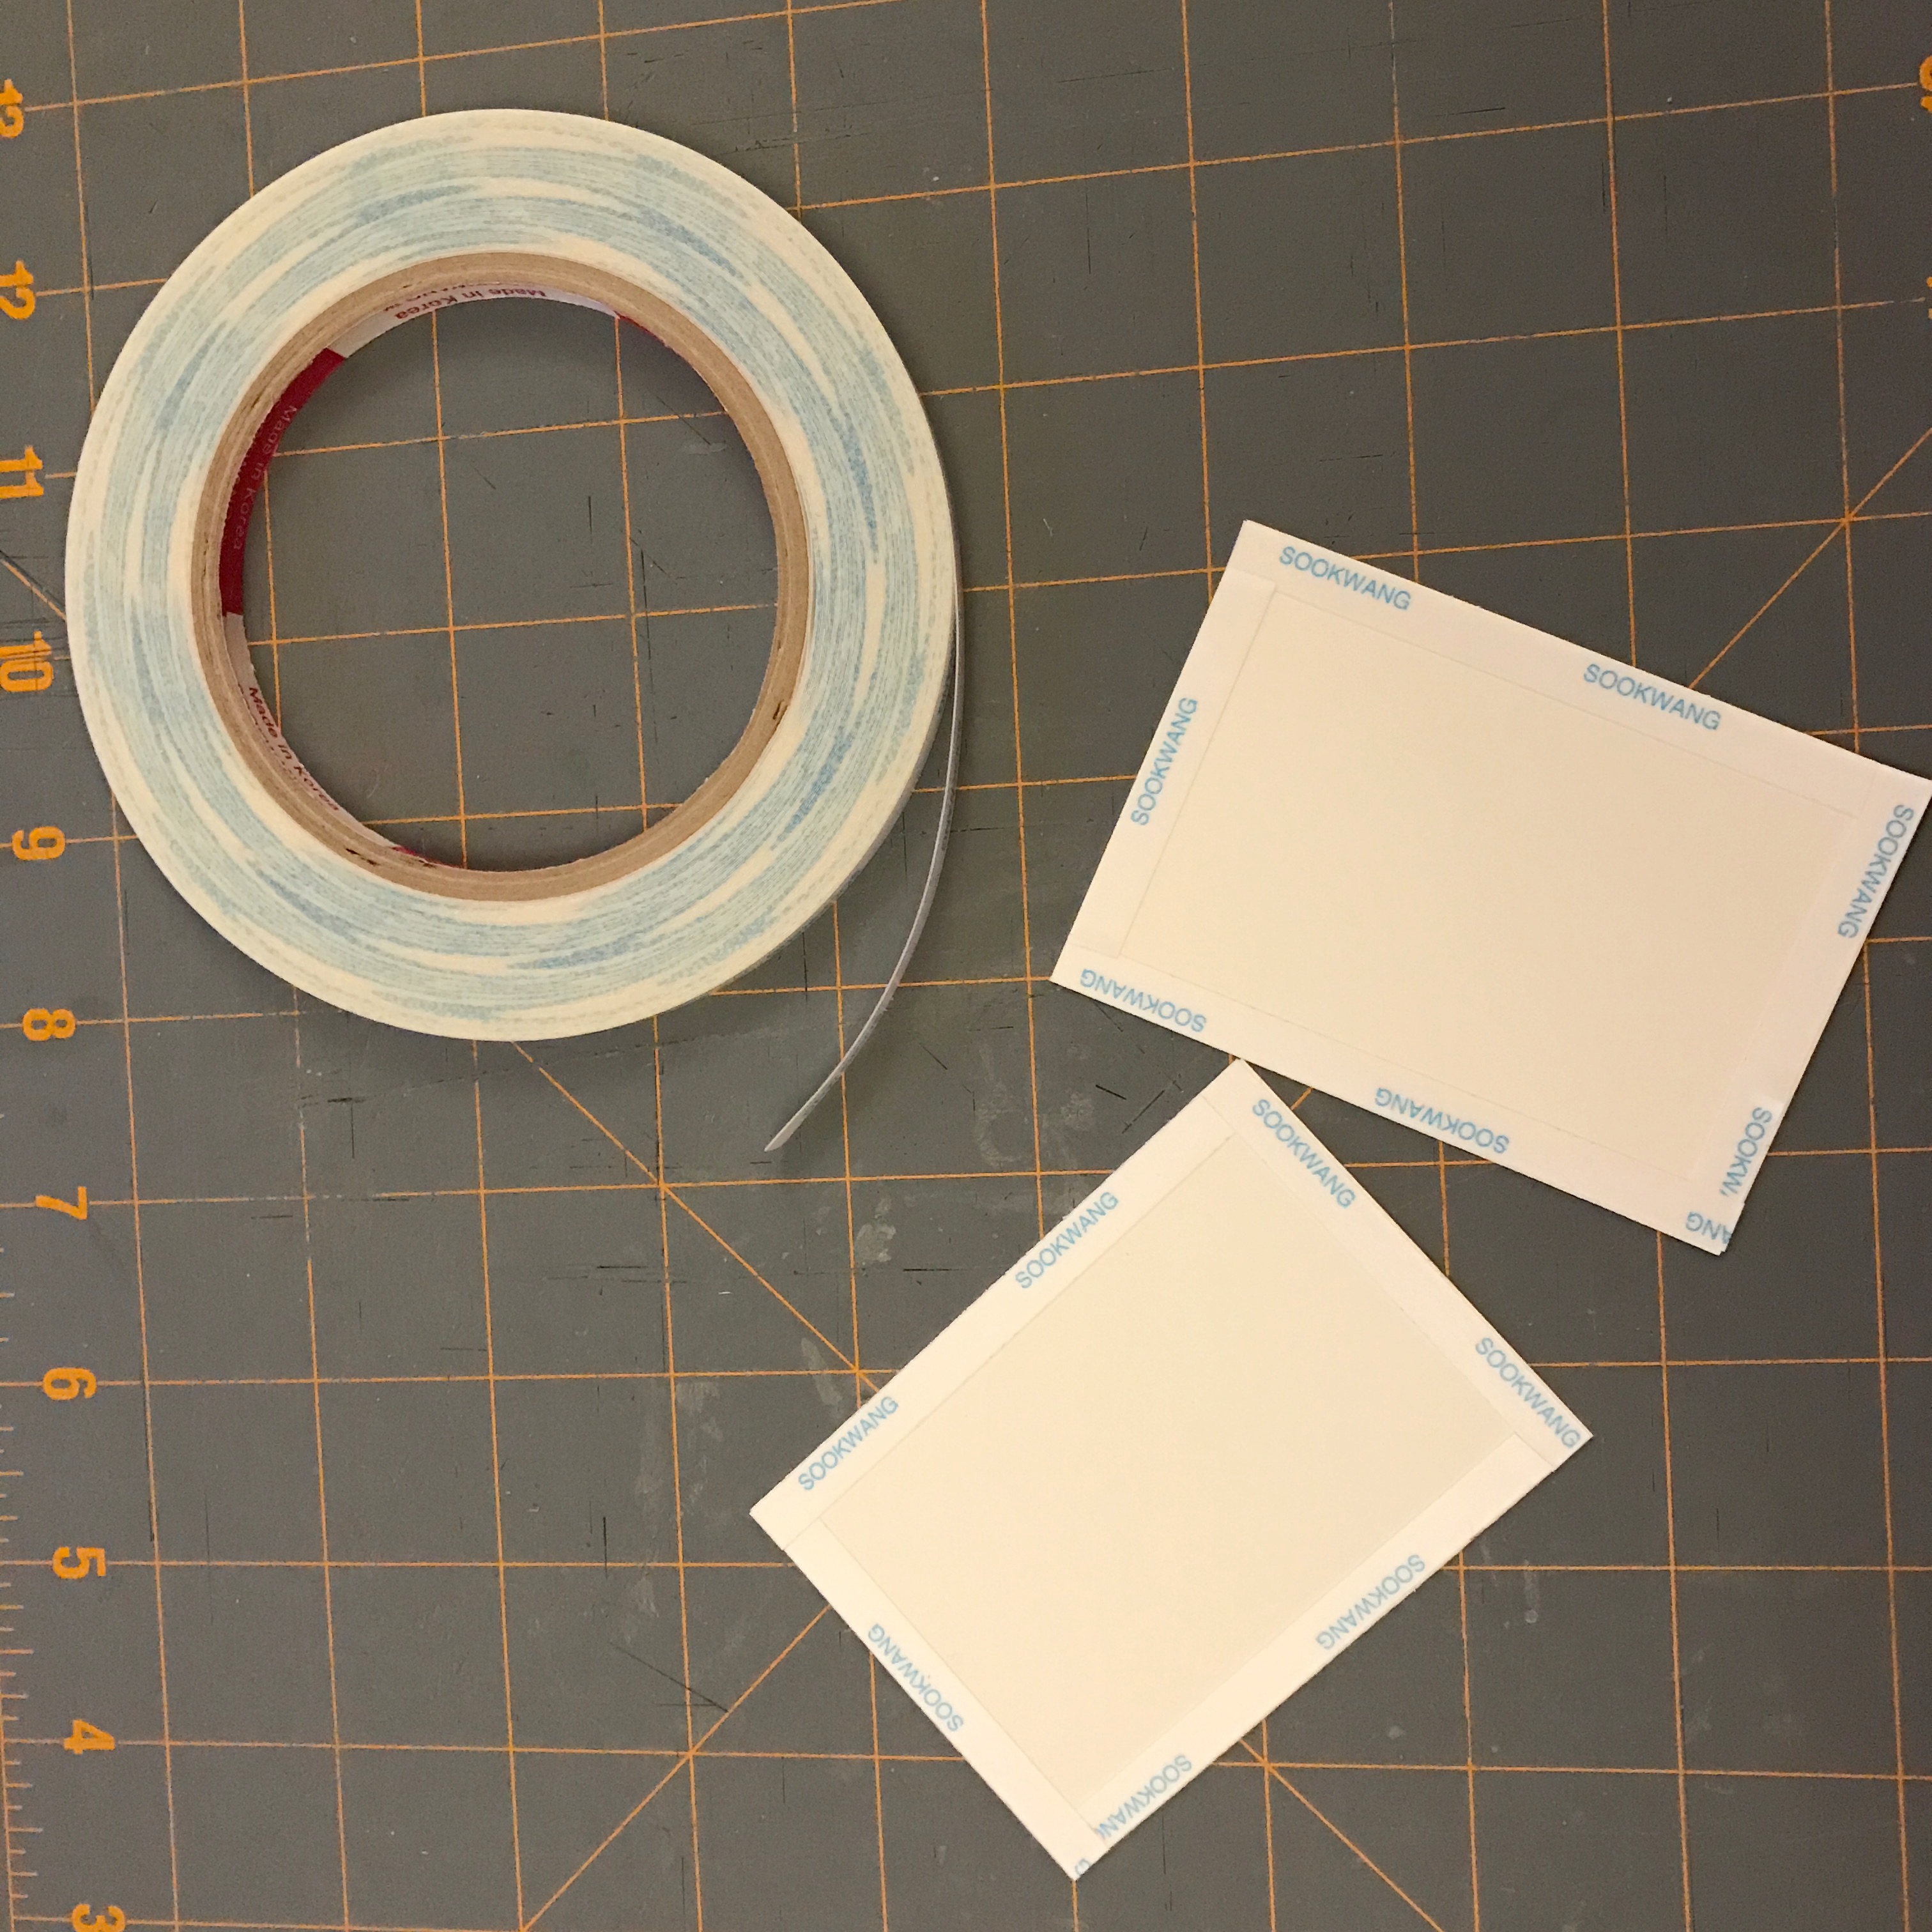
When I adhered the photo mats to the pages I really did not want to have to measure their location with a ruler, so I created a U-shaped card stock jig that helped me with consistency in placement.

To each page, I adhered a strip of printed paper for a splash of color. I cut a narrow length of card stock to serve as a temporary spacer between the photo mats and the location of the printed strip. This speeded up the placement process considerably.
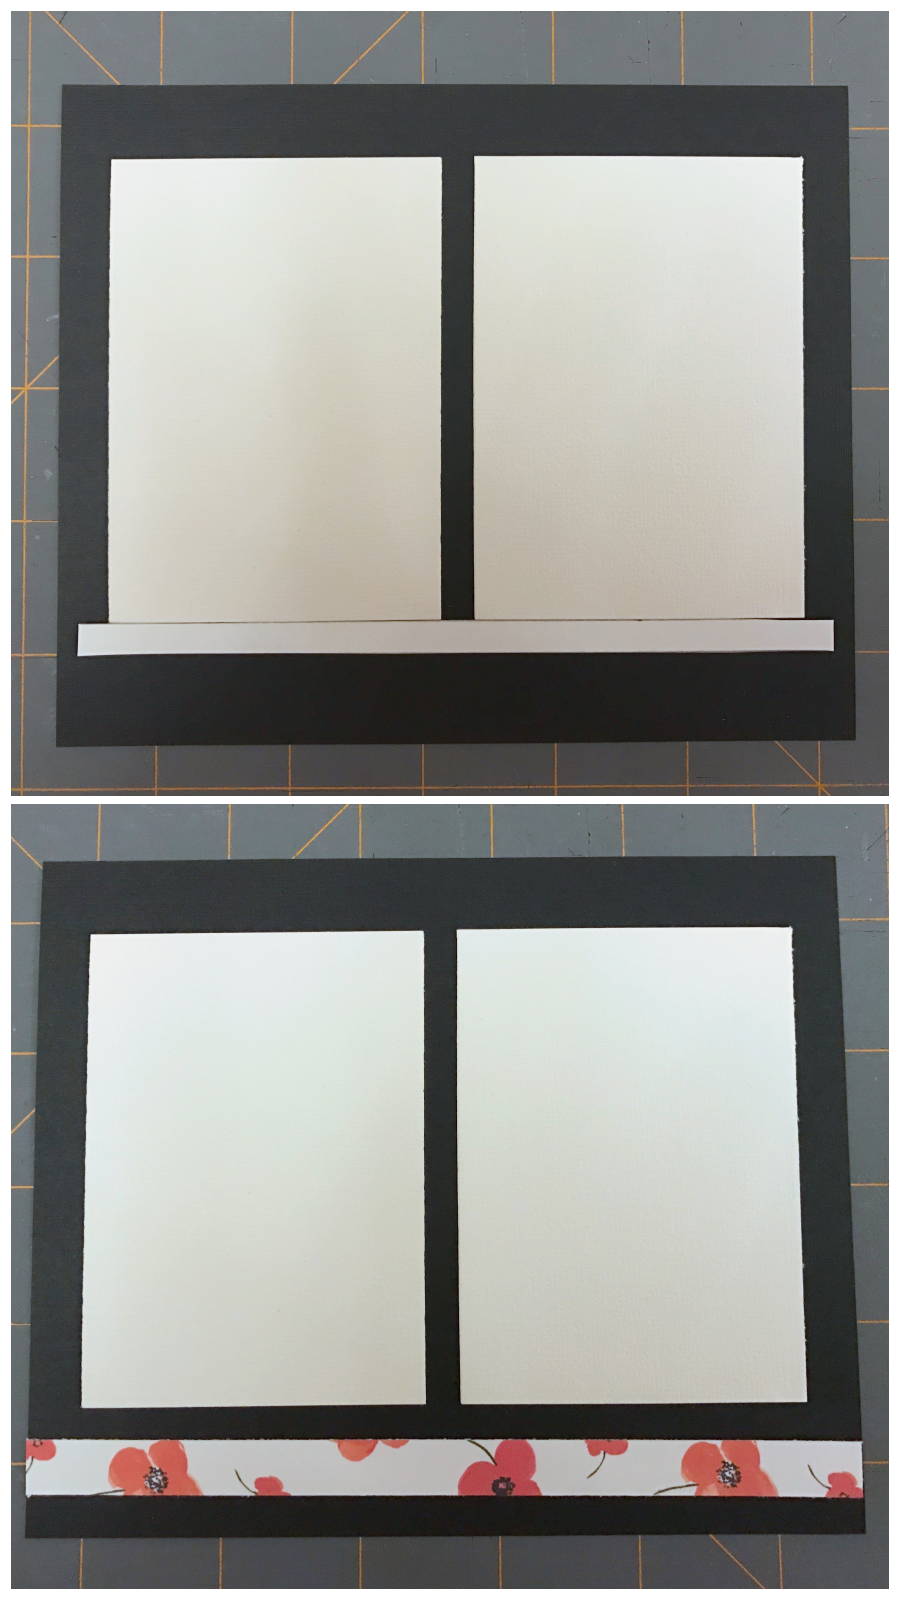
I usually round the corners of the pages I add to any book or album; not only does this look more finished, in my opinion, but rounded corners tend not to curl or crease as easily as 90-degree corners do.

I punched the pages for insertion into the photo album using my We R Memory Keepers Cinch. I do have a Zutter Bind-it-All, but because the latter punches only six holes at a time, I find the Cinch works better for me for larger books. On the other hand, the Bind-it-All punches through thicker covers and more pages at a time than the Cinch, and its owire crimping produces a more rounded appearance. The Cinch punches both square holes and round holes, depending upon which version you purchase, while the Bind-it-All punches square holes only. Each binding tool, in other words, has its strong and weak points.
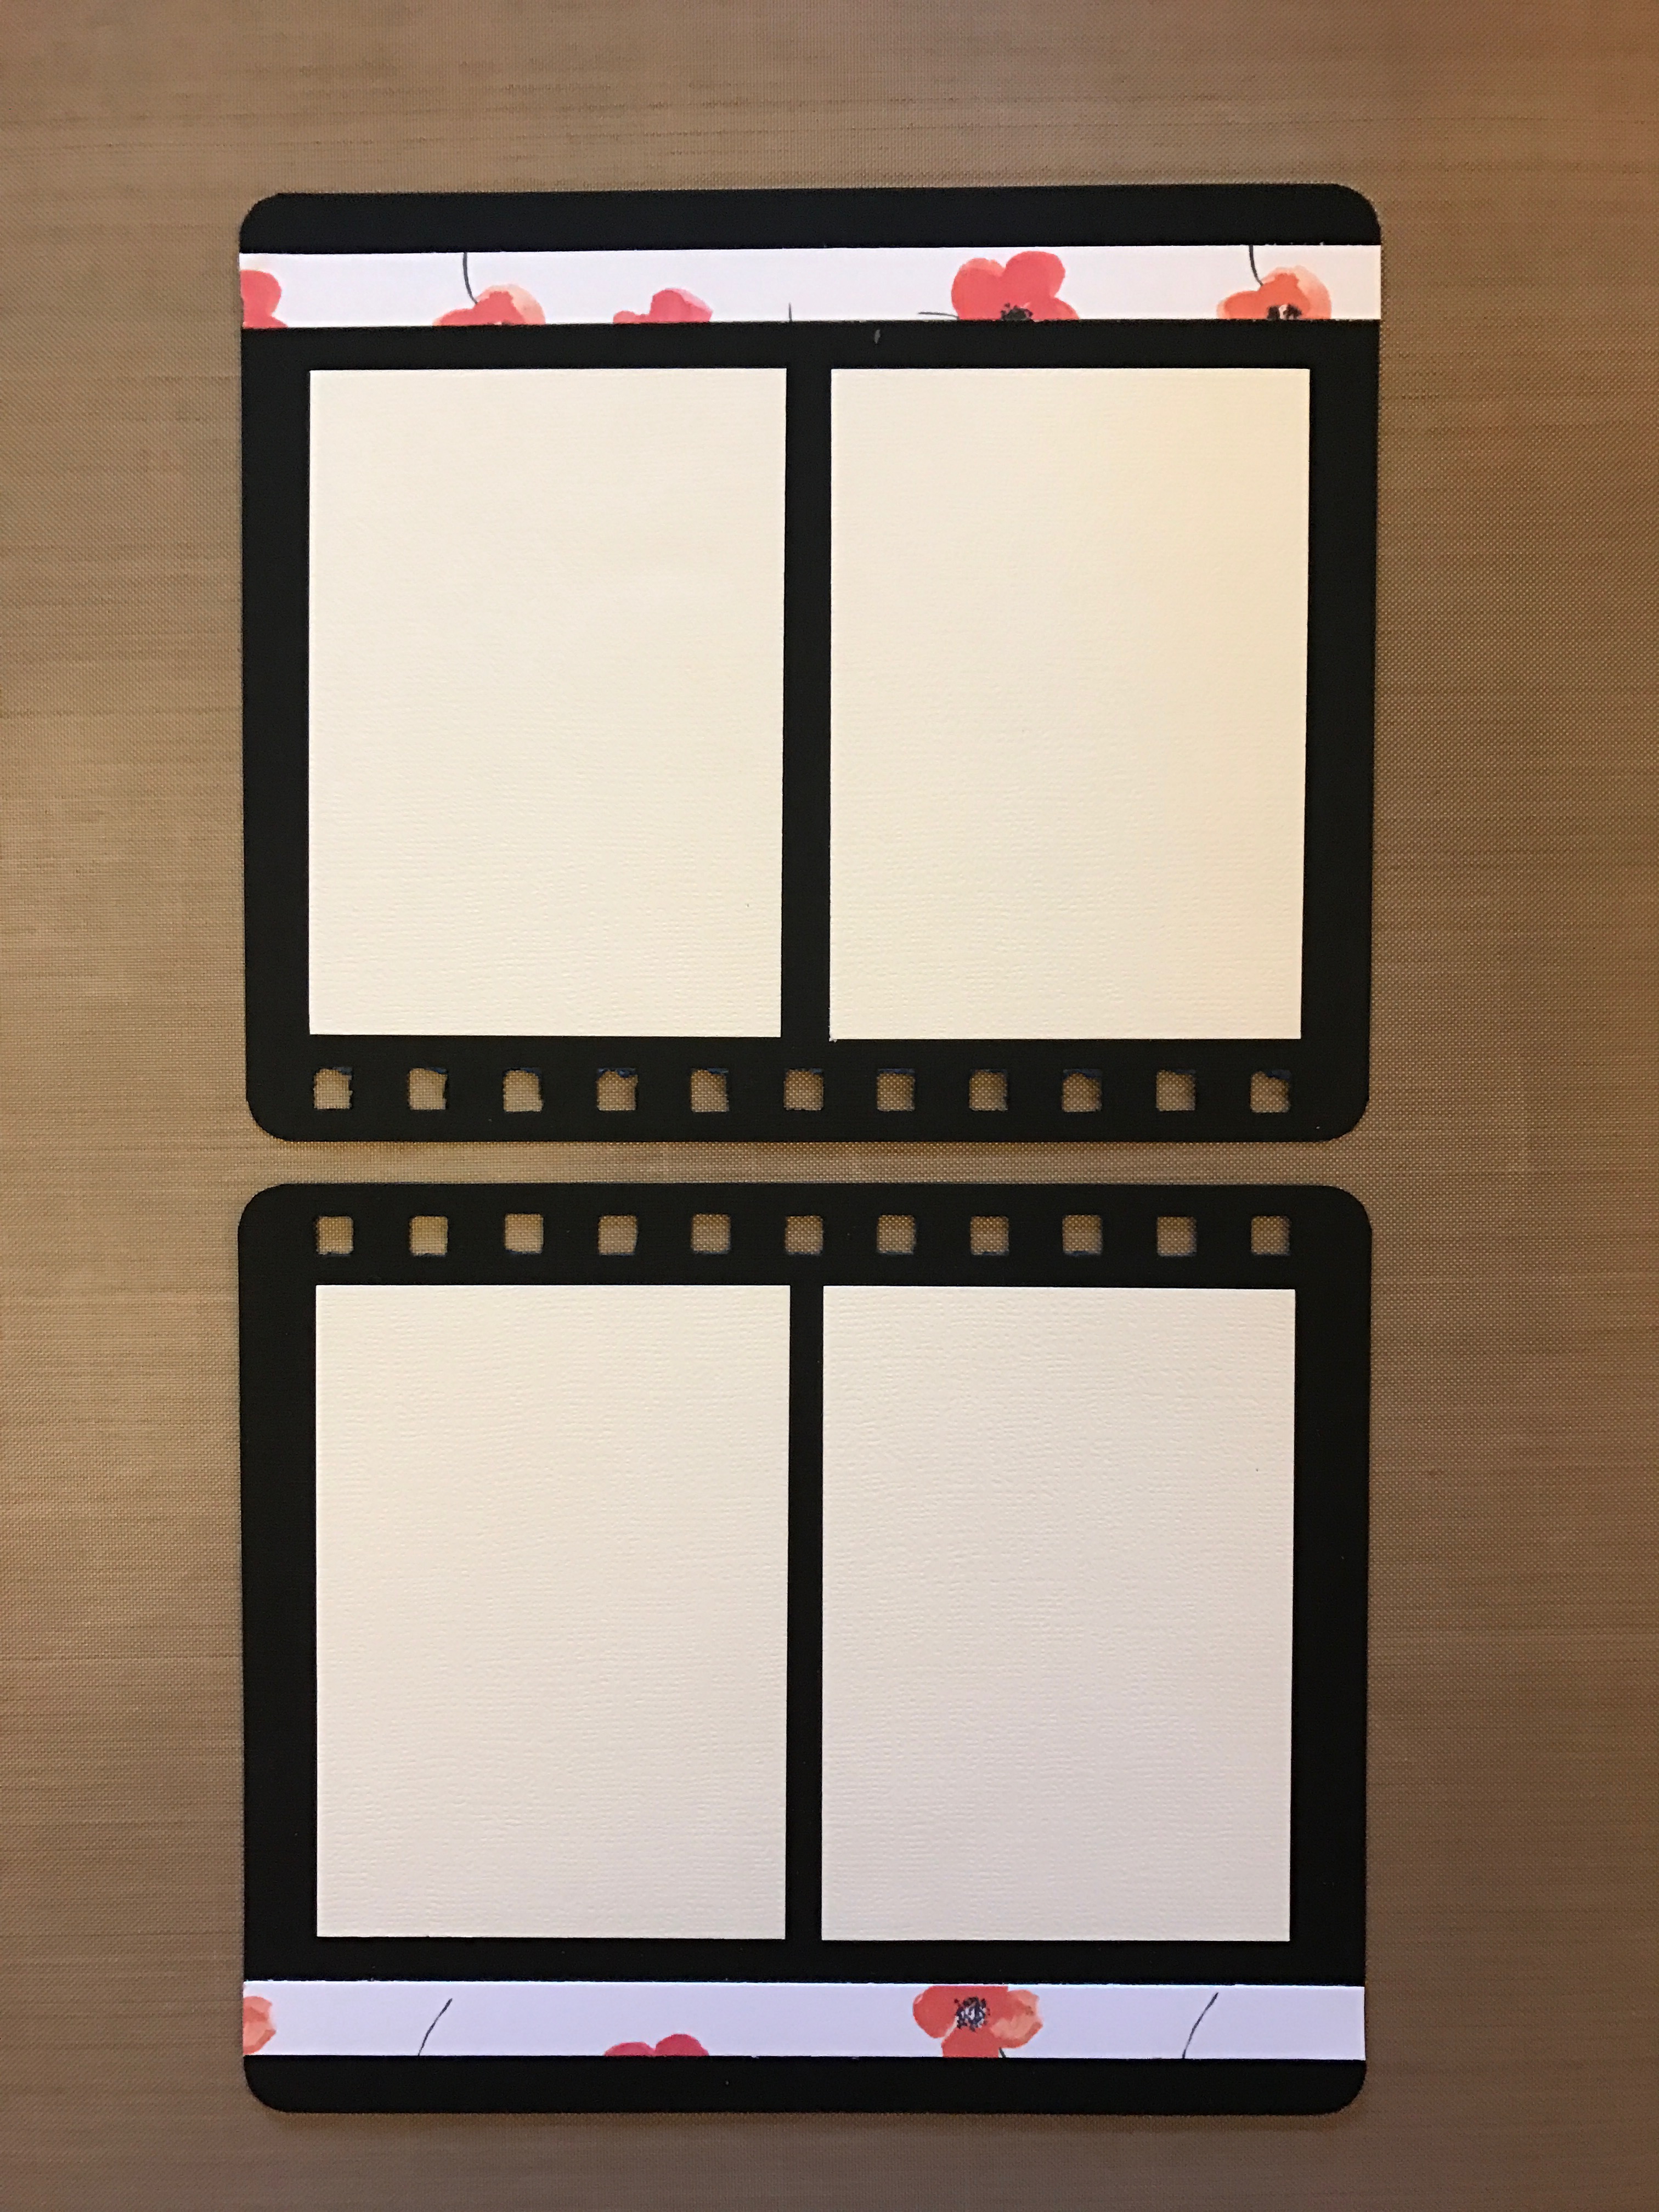
The cover of the album was created after the pages were completed. I began by gathering the papers and heavyweight book board, and cut them into appropriate sizes. The book board I use measures .082 inch in depth, which is thicker than I feel comfortable cutting with my Rotatrim Professional M18 rotary trimmer. Instead, I use the Zutter Kutter, which is designed specifically to cut through thick materials such as chipboard, book board, foam board, stacks of card stock and leather.
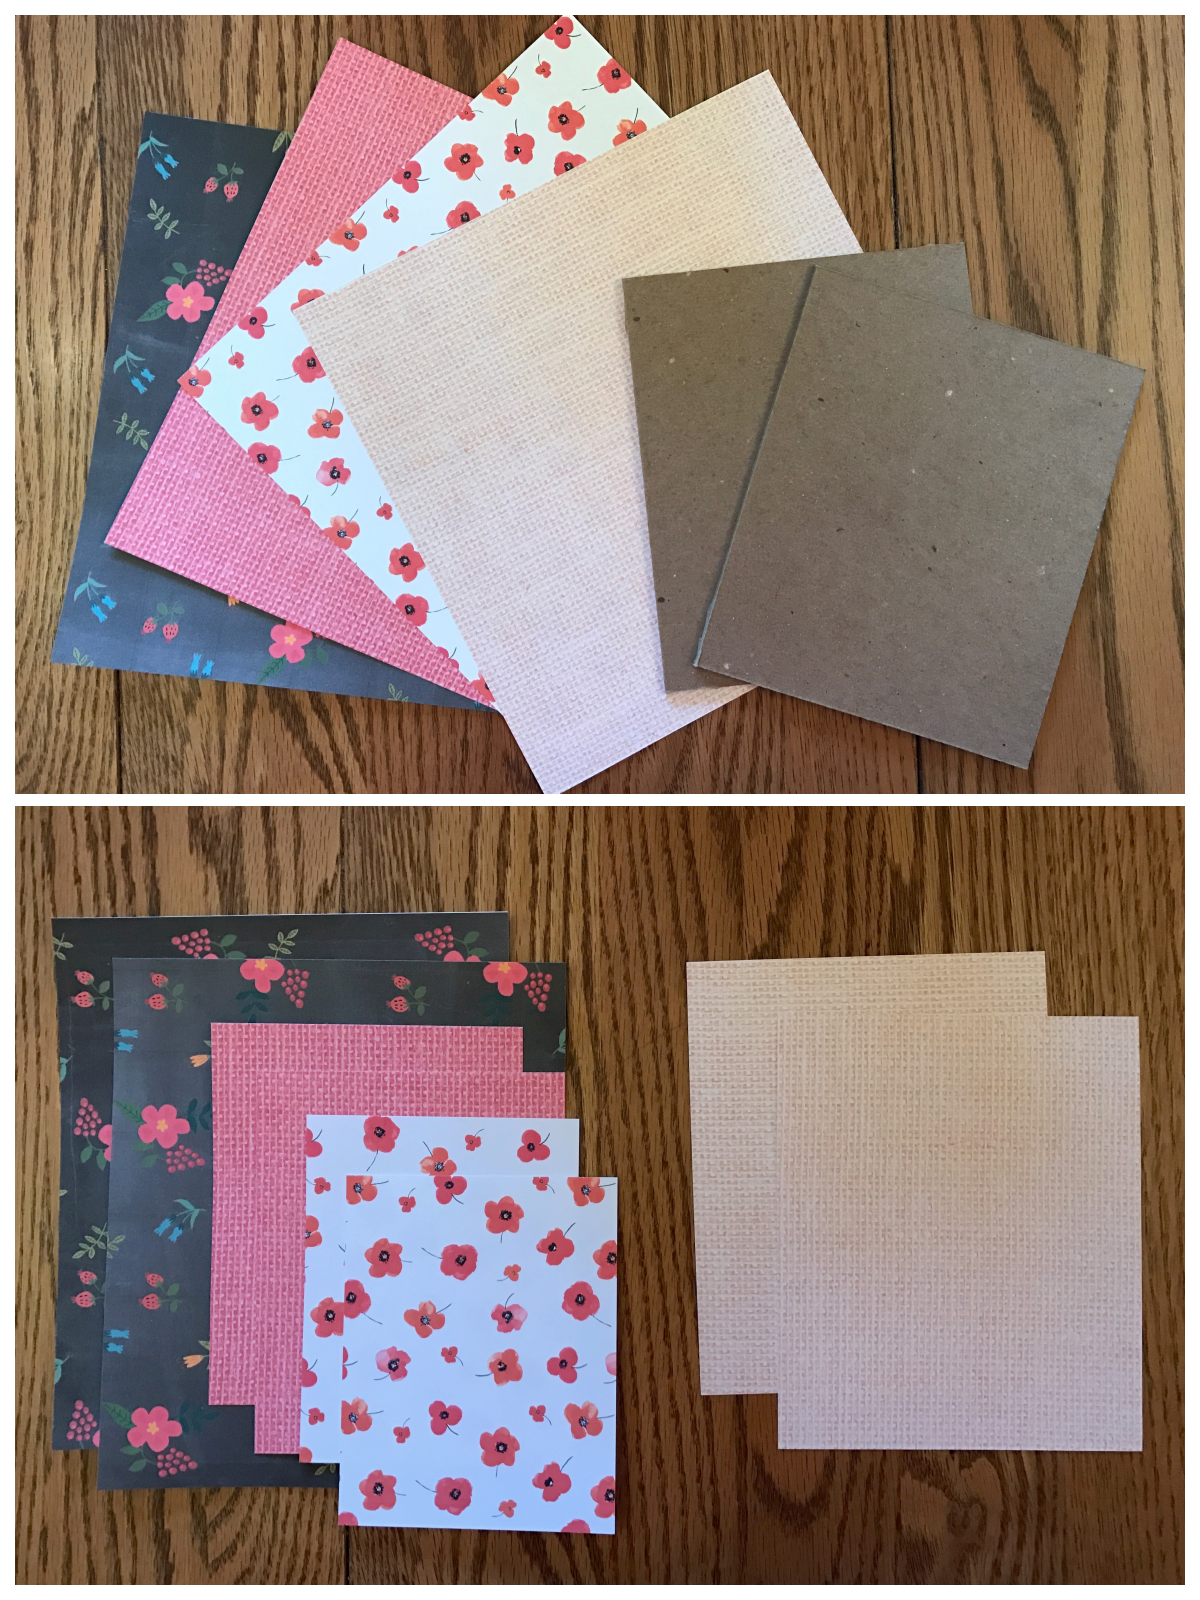
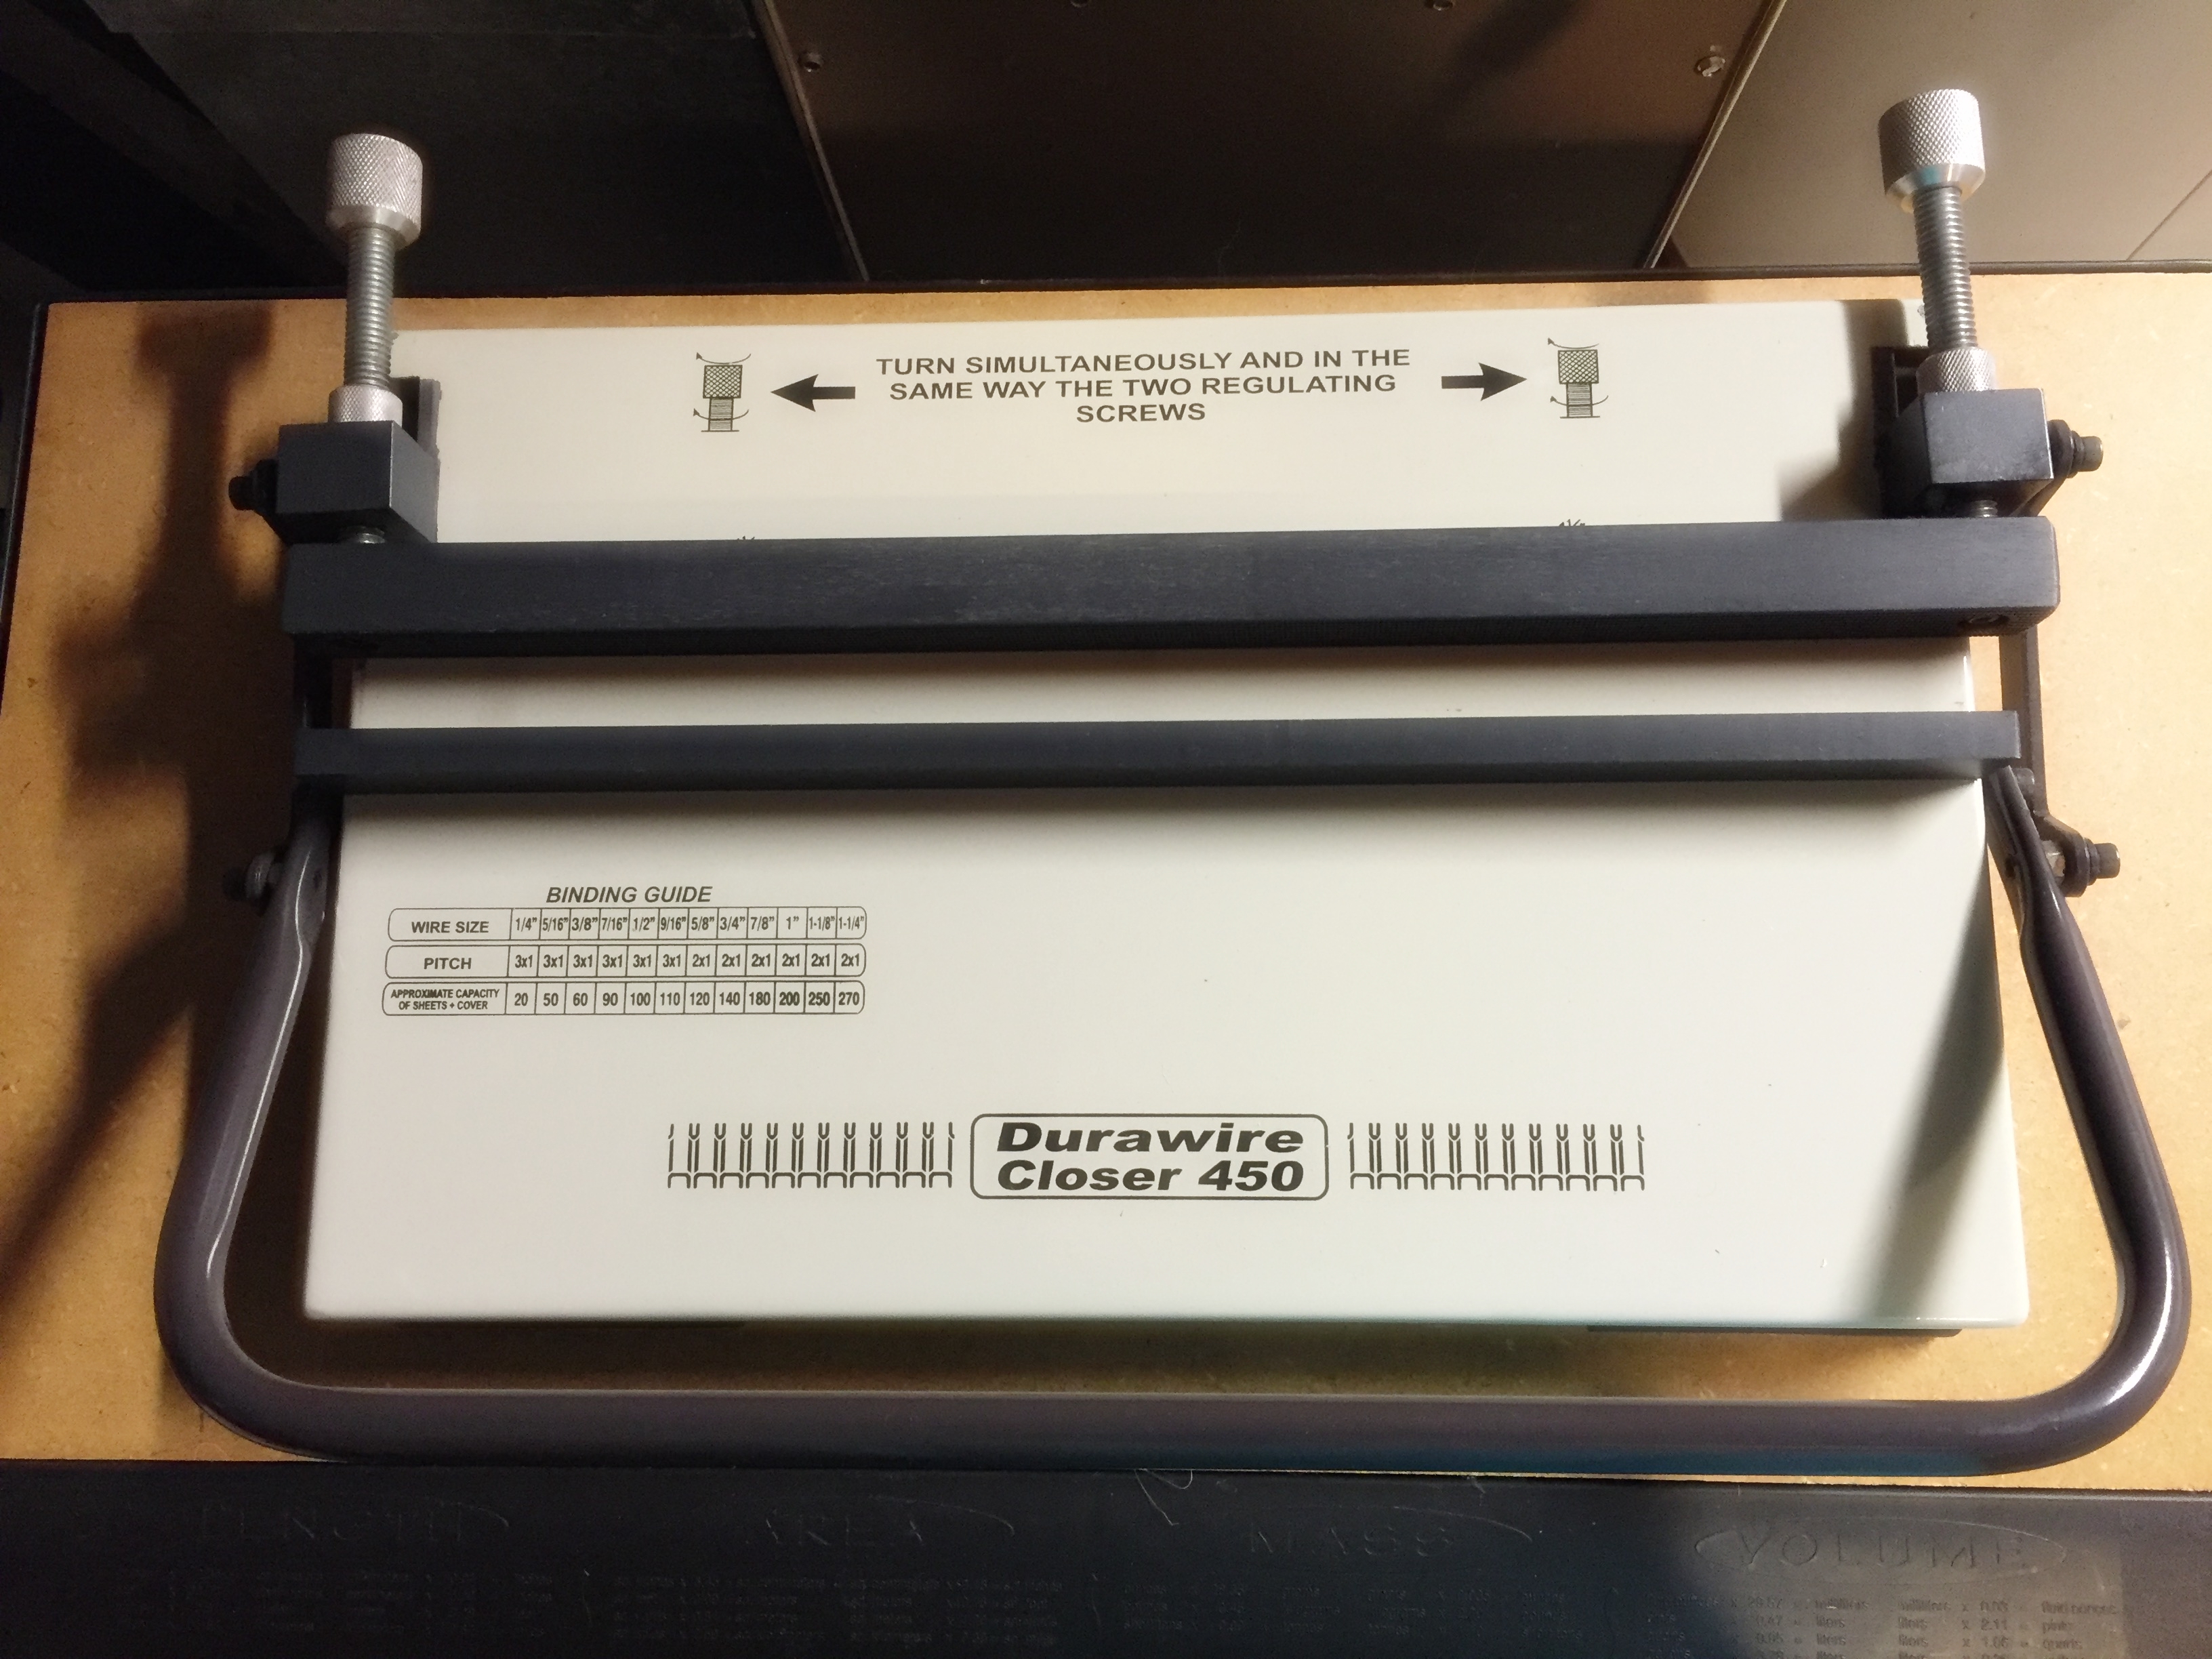
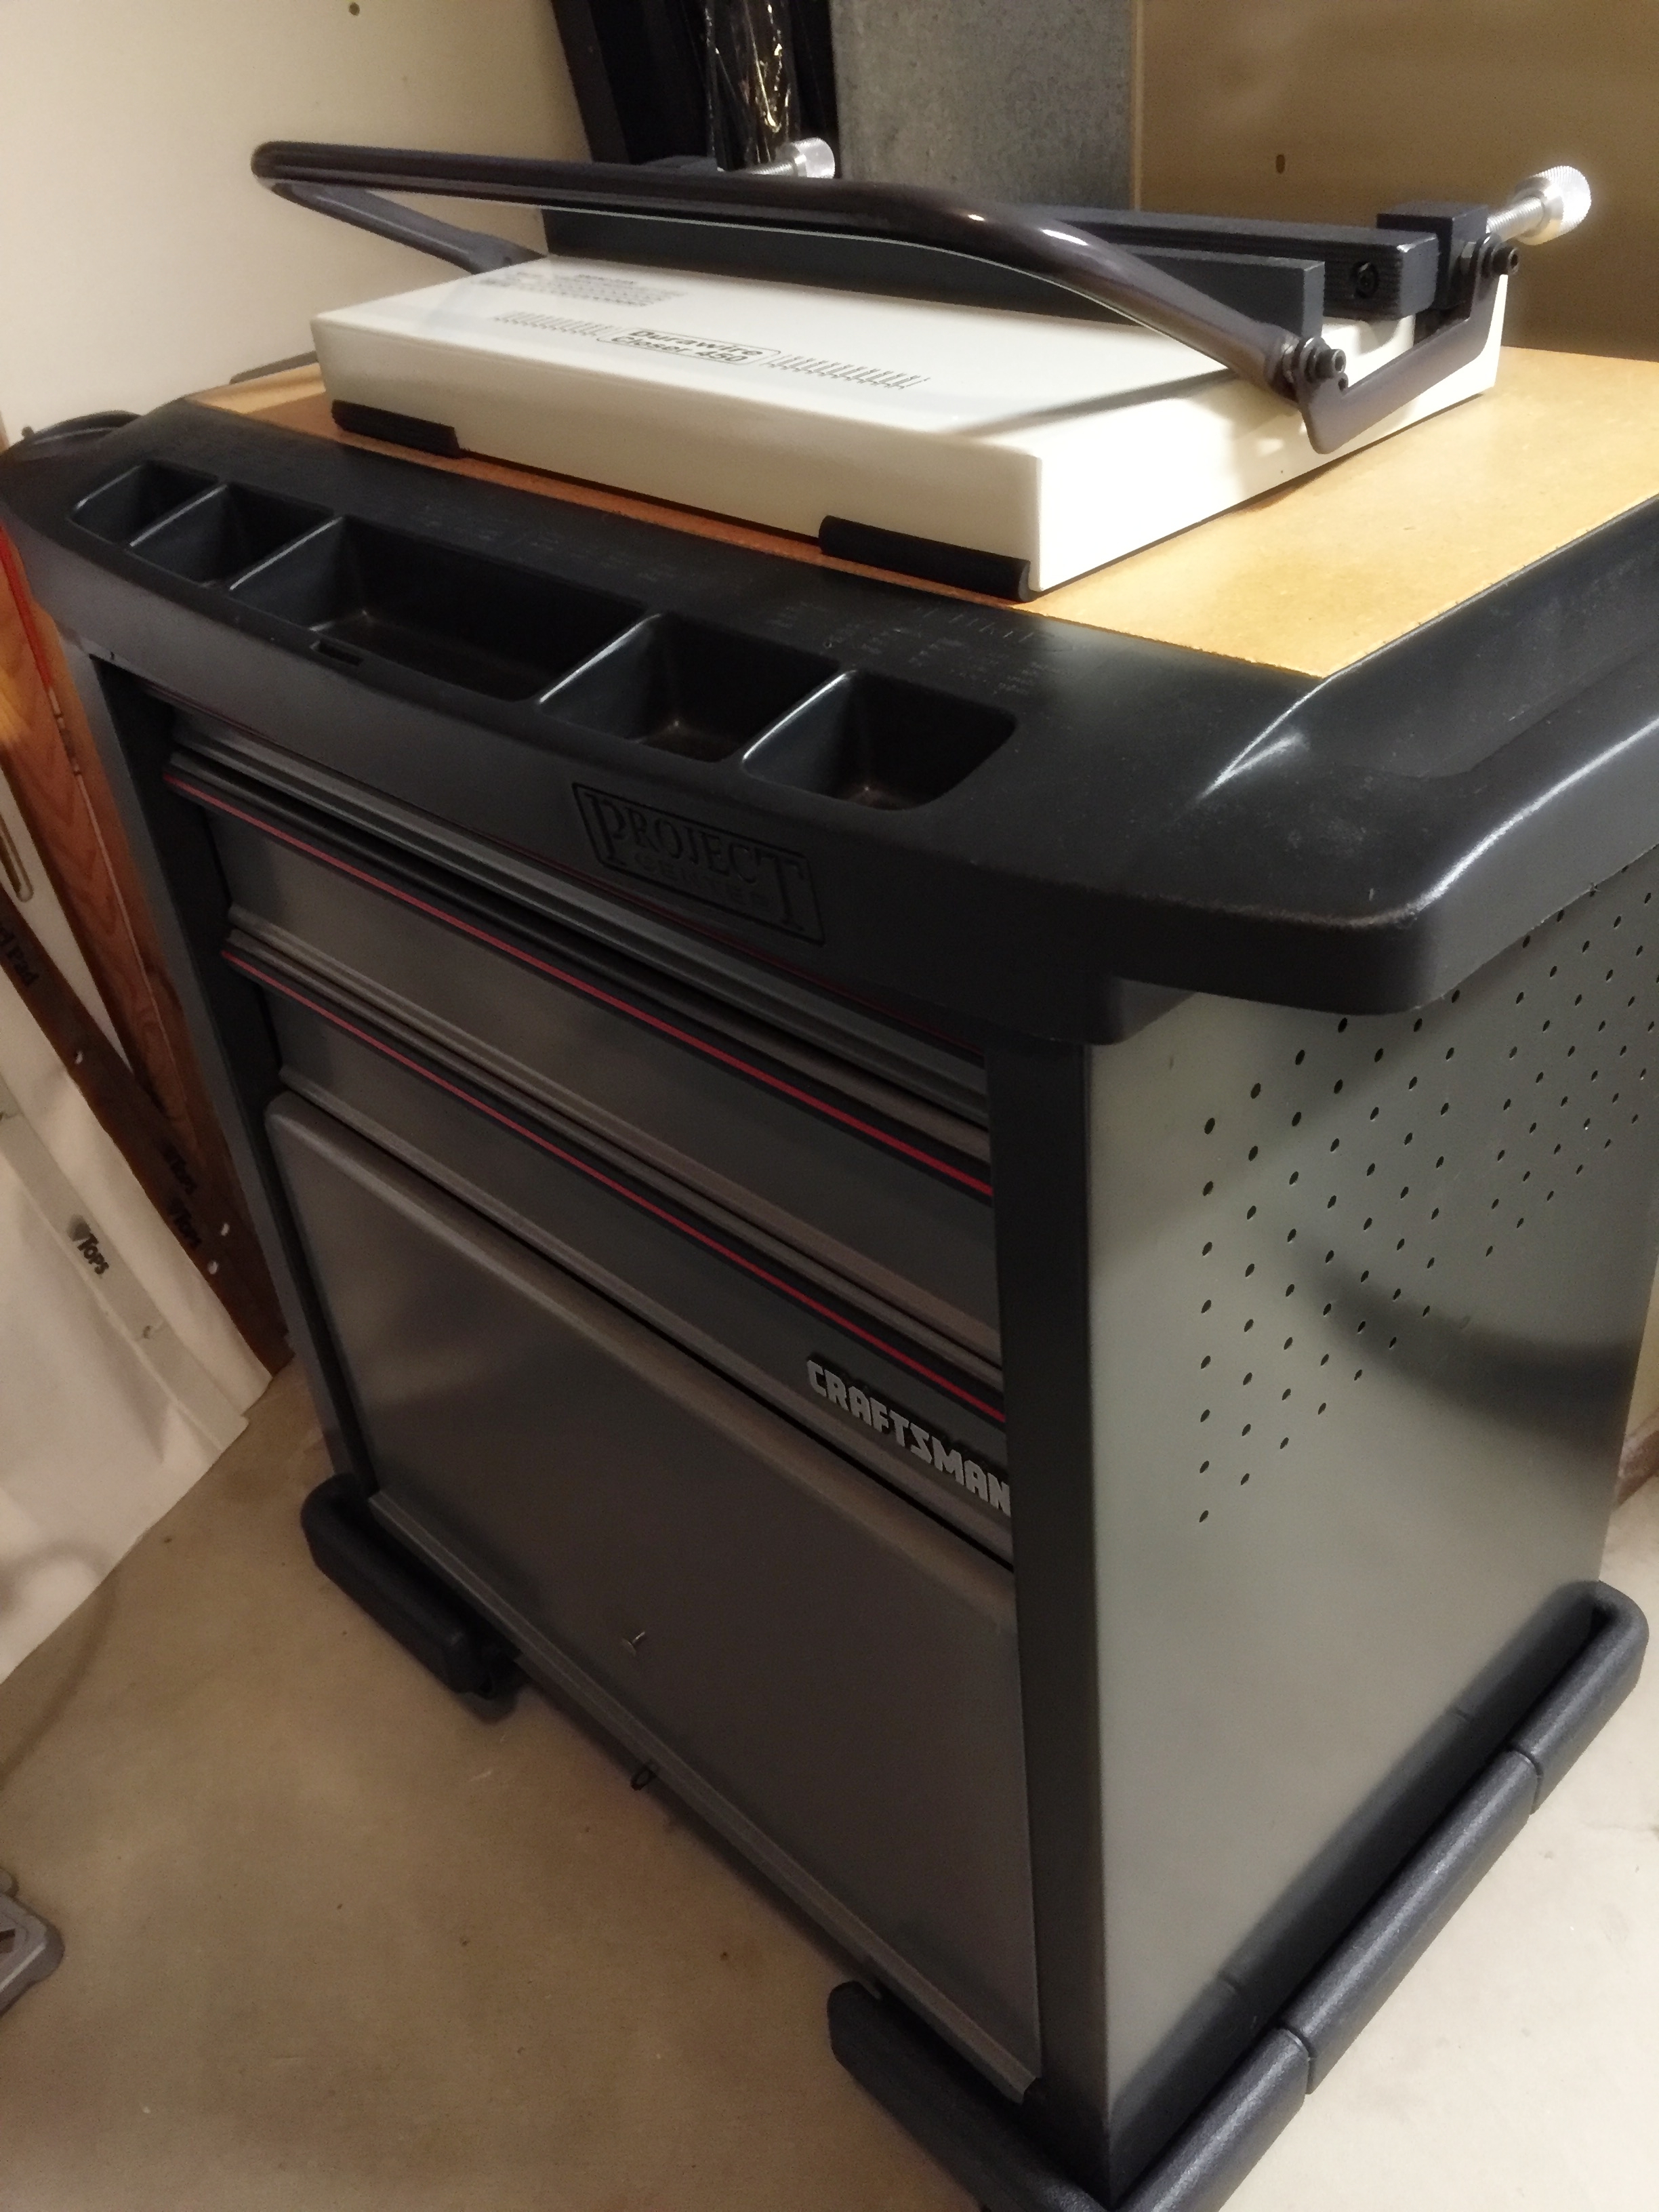
I layered all papers together the way my customer specified, covering the book board, and bound the album with a one-inch-diameter owire. I have discovered that the wider the diameter of the owire, the more trouble the Cinch or Bind-it-All have with crimping it. Too often, the owire ends up with a kink in it instead of being perfectly rounded. Sometime last year, I decided it was time to locate a commercial tool that is dedicated to owire binding. I discovered that MyBinding.com sells some of its equipment at a reduced cost if the box has been opened and the item inside is damaged in some way, but still is functional. In my case, some of the paint was chipped on a Tamerica DuraWire 450 Manual Twin Loop Wire Closer, but the tool itself worked perfectly in every way. I bought it at a seriously reduced cost, and find that it crimps consistently every time. These days I use both my Cinch and Bind-it-All for punching holes only; when they no longer punch well, I will likely replace them with a commercial punching tool.
The front and back sides of the finished photo album are essentially the same, except for a floral embellishment on the front. Although I do use some purchased solid color papers for custom orders, I generally print papers from digital designs, and then seal them with Tim Holtz Distress Micro Glaze to make them water-resistant. For some of the papers whose white inner core edges I don’t want to be visible, I brush them with Tim Holtz Distress Ink.

The last item I add to an otherwise finished book or album is the cover embellishment. I crafted a yellow zinnia from 90 paper petals—nine layers in all—die cutting the petals with Spellbinders Create-a-Flower Zinnia. After the layers were adhered, I spray-misted them with Ranger Perfect Pearls Mists to give the flower a little shimmer.

I glued the flower to the cover, gave it 24 hours to dry, and shipped off the album.

As I mentioned in my previous post, creating a digital proof for custom orders is essential to making sure that both the customer and I are on the same page. I don’t have expensive design software, so I use ordinary office software to get the job done. It does add a few extra steps to the creation process, but in the end, I think everyone is happy.
In the comments below, describe a challenge you faced when you crafted a custom item, whether it was for an order or a gift.
© 2017 Judy Nolan. All rights reserved.

Cute idea! I have a Cinch binder tool and lots of binding wire so I might have to try this!
How cool that you built a jig! I used to bind books when I worked at a Staples copy center for about 4 months after college, but they were never as lovely and creative as yours.