Members of the Etsy team called Blogging Business Artisans are encouraged, at least six times a year, to participate in a monthly challenge that stretches their abilities and enables them to grow artistically. This month’s challenge was devised by Deb of The Storybeader’s Bookshelf. “To start off the Challenges for the new Blogging Business Artisans (BBA) team,” says Deb, “I want to make this affirmation: we are all super busy and creative Etsy members. Â We are always finding new projects we want to try but stress about where to find the time. Â This challenge is to set aside that time to work on and complete a new technique that you admire. Â It can be within your field of expertise, but doesn’t have to be. Â Blog about your project at least once during the month of January and show us your progression with photos or a video.”
This is one challenge I could not resist. I decided to learn how to make an envelope album using the techniques demonstrated in a YouTube video by Brook of Creative Endings. I honestly was not sure how this photo album, which is made up of at least 4 envelopes, would turn out. You can use Brook’s techniques with any size envelope, but in her video she suggests a number 10-sized business envelope. Since this was my first time making this type of an album, I decided to follow her recommendation, although I did modify some of the suggested sizes of the interior elements.
What you’ll need to do this project:
- 6 envelopes, #10 business-size
- scissors and a ruler
- optional but recommended: paper cutter
- bone folder
- scoring tool (use the point of your bone folder and a ruler if you don’t own a scoring tool)
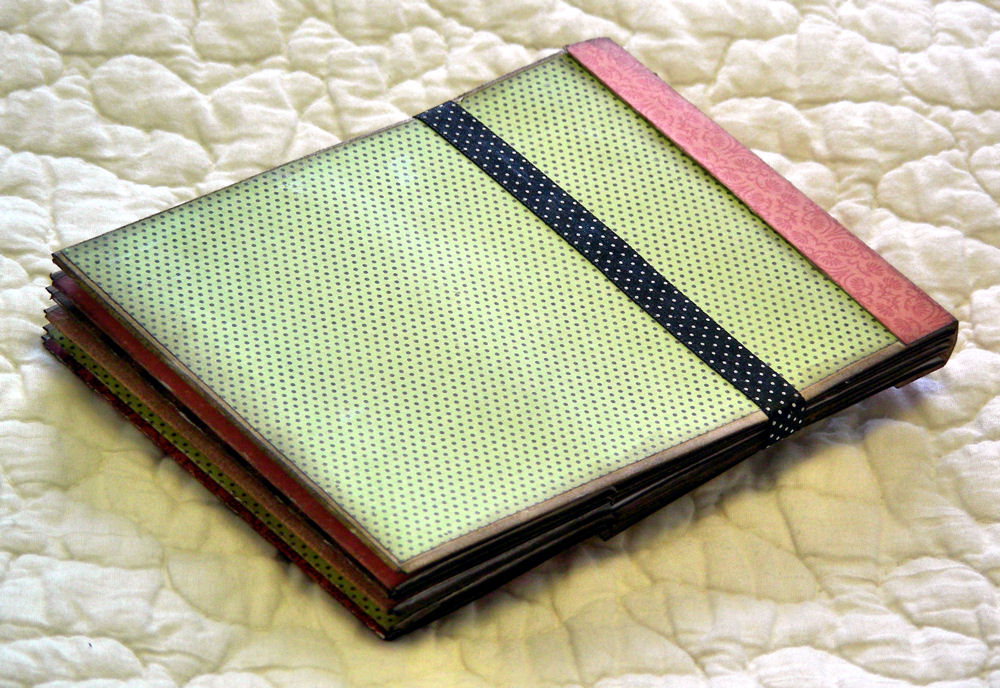
- adhesive products (I used Glue Arts® Glue Glider Pro and an UHU® stic Glue Stick)
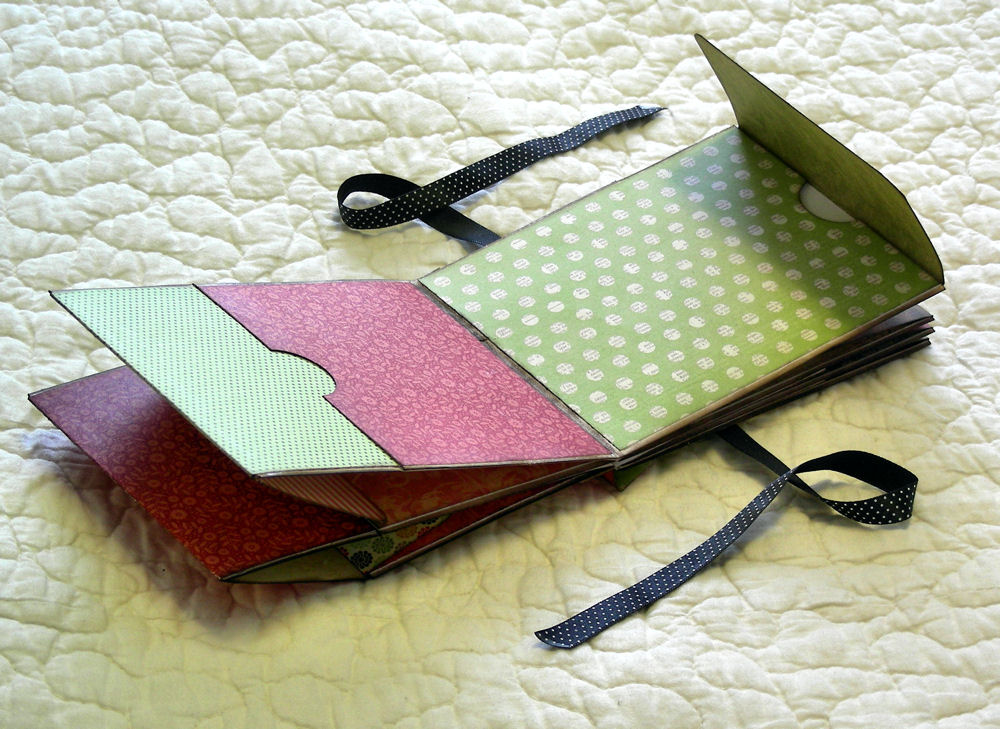
- double-sided card stock in colors and patterns of your choice
- circle punch, one-inch wide
- string, ribbon or yarn for tags
- 22-24 inches of ribbon, used as an album closure
- optional: Tim Holtz Distress Inkâ„¢
- optional: foam applicator
How to make the album:
1. Seal the flap on all of the envelopes.
2. Slice off the short ends of the envelopes so that they are open. Your envelopes should be 9 inches wide after you trim them.
3. Score each envelope at 3-1/2 inches, then fold it as shown below. Stack the envelopes in this order in preparation for gluing.
4. Using the adhesive product of your choice (I used Glue Arts® Glue Glider Pro), run a line of adhesive about 1/8 to 1/4 of an inch away from the fold on the “short wing” of one envelope. Apply a second adhesive (I used UHU® stic Glue Stick) to the rest of the “short wing” of the envelope.
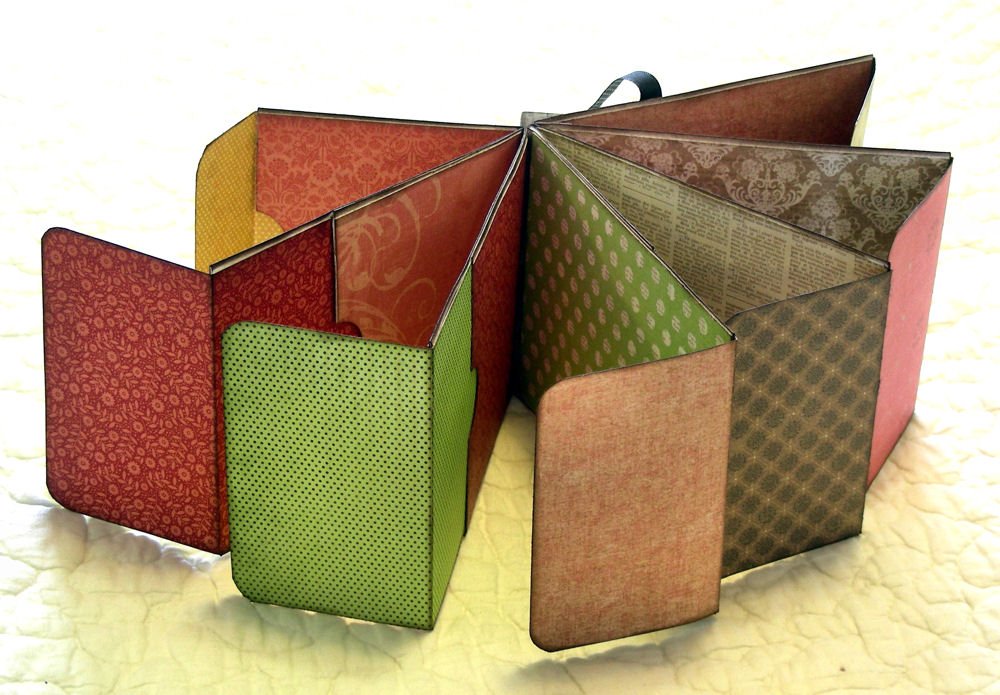
5. Align the folded edge of 2 envelopes together, with one “short wing” kissing the back side of the “long wing.” Use your bone folder to smooth the envelope. This creates two pages in your album, each with a large pocket on one side of the page, and a small pocket on the other side. Repeat this procedure for all envelopes until your final product looks like the illustration shown below. Notice that the front pocket is its own page. There are 7 pages in all: one short page and 6 wider pages.
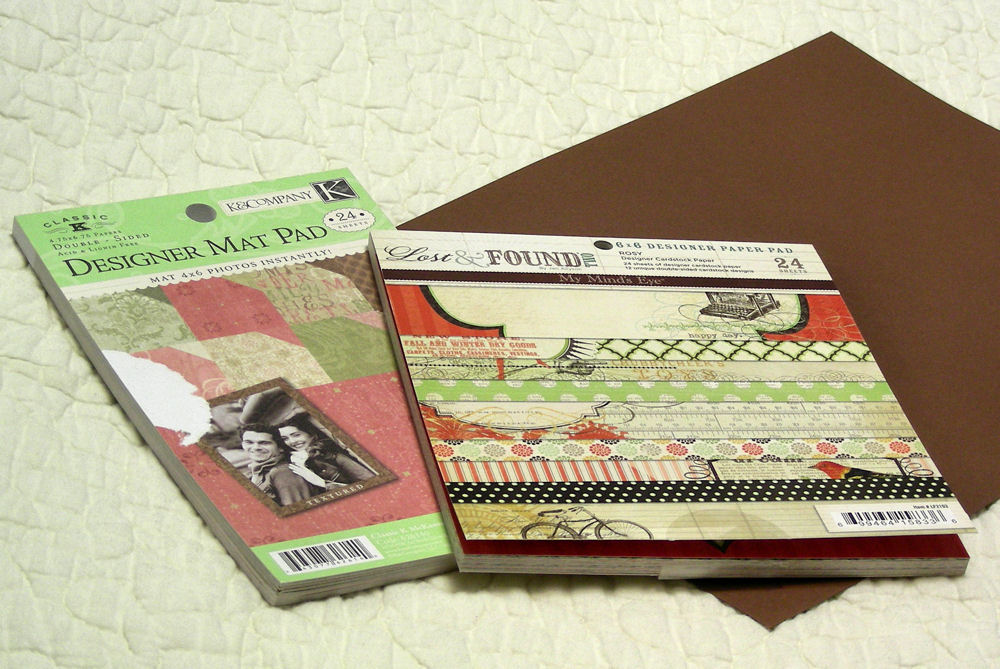
6. Now it’s time to decorate the pages of your album using double-sided card stock of your choice. You may find it convenient (and more economical) to use designer paper that sells in stacks. This also guarantees that the colors, patterns and solids will be from the same family. I used a 6×6 designer paper pad from Lost & Found Two by My Mind’s Eye, as well as a textured 4×6 designer mat pad from Classic K called McKenna.
7. You will need to cut 3 sizes of paper for each page of your envelope album, which you will adhere using adhesive of your choice.
- Cut a rectangle that measures 3-3/8 inches wide x 4 inches tall for the outside of the small pocket.
- Cut a rectangle that measures 6 inches wide x 4 inches tall for the interior of the small pocket. Score and fold it at 3-1/2 inches. Insert the longer end inside the pocket and adhere it. The other end forms a flap for the large pocket on the other side of the page.
- Cut a rectangle that measures 5-3/8 inches wide x 4 inches tall for the outside of the larger envelope.
8. Using the adhesive of your choice, glue a length of ribbon down the back of the album so that the loose ends can be brought to the front and tied into a bow to close the album. You can choose either a vertical or horizontal direction to tie the ribbon (your choice). You’ll notice that I hid the folded edges of the album with a spine cover. Cut a rectangle of paper that measures 1-1/2 inches wide x 4-1/8 inches tall. Score and fold the rectangle at 1/2 inch and 1-1/2 inches, apply adhesive and wrap around the spine.
9. It is up to you, but I thought it would be easier to insert photos or tags into the pockets by punching a half-moon shape at the top of each pocket. I used a one-inch circle punch for this purpose. I also used a foam applicator and Tim Holtz Distress Inkâ„¢ to ink the edges of all my pages, simply because I like this look. You may prefer to leave the edges of your pages “naked.”
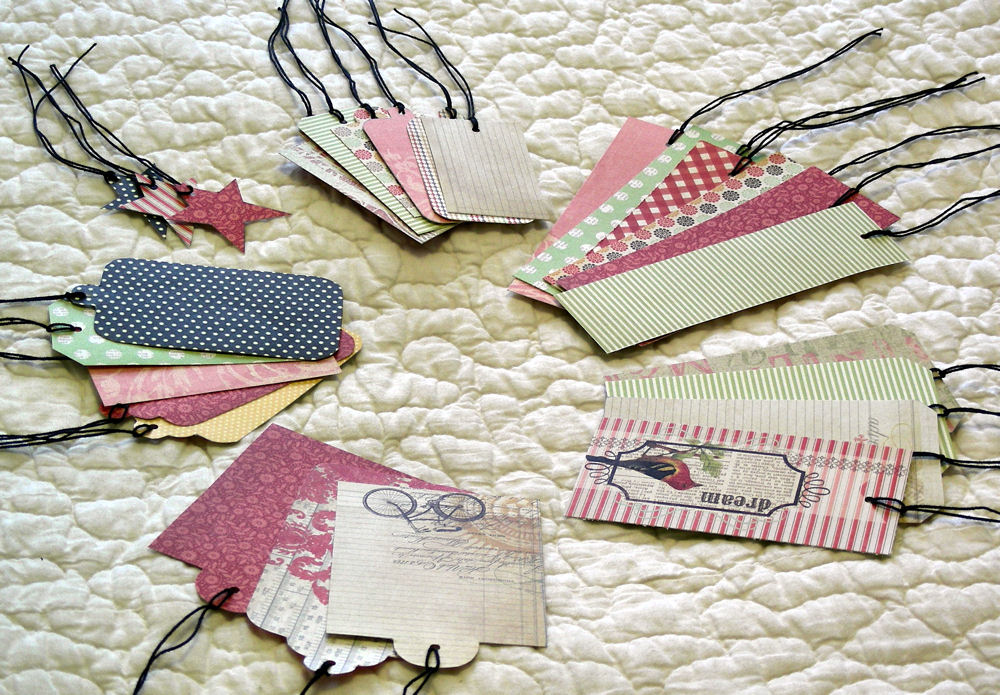
10. I had a lot of scrap paper left after decorating the pages of my album. You can use your scrap paper to cut tags and journaling spots for your album. If you like, punch a hole in your tags and attach string, ribbon or yarn. I use a tag template from Deluxe Cuts to make many of my tags, but if you have a die cutting machine, that is a real time saver. You can also download free tag templates from ScrapbookScrapbook.com.
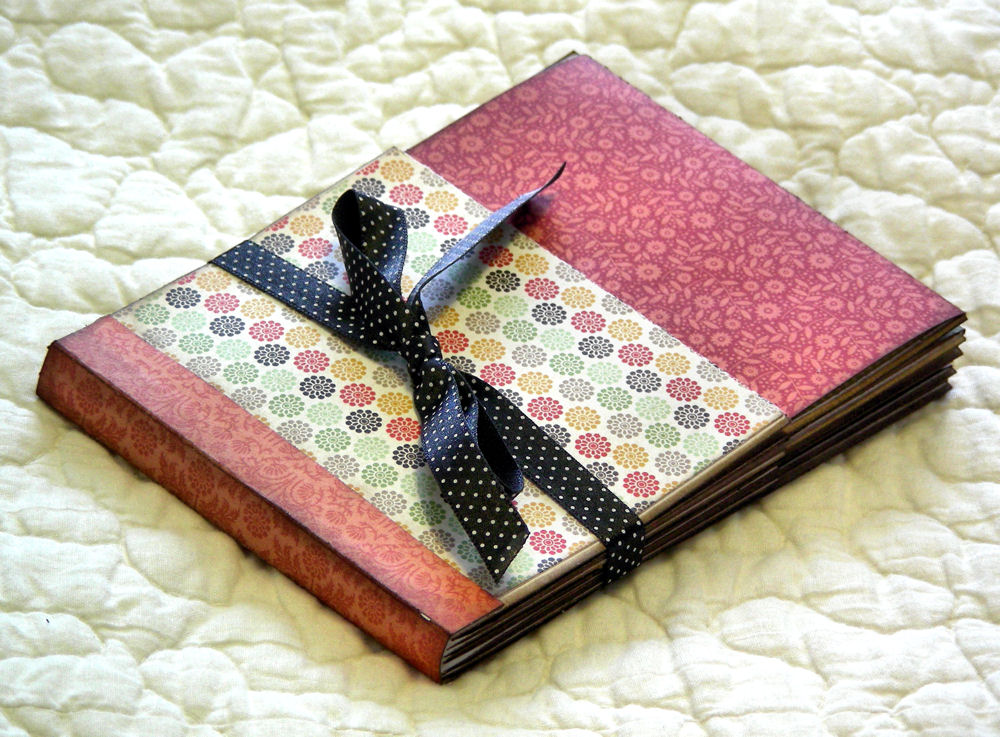
When you’re all done, this is what your envelope album looks like. I really enjoyed learning about this assembly method for albums using ordinary business envelopes. I hope you do, too!
© 2012 Judy Nolan. All rights reserved.



This turned out beautifully Judy. Love the colors you chose.
Wow! that’s all I can say — wow!!
I’ve seen lots of ways to use envelopes, but this is the best! Great job!
they turned out great! I’ll definitely have to try this out! Thanks for sharing – hope you had fun! {:-D
This turned out wonderfully! I love your color choices. I love your little tags, too.
Wow! I don’t get it but wow! Great job.
I love it! What a fun album and lots of room for photos and memorabilia!
Your album is lovely! Who would ever guess that it’s simply paper covered envelopes?! You have a wonderful eye for design!
Wow…Judy that turned out really great!!! You make me want to make one too:) If only I had “extra” extra time:)
I featured your post in today’s link party!
It’s a Wrap Link Party at Artful Rising
Erika
Thanks, Erika, for featuring my envelope pocket book. It was a lot of fun to make, although it took a while for all of the steps.